Lightroom 2 Makes Vacation Look Even Better
I upgraded to Lightroom 2 as soon as it was available. I was lucky enough to be part of the beta program but I didn’t give it the time needed to really dive in. Now that it is released, I’ve upgraded and have really enjoyed the new features. Just like in Lightroom 1, I spend most of my time in the Library module. But perhaps the biggest feature in Lightroom 2 comes in the Develop module with the Localized Corrections feature.
Localized Corrections isn’t a great name for a killer feature. Basically, in Lightroom 2 you can create a mask and then apply develop effects to that mask. You can have multiple masks in the same photo. You could have done this stuff in Photoshop but that round-trip to Photoshop is painful and I know Lightroom so much better than Photoshop. I’m happy to avoid Photoshop.
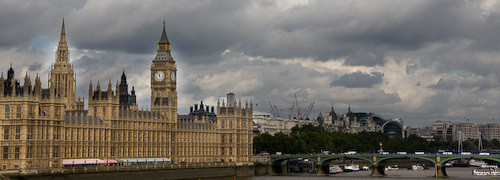
With these tools easily at hand, I found yesterday how with just a few seconds you can really make pictures that once looked rough pretty good. Let’s take a look at three pictures from the bus tour we took yesterday.This first picture is just a shot down the Thames in London. It’s not very good with too many clouds and not even taken level. It was taken from a moving bus after all.
Before
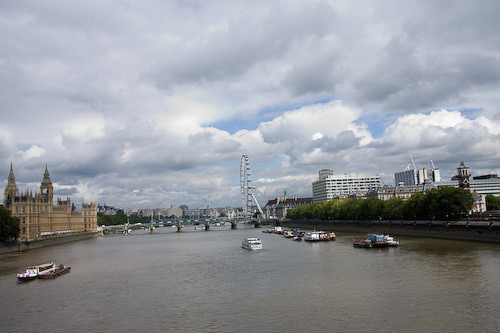
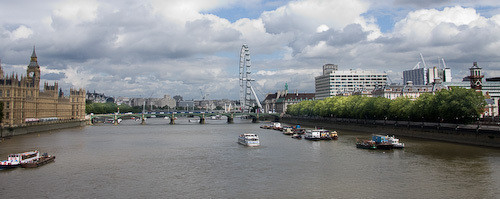
I actually have fun with these wide shots because I can crop them out to give an expansive feel with a wide crop. While cropping we’ll level it. Here the localized correction is fairly small. A quick brush stroke along the tree line brings some additional light in. It’s a full +1 exposure added for the trees.
After
This shot of the Parliament building also needs some cropping, but worse, it’s just dark and dreary.
Before
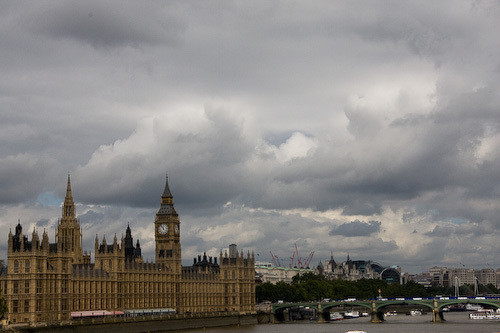
Here it is cropped out with a localized correction is brushed onto the building with about 2/3rds stop of additional exposure to brighten it up. Remember, since I’m working with a RAW file here I’ve got a lot of color depth and data to dig into here so I’m not blowing out any highlights. You can see the artifacts of my rather quick and shoddy mask work in the halo around Big Ben. With some more attention and time I could make that disappear easily.
After
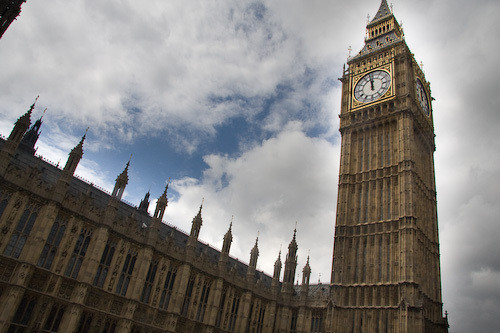
This picture of Big Ben was taken as we went by. It’s an odd shot, but I actually kind of like it. You can tell the camera metered right for the sky, but in the process Big Ben is way too dark losing almost all detail. This is an ideal Localized Correction problem.
Before
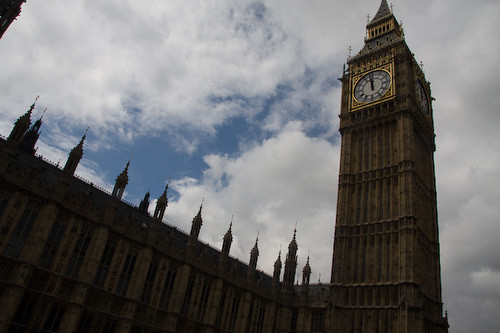
Here the mask is pretty big with an increase in exposure. You can see some halo effect again from my sloppy mask that could be cleaned up. Again, since I have a RAW image I’m not blowing anything out. Note that this is a big area and you could have just upped the exposure on the whole shot. If I would have done that though the sky would have been far overexposed.
After