
Wii Component Cables
My component cables arrived for the Wii today. I finally was able to move off the incredibly lame composite connection and 480i to a nice crisp component connection and 480p. I know that this is a much better setup, and I eagerly plugged it in and decided to get my camera out and do some before/after comparisons. While I can tell the difference, it’s not as striking as I expected. These shots are all taken from the Wii menu screen. I took photos of the “disc” channel and of the Mii channel. I also took a photo of the Wii settings button on the lower left corner of the screen. See what you think.
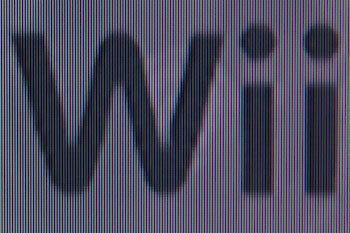
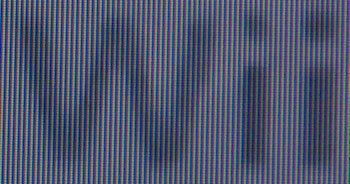
480i composite of Wii logo in the Disc Channel
480p component of Wii logo in the Disc Channel
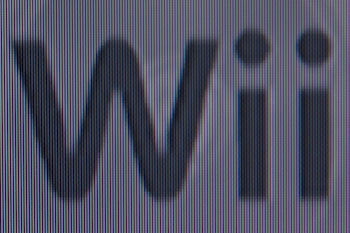
You can tell that the progressive scan smooths out the fonts a bit.
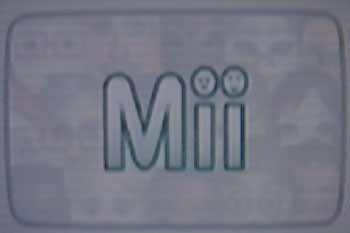
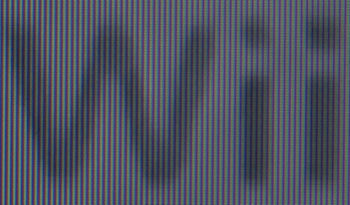
480i composite of Mii Channel
480p component of Mii Channel
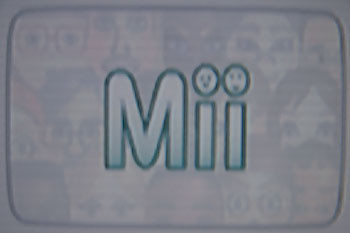
Great example that when you are not “super-zoomed” into the image, you can’t really tell much of a difference.
480i composite of lower-left Wii settings button
480p component of lower-left Wii settings button
This extreme zoom shows the best the differences between the two settings.
There are other write-ups about the component cables that show the differences.