Gallery
Remodel Update Week 4
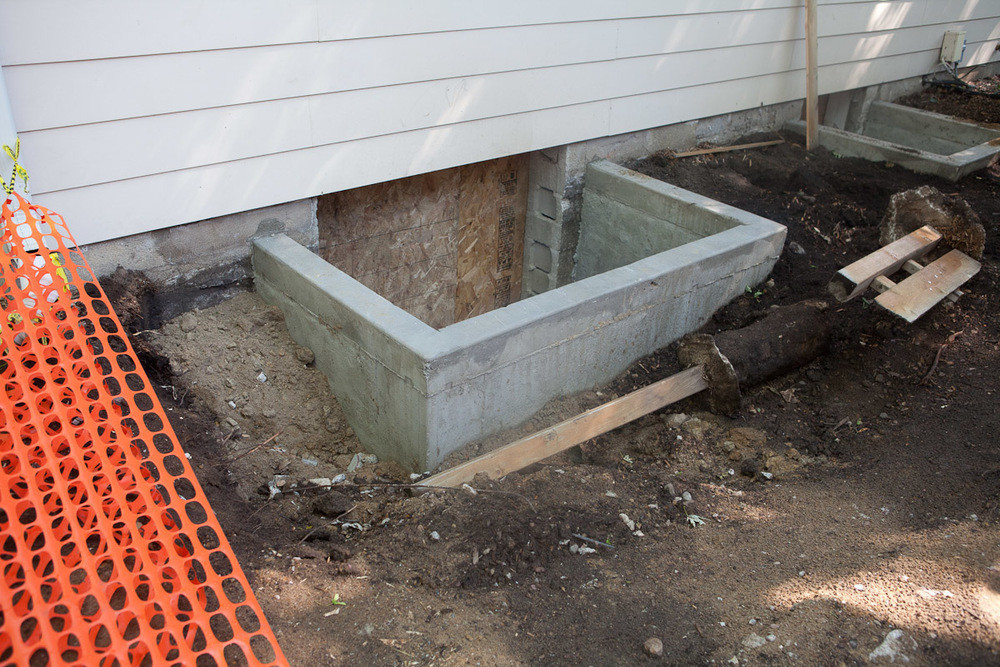
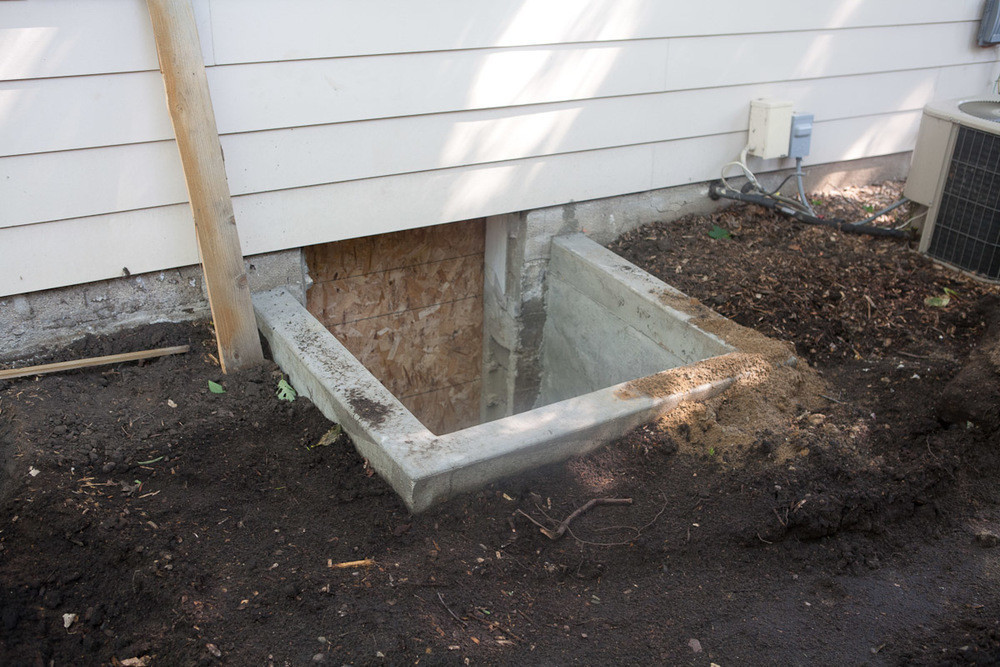
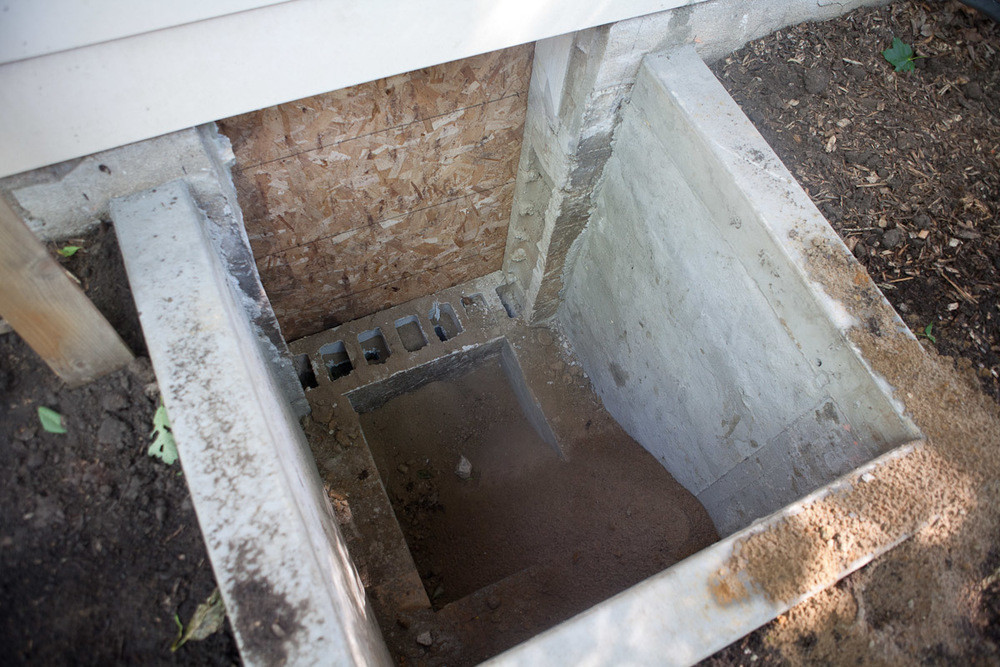
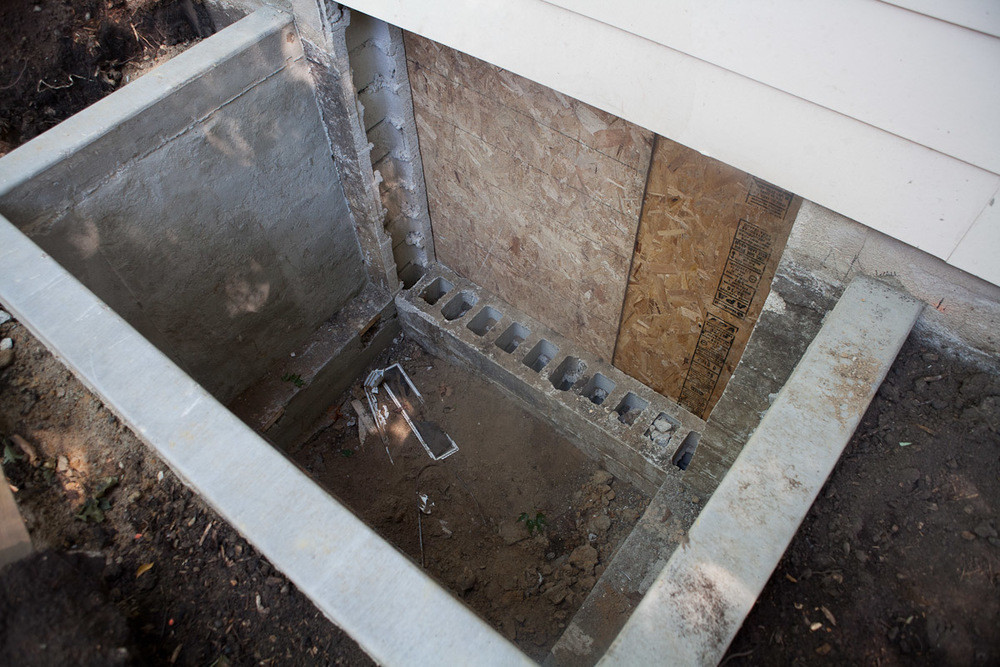
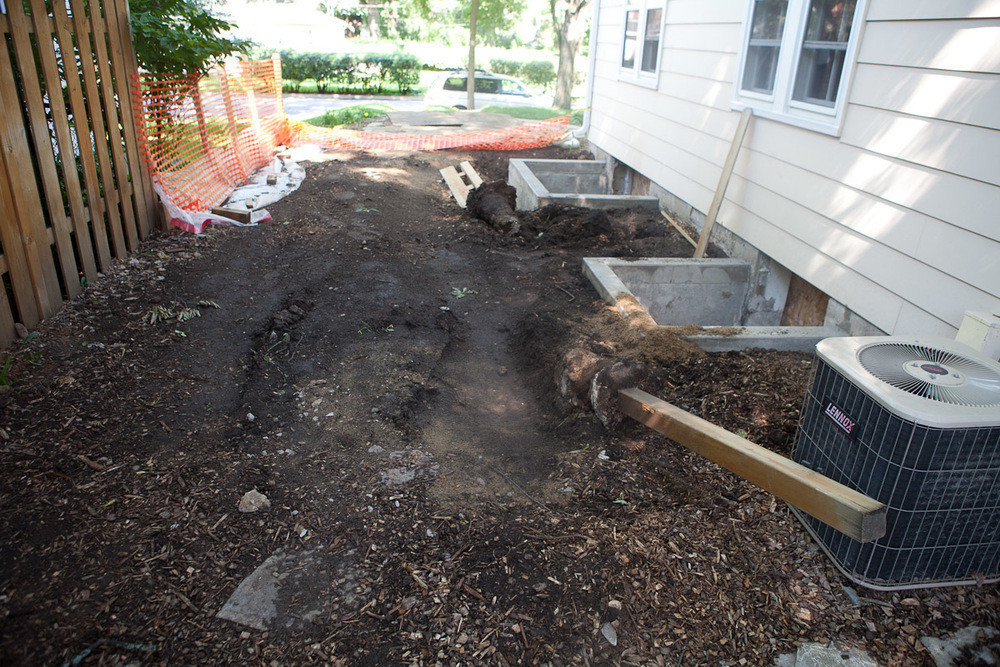
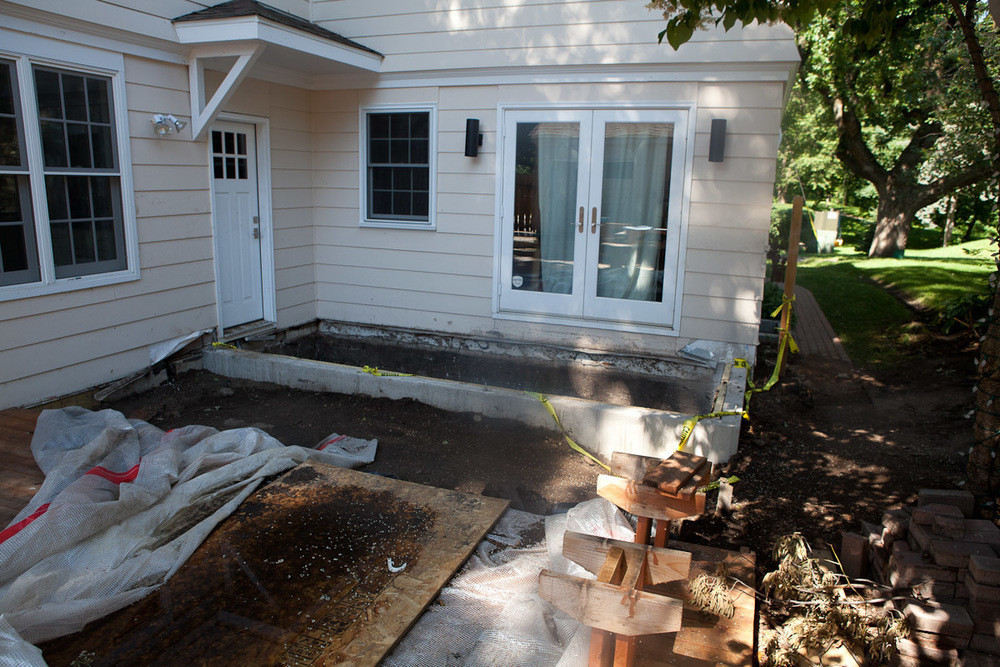
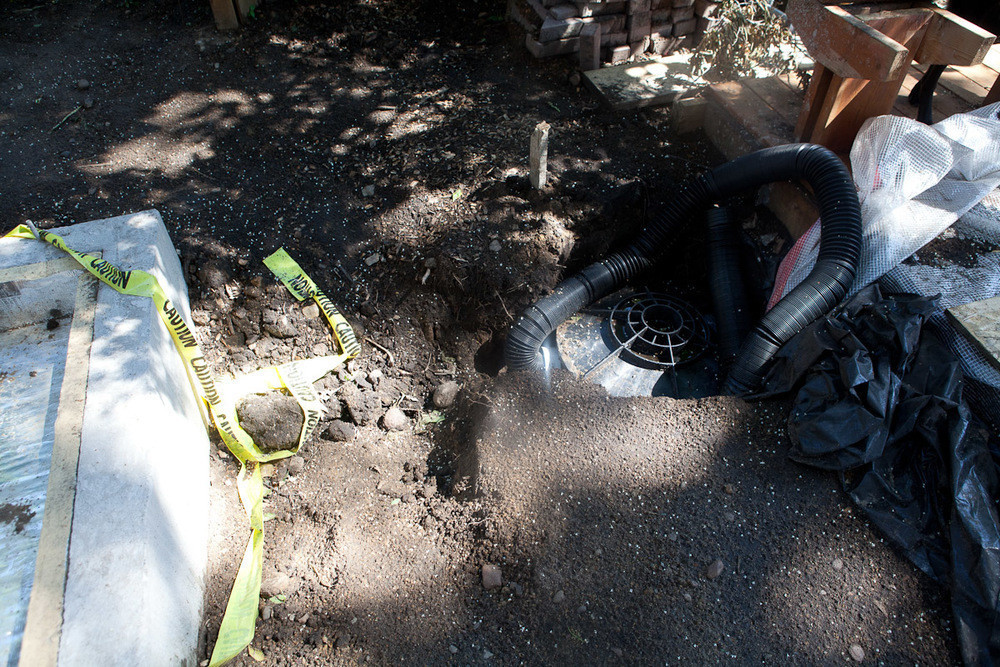
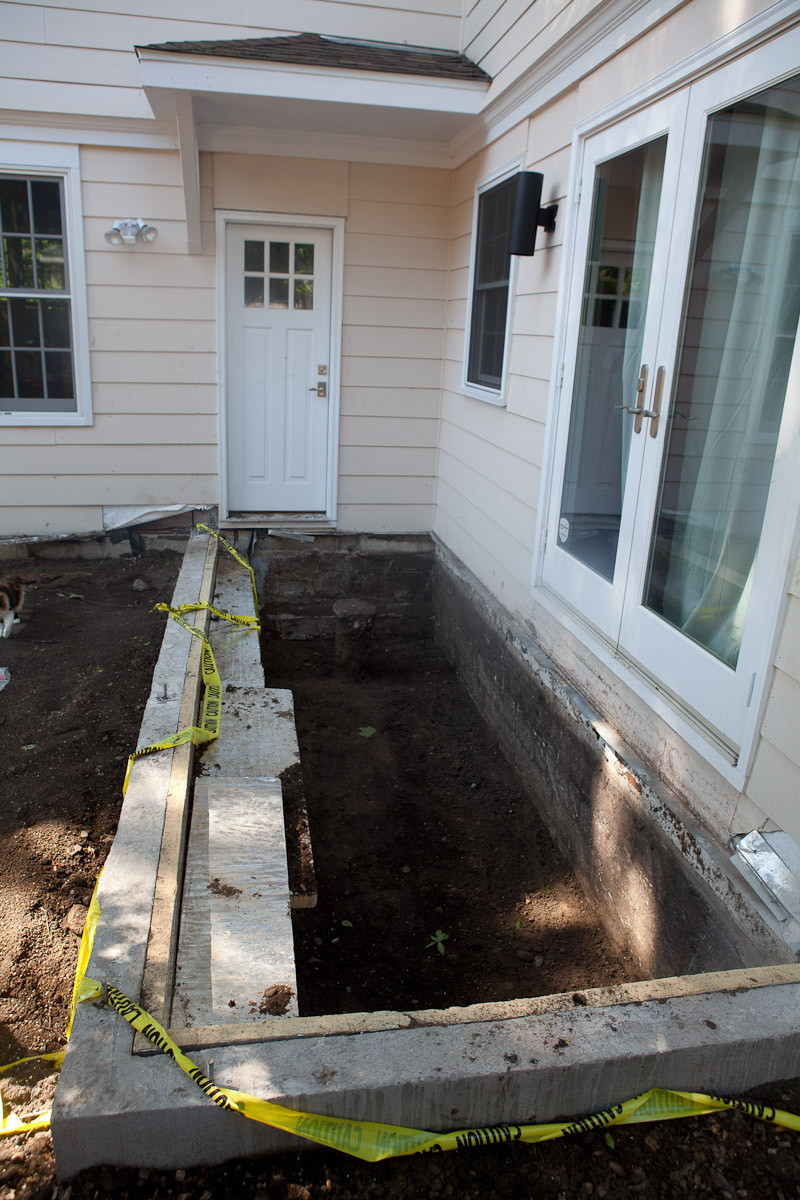
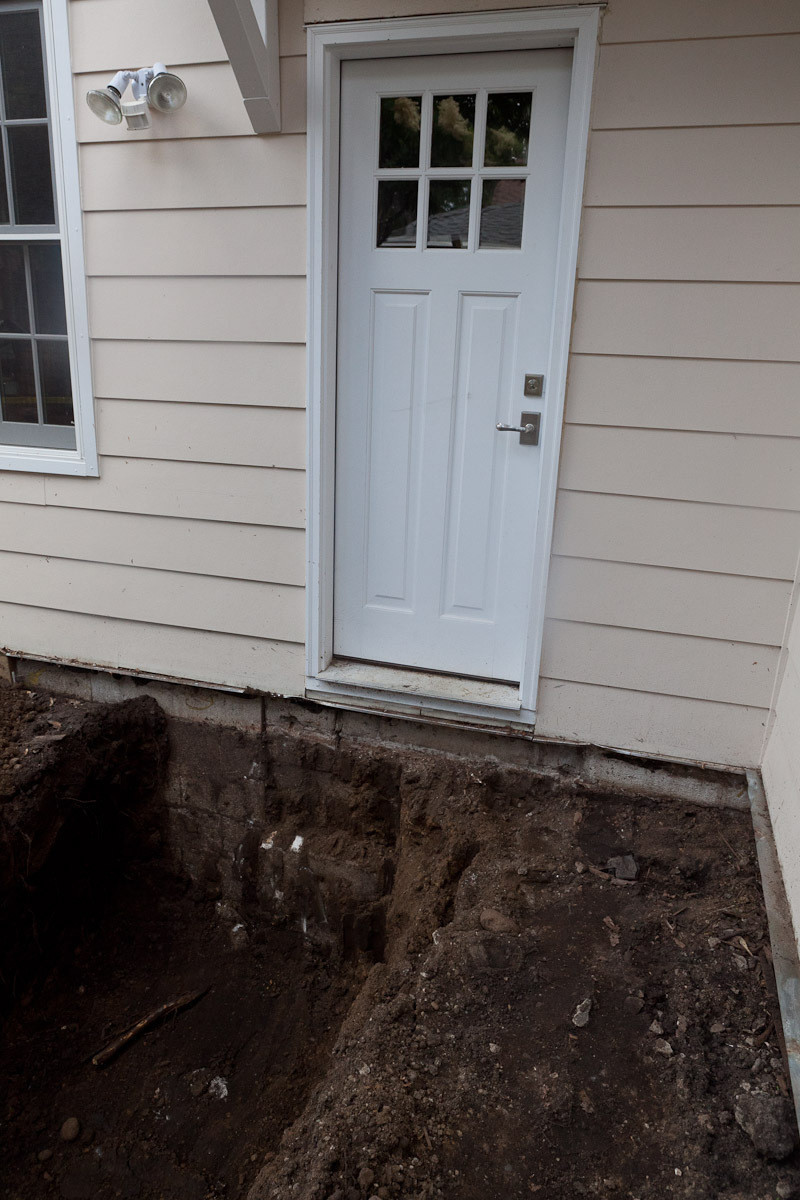
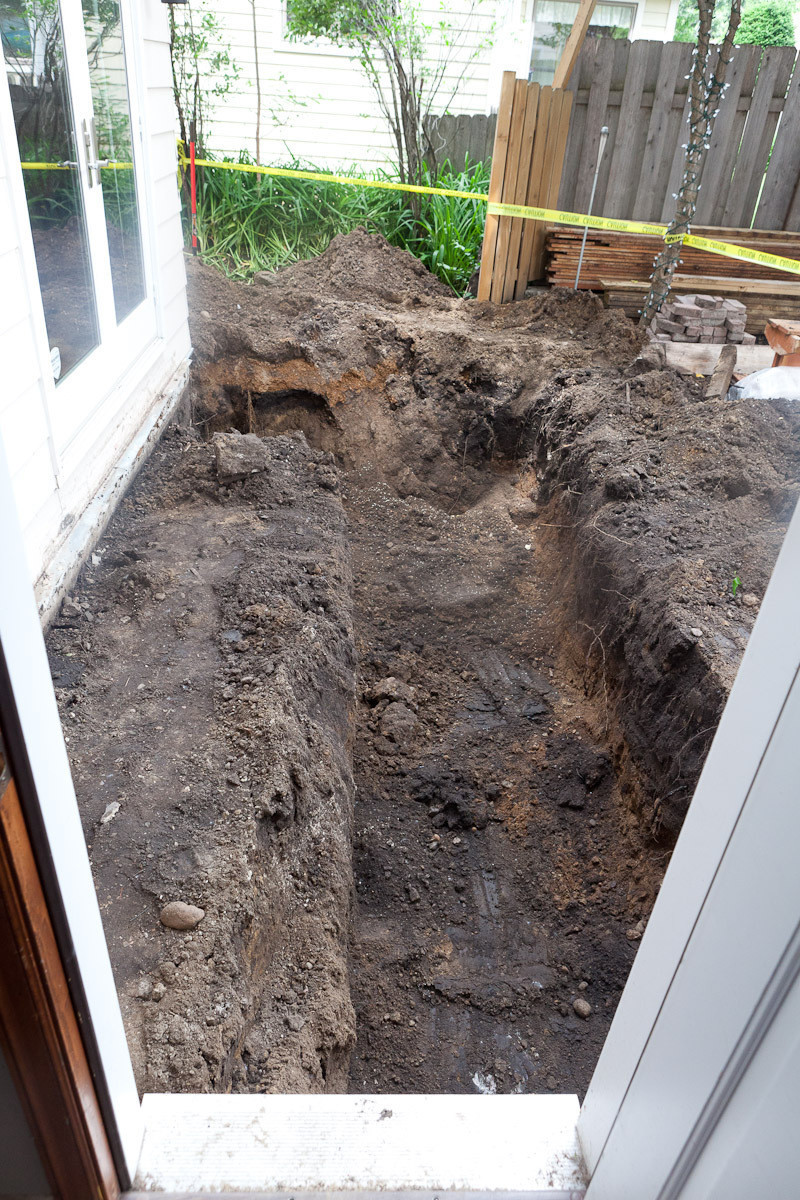
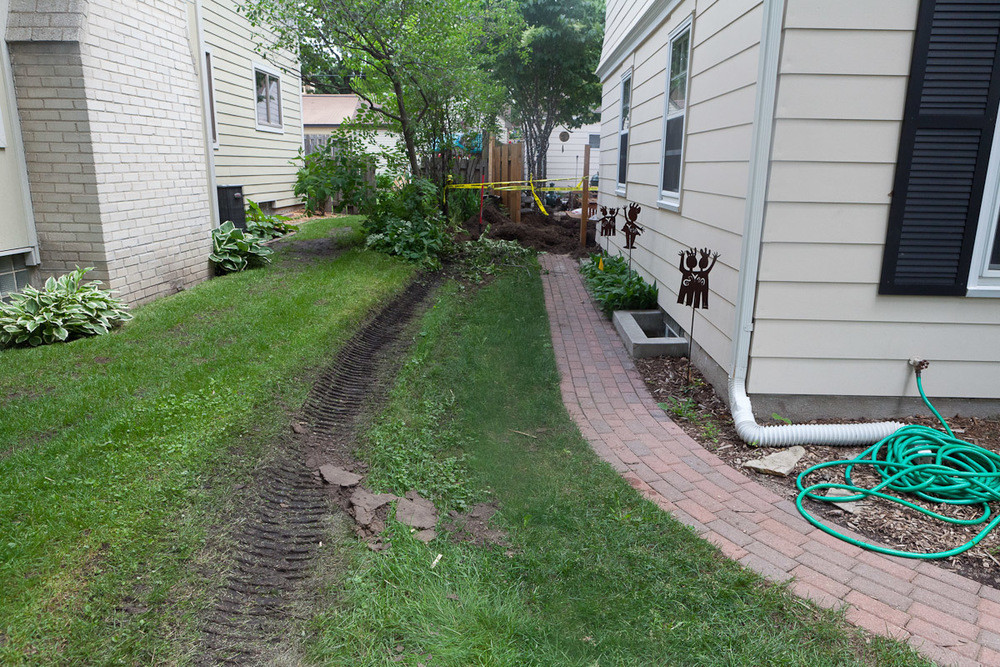
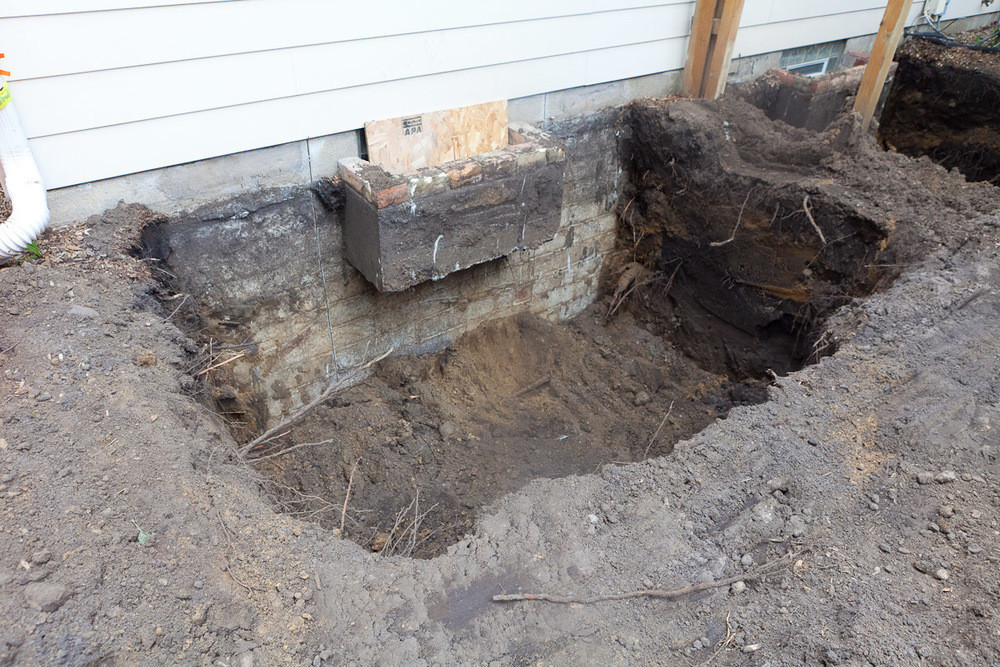
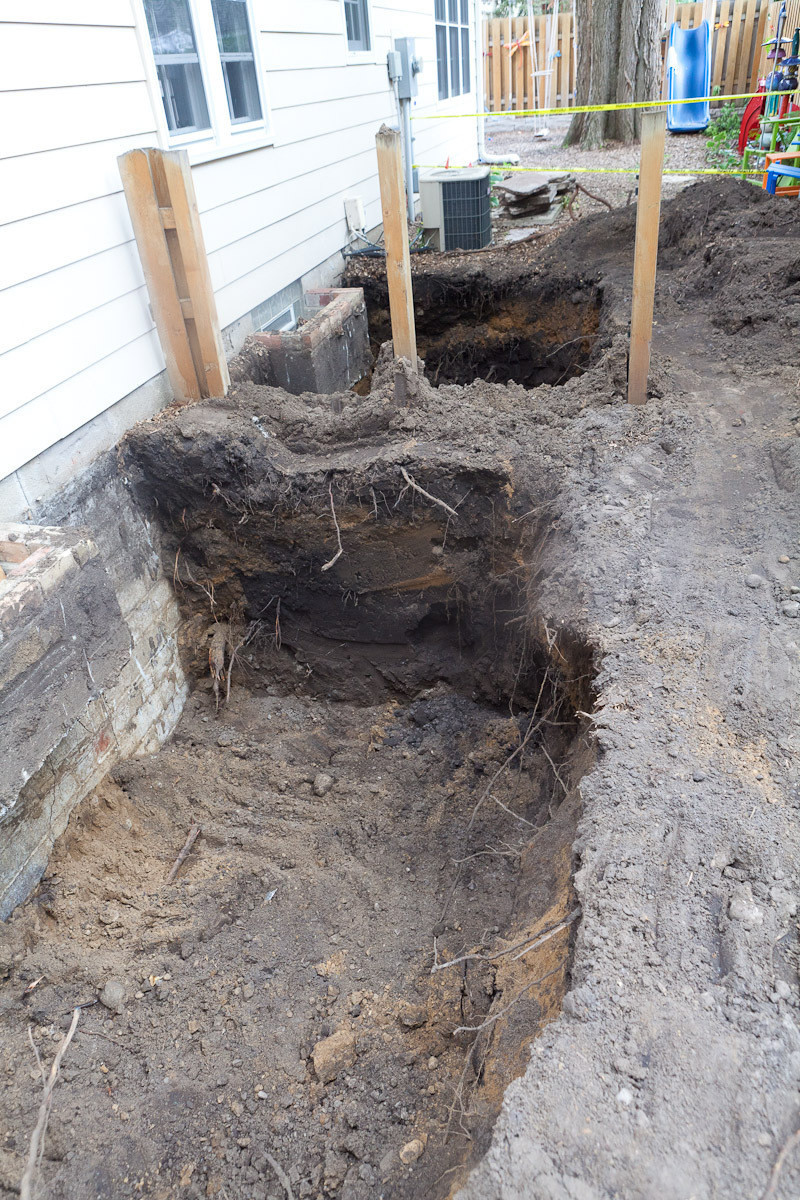
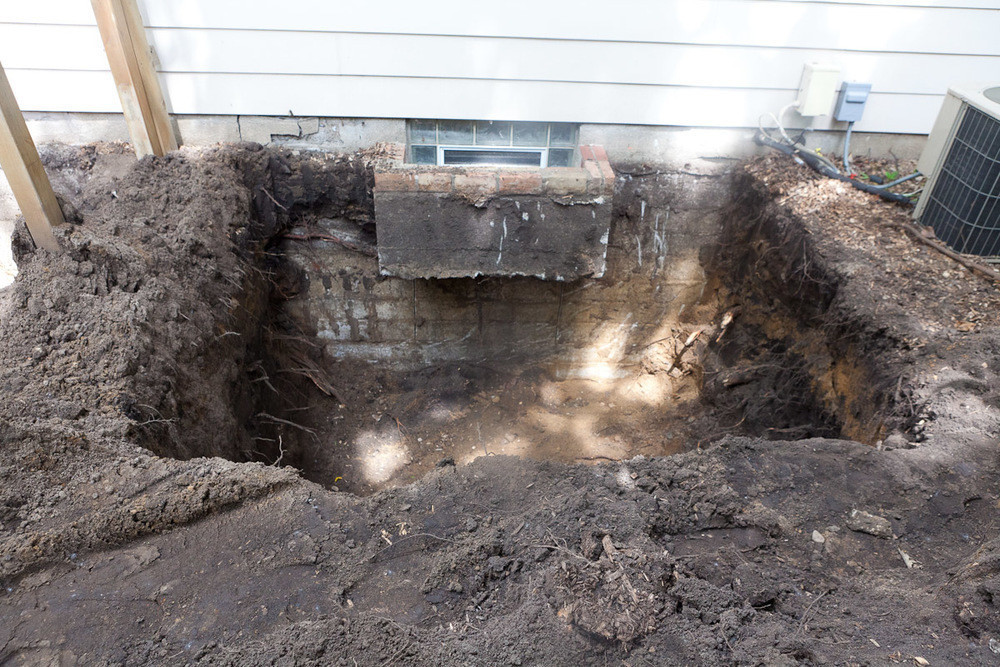
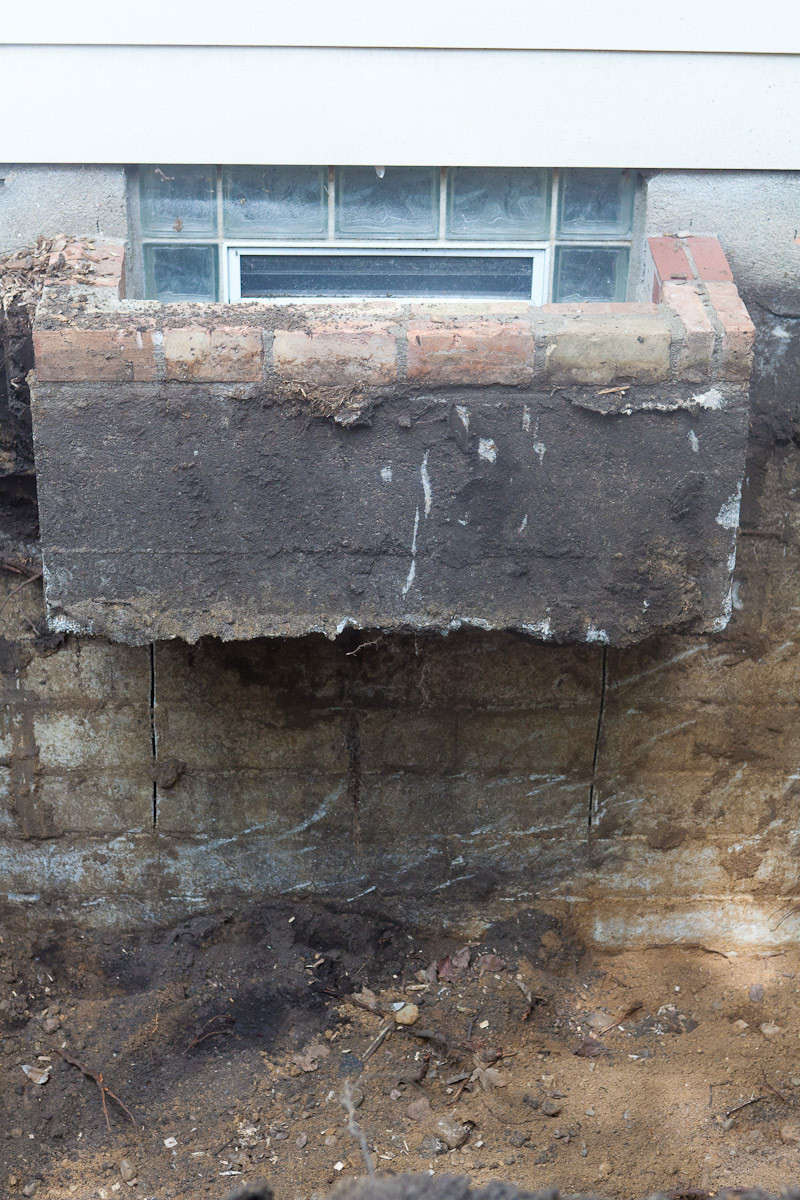
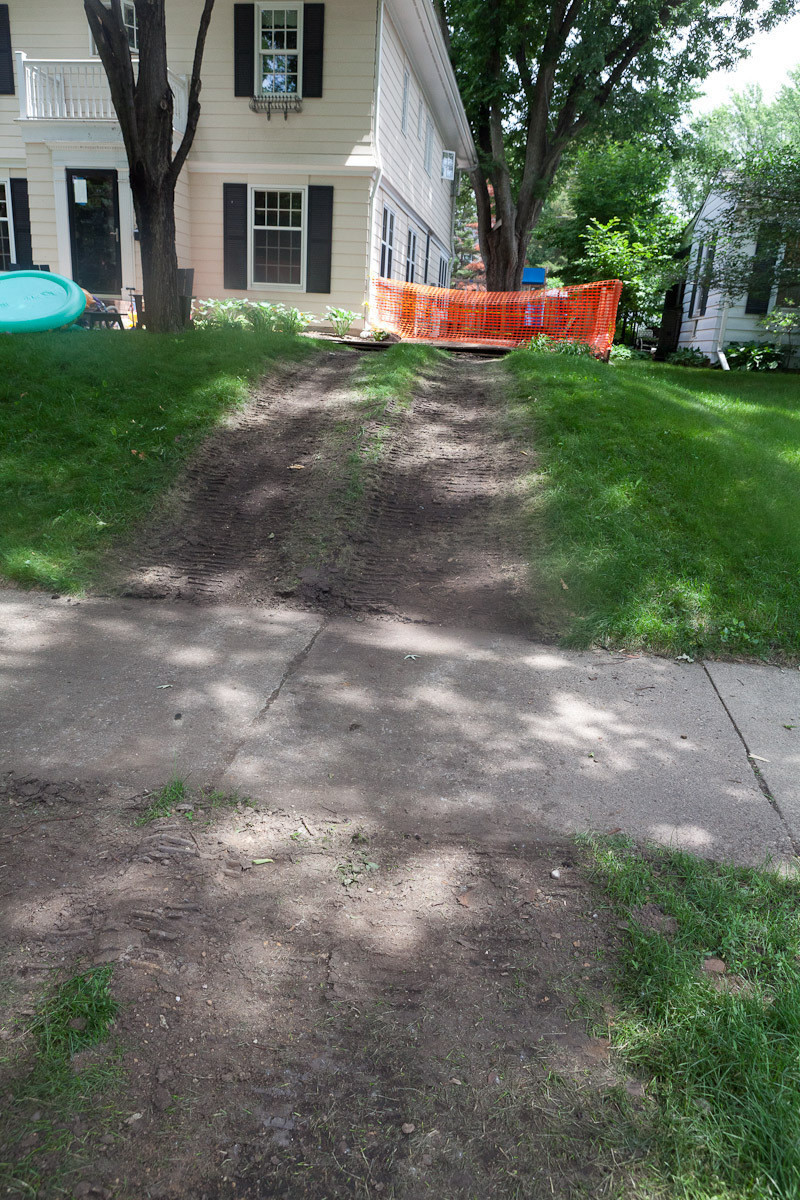
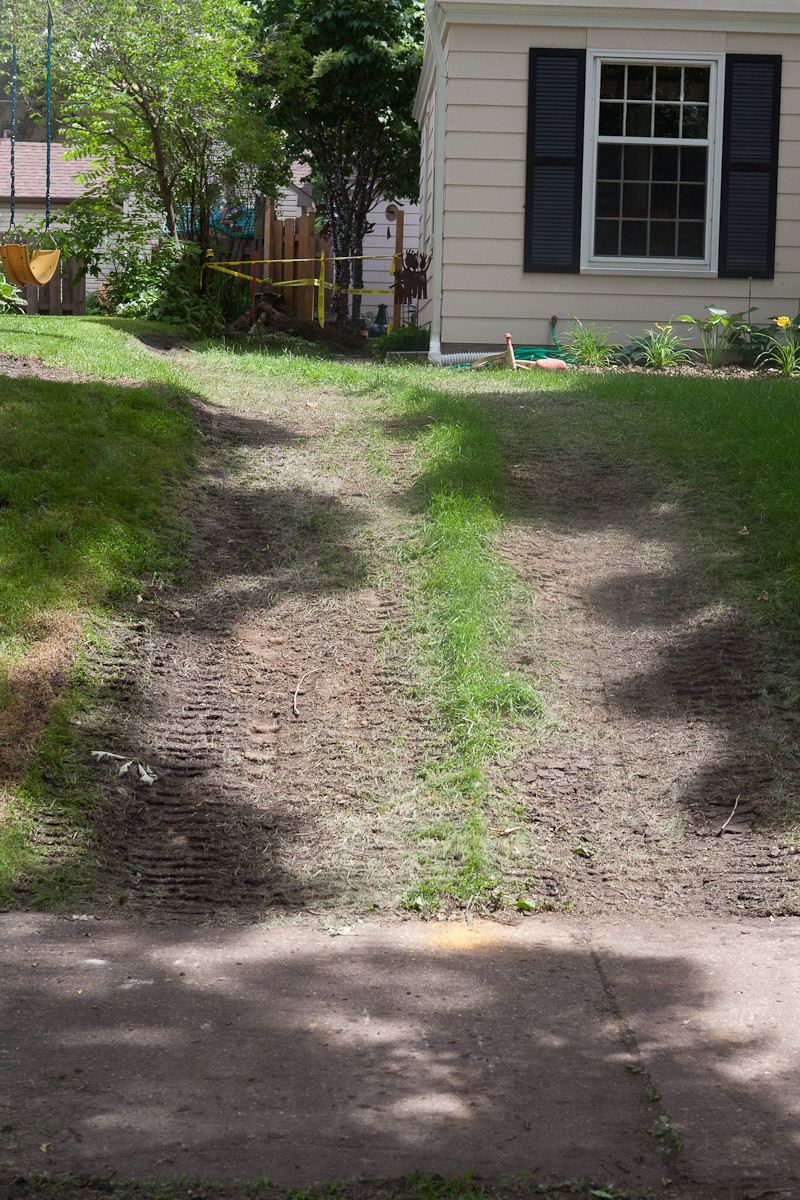
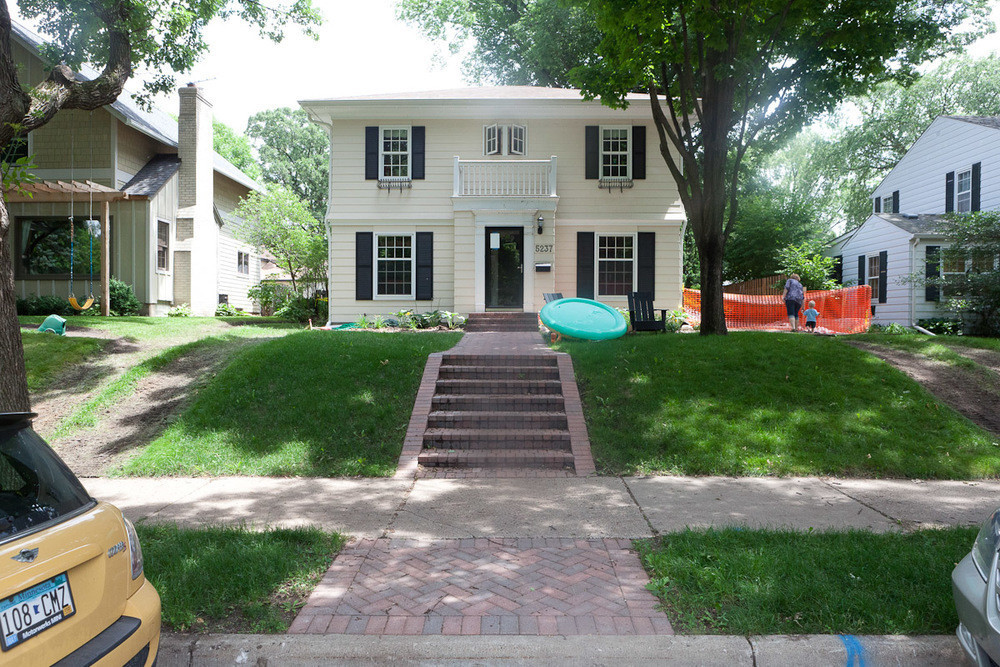
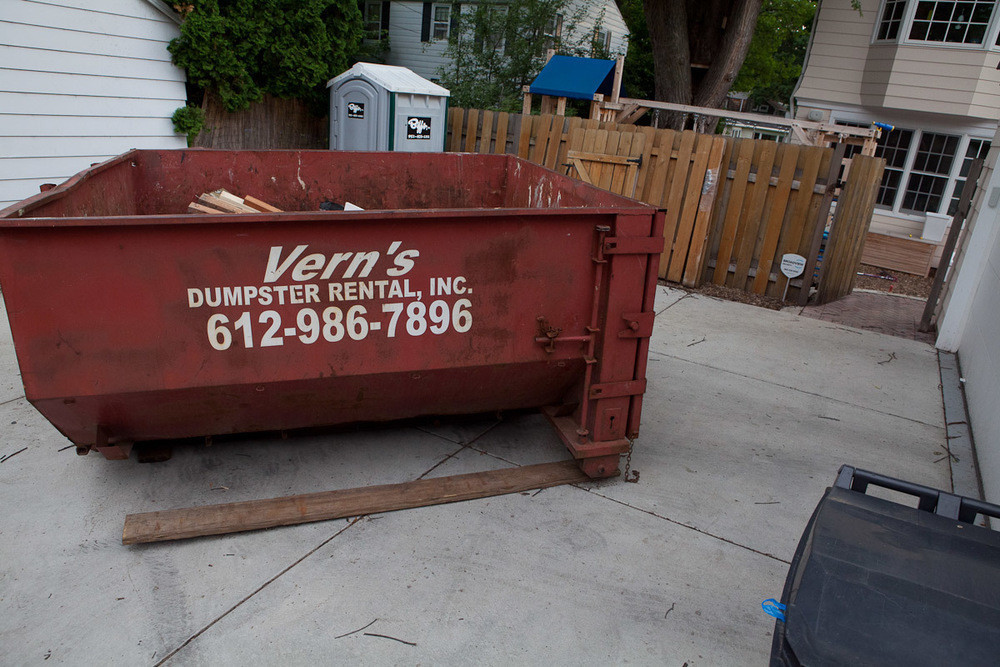
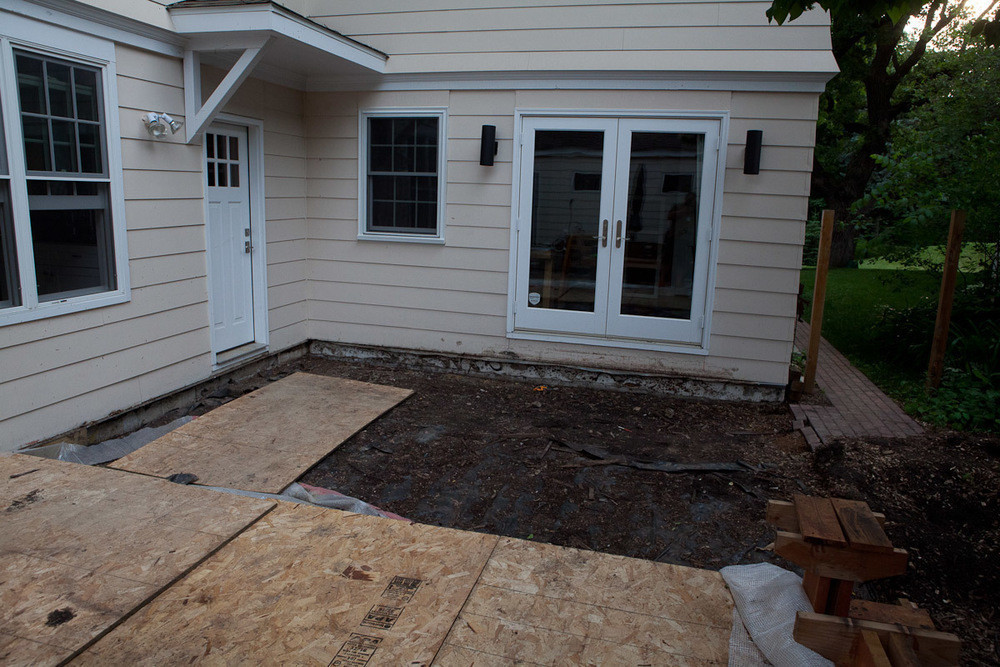
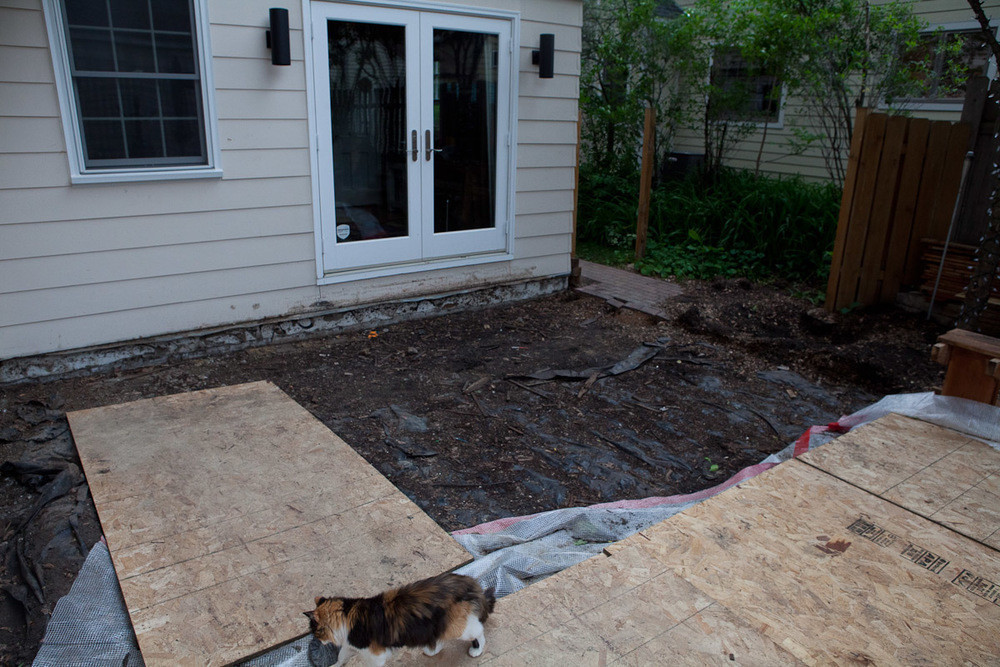
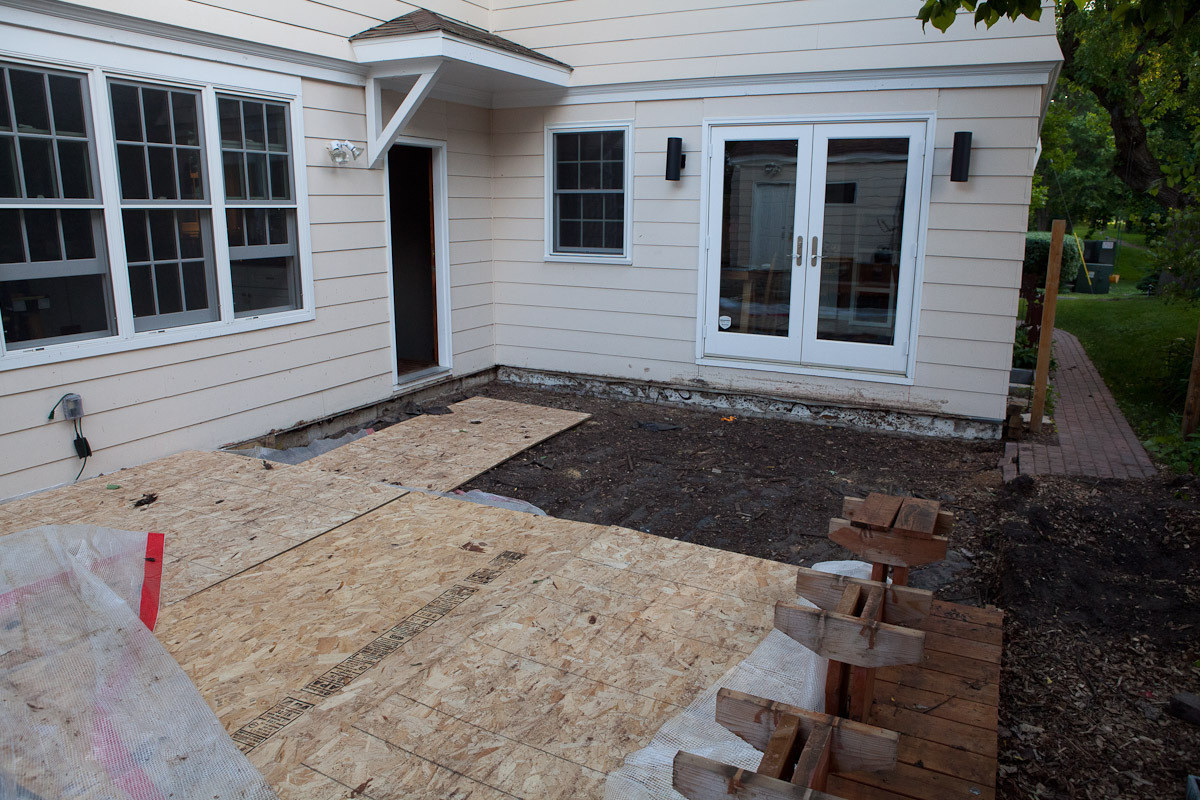
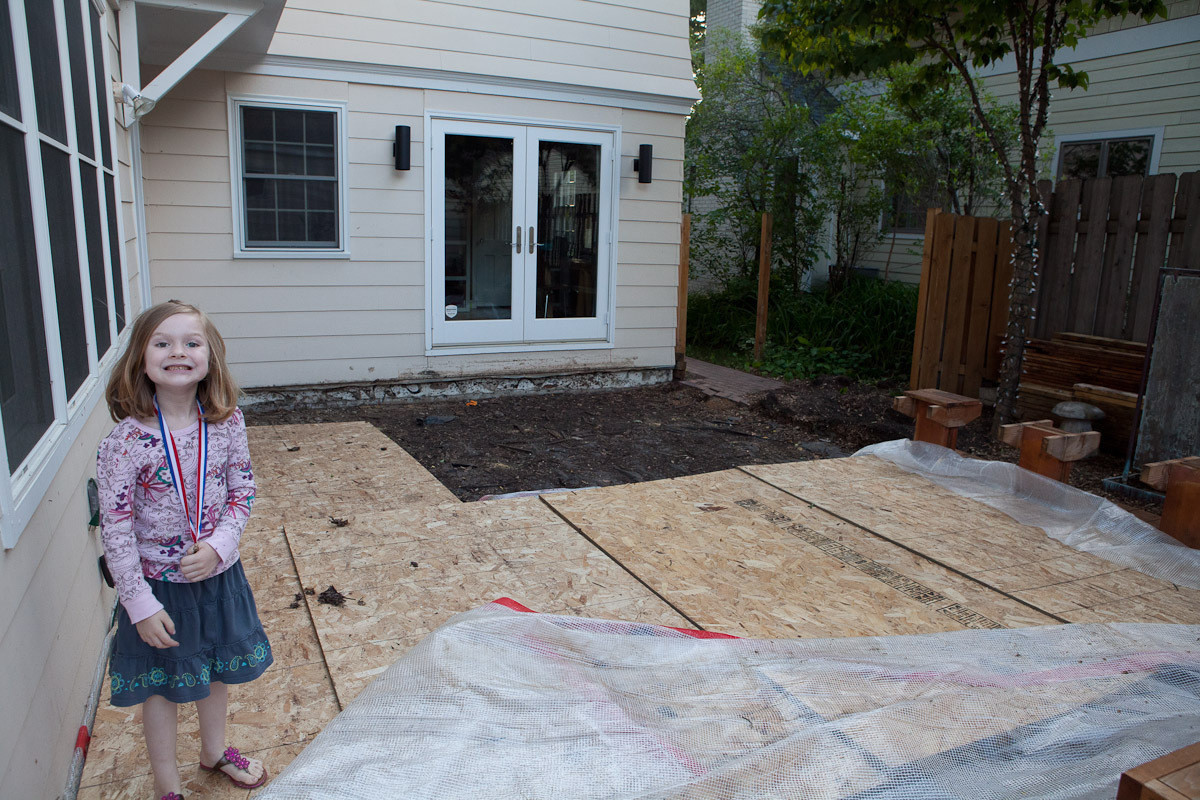
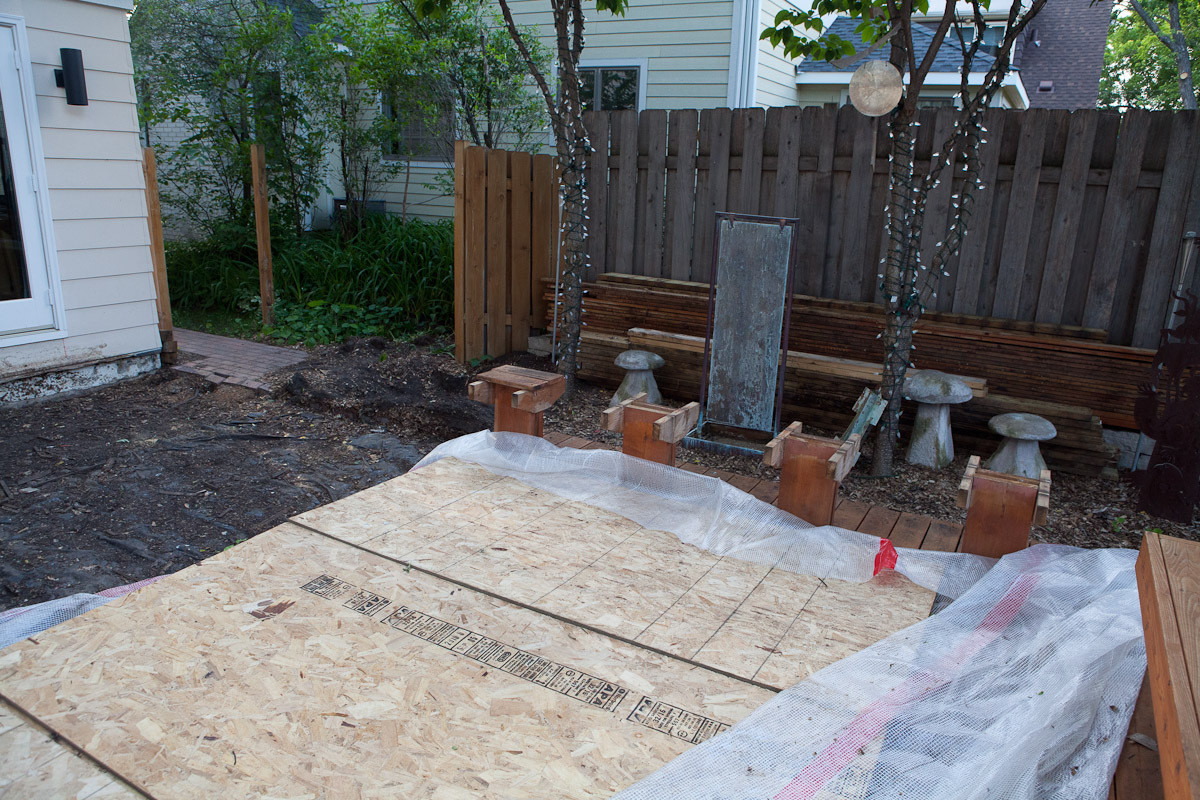
The destruction in the yard slowed in week four and the destruction in the basement accelerated. Outside we got our new egress window wells poured and the dirt around them is mostly filled back in. The foundation for the new mudroom is in place as well. The yard is still a muddy, rutted mess but at least we don’t have six-foot deep holes that people can fall in. I also can now take the lawnmower from the garage to the front of the house without walking through the alley and around the block on the sidewalk. It’s the little things!
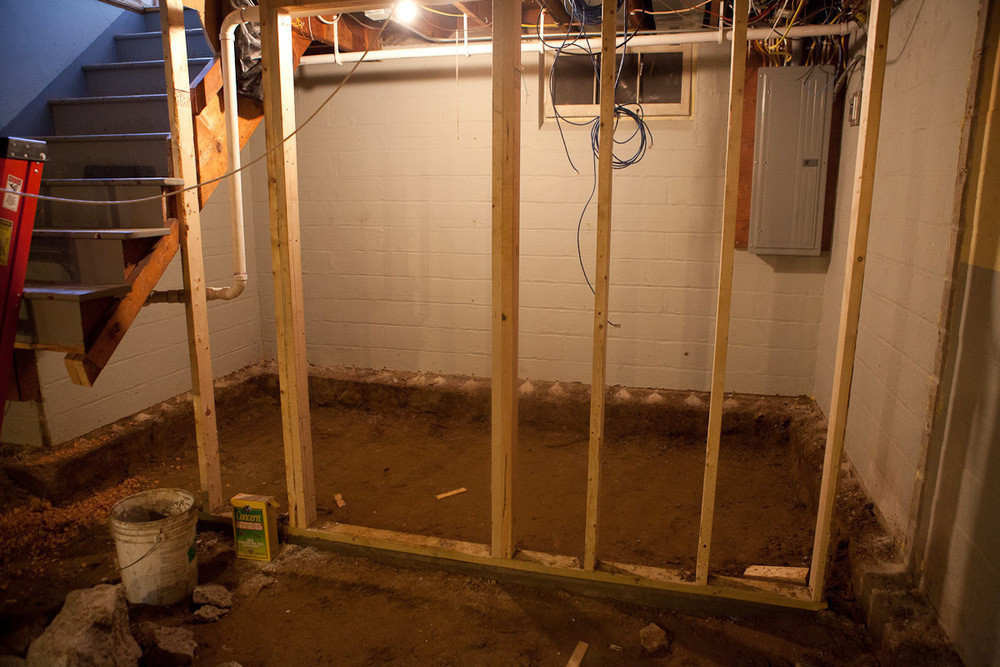
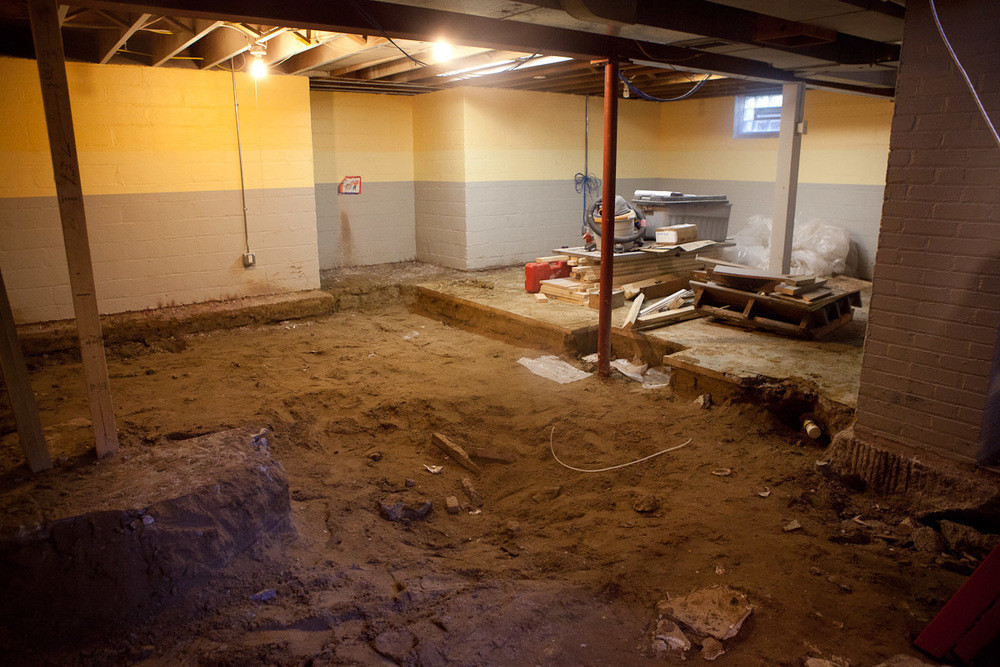
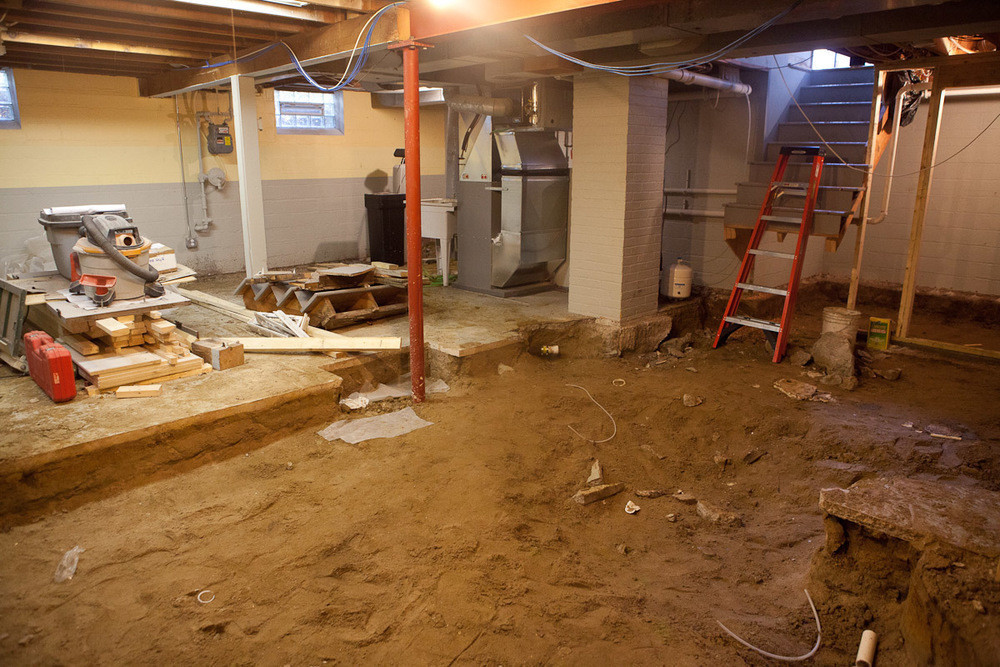
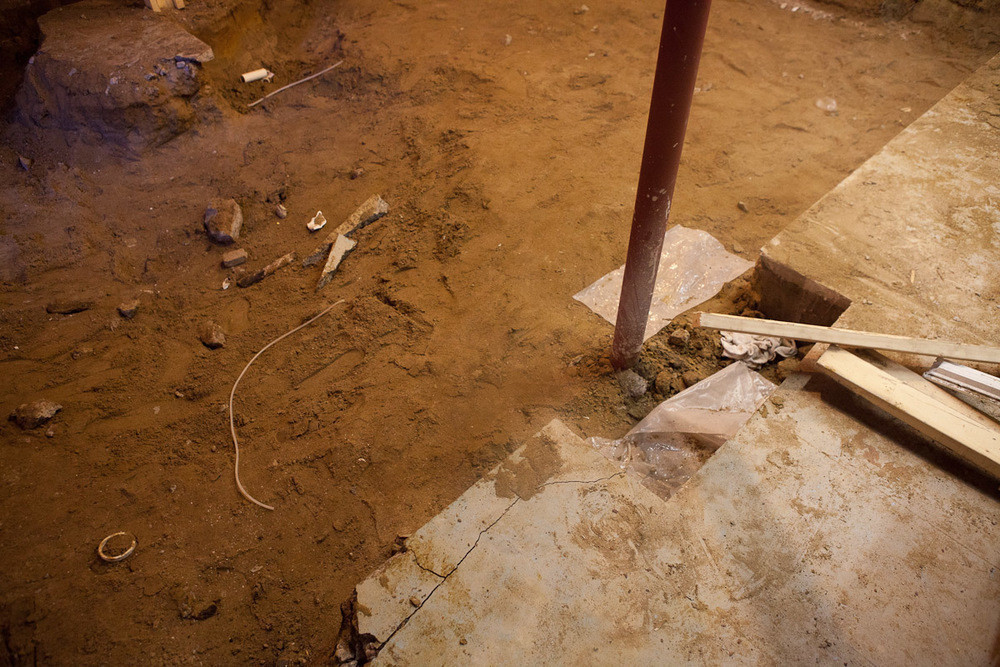
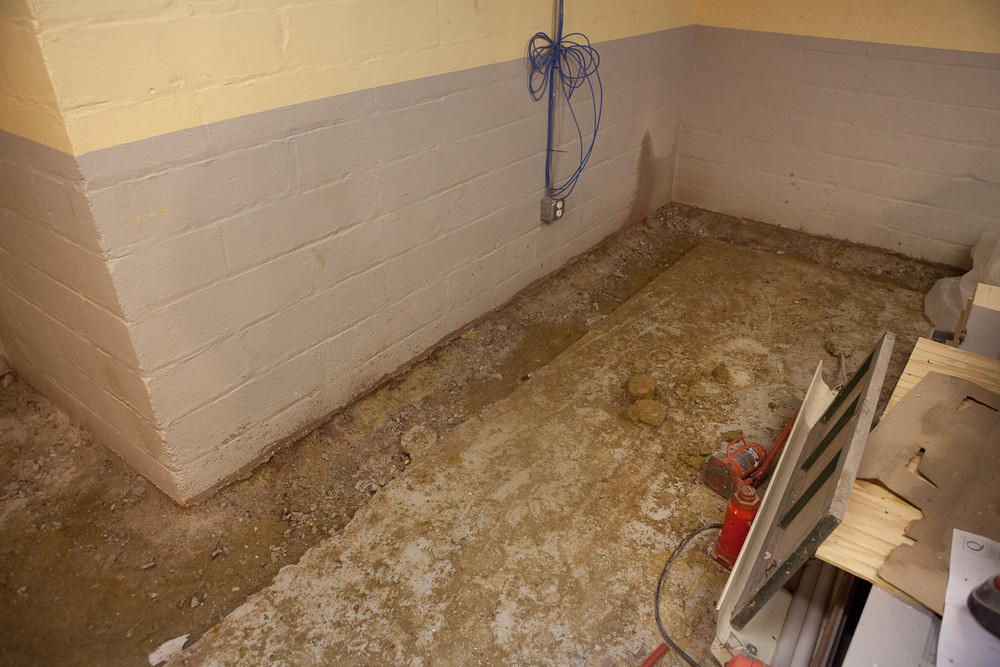
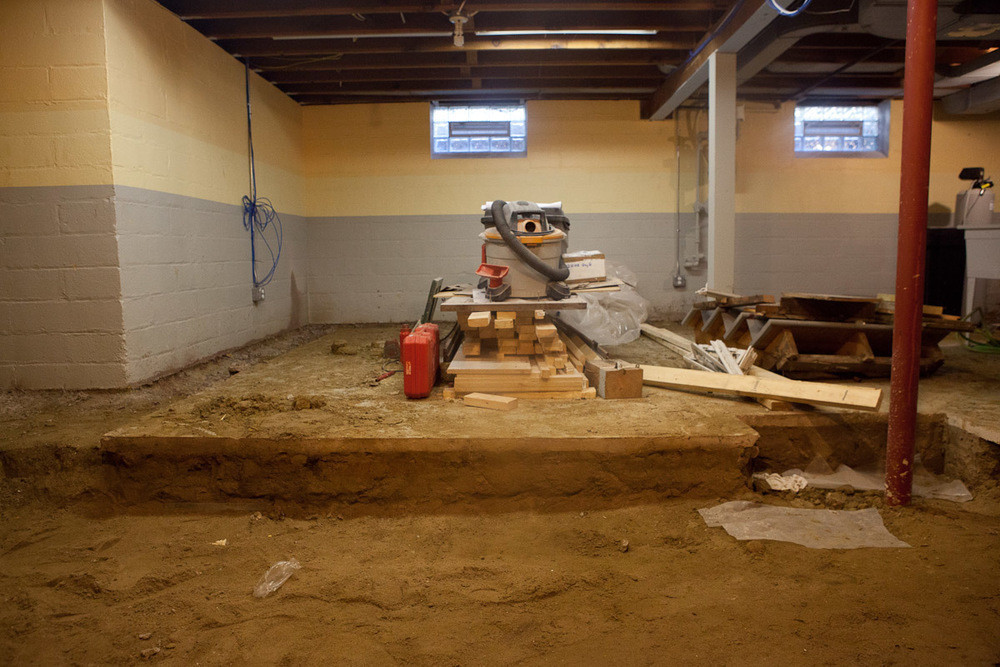
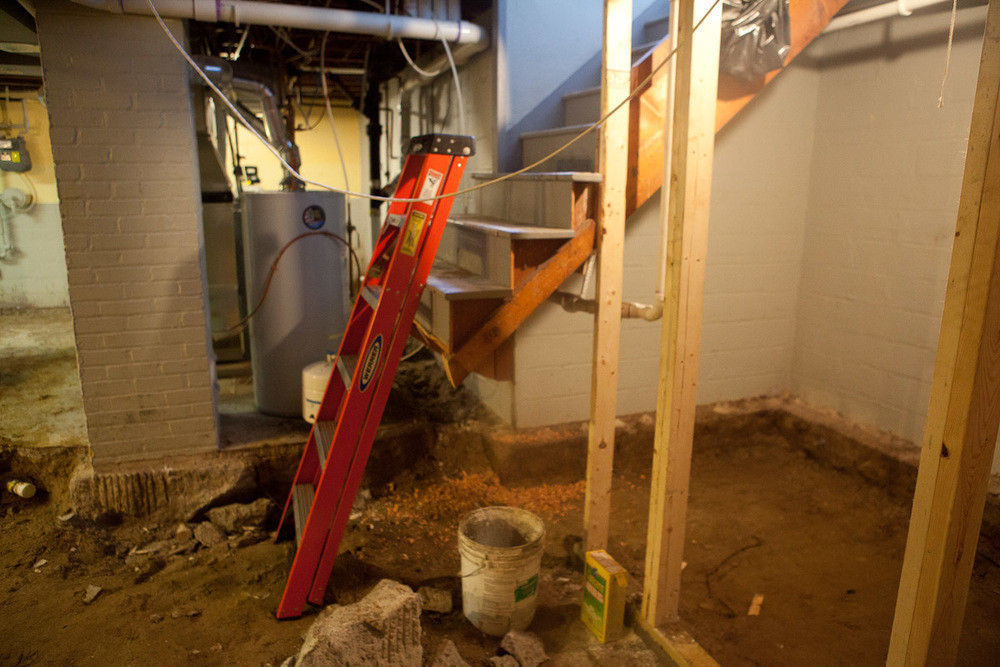
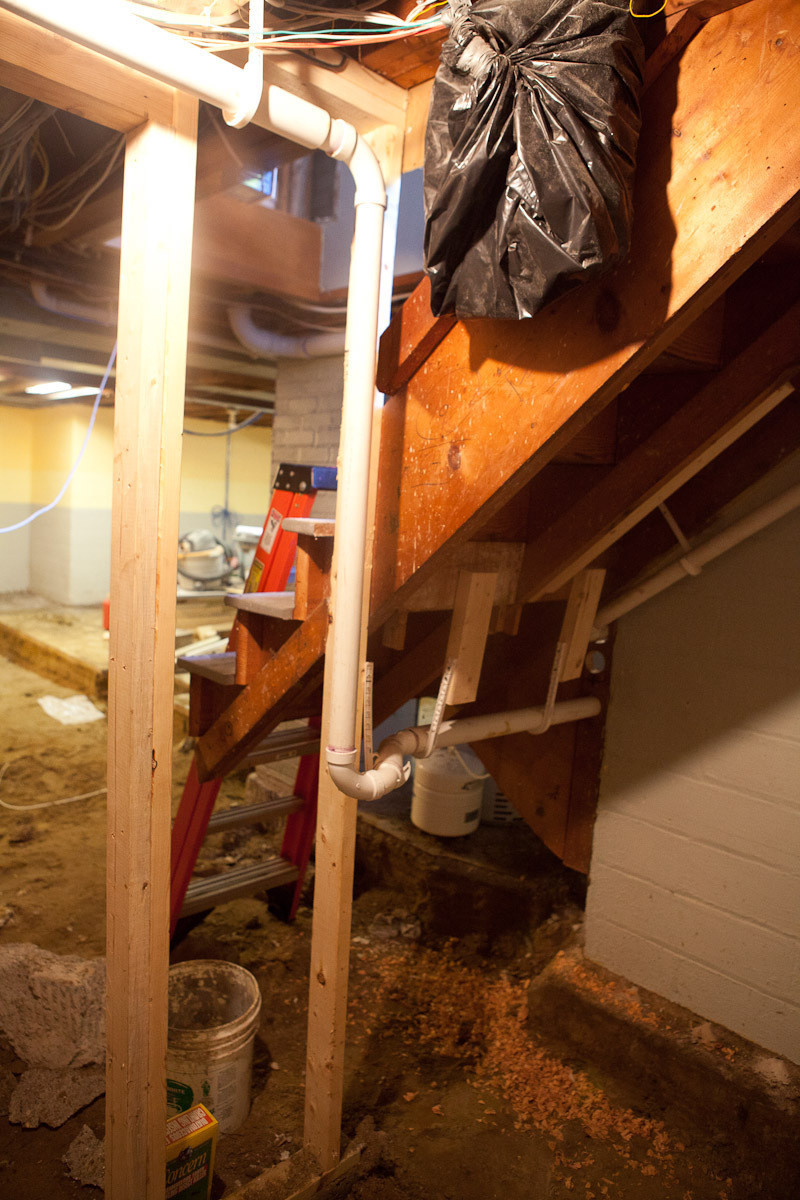
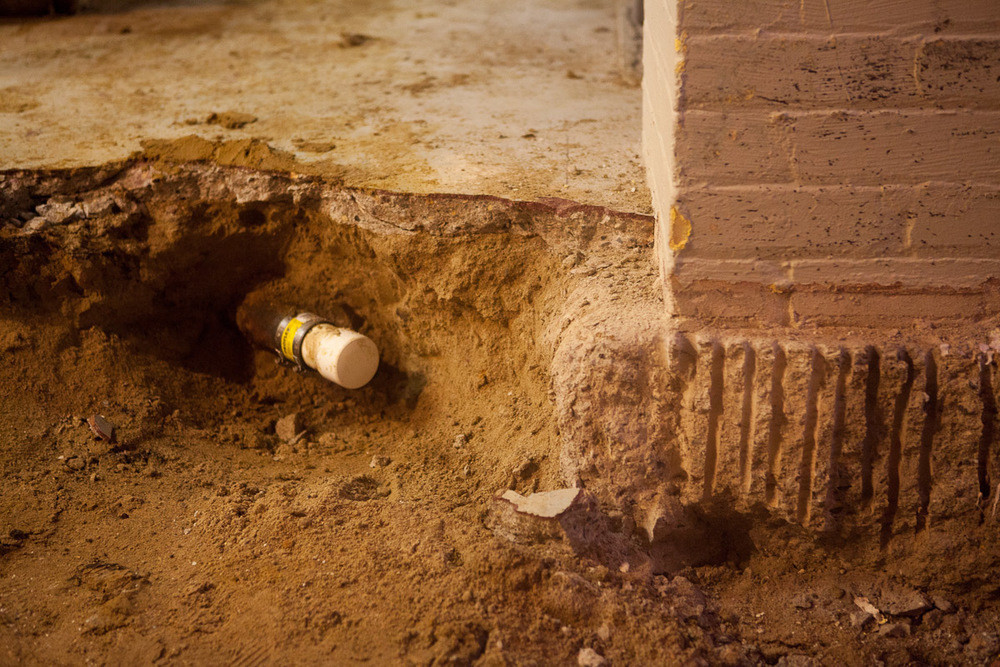
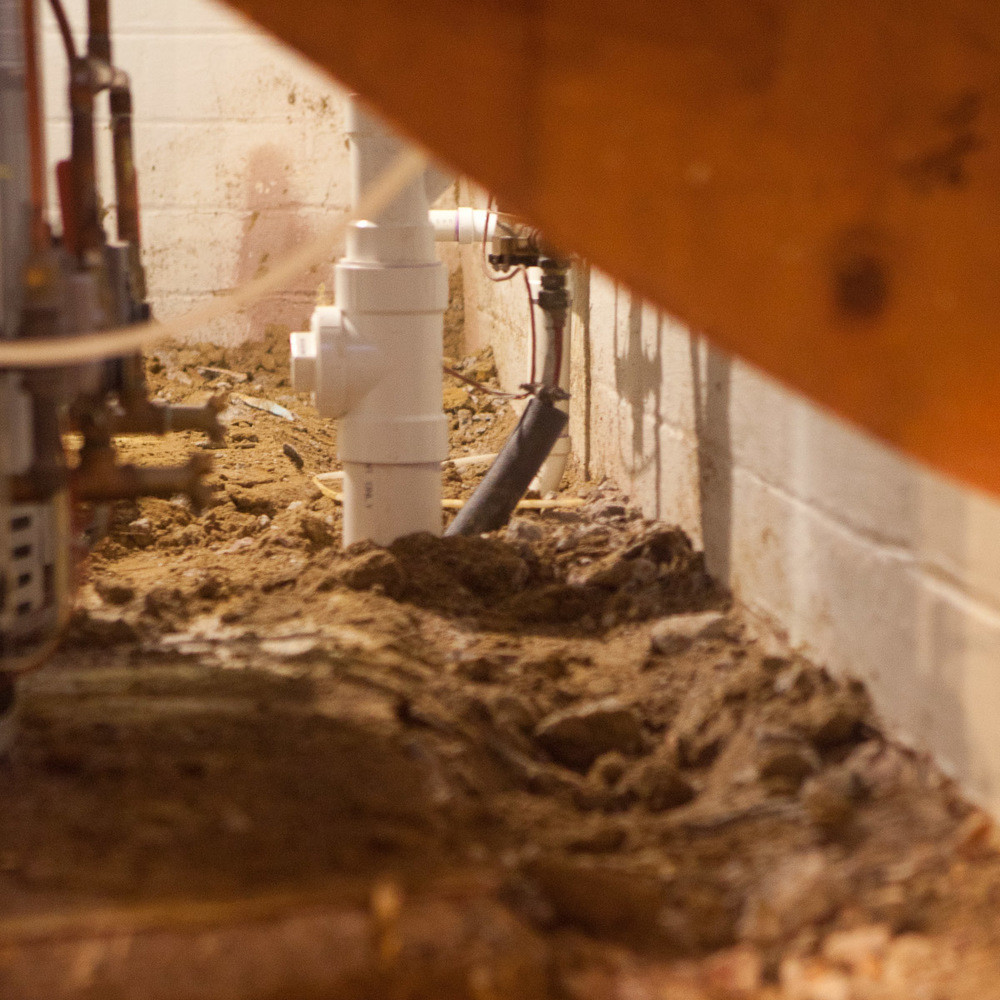
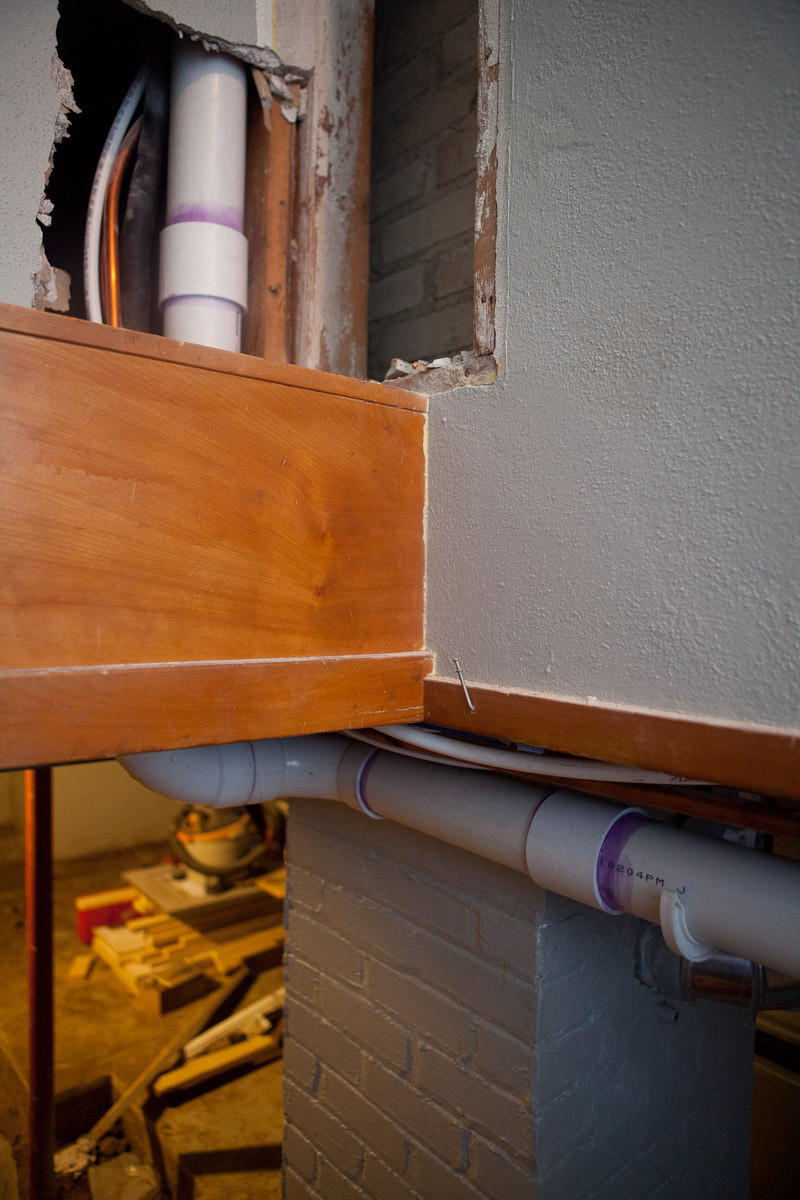
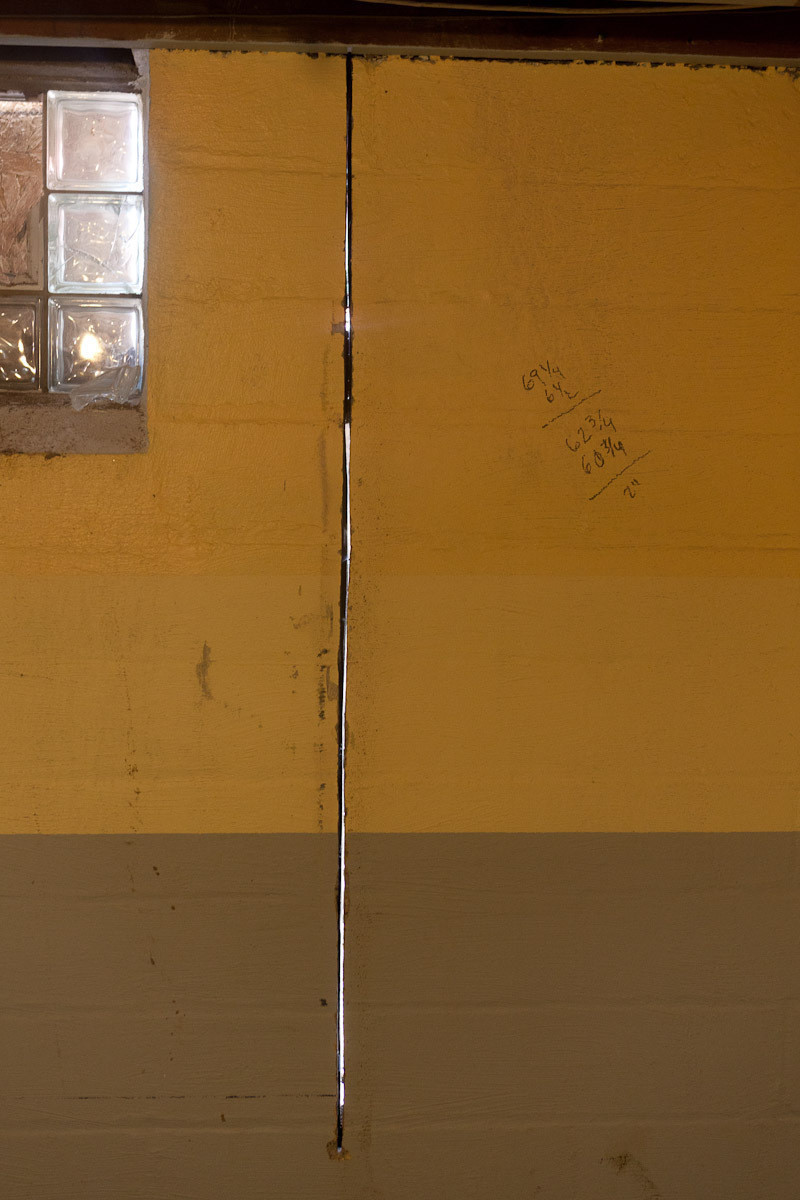
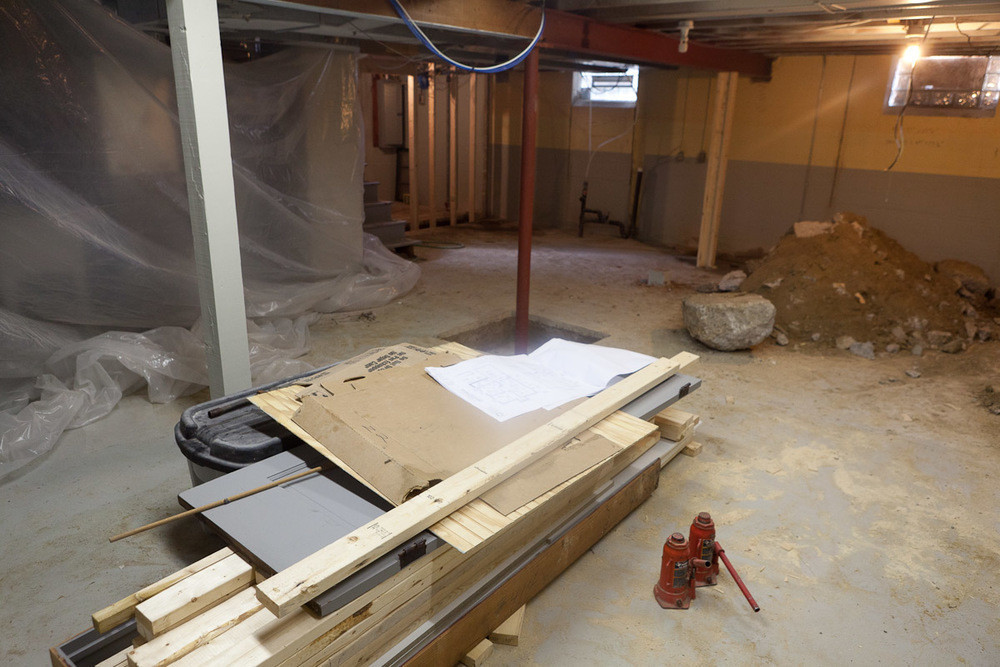
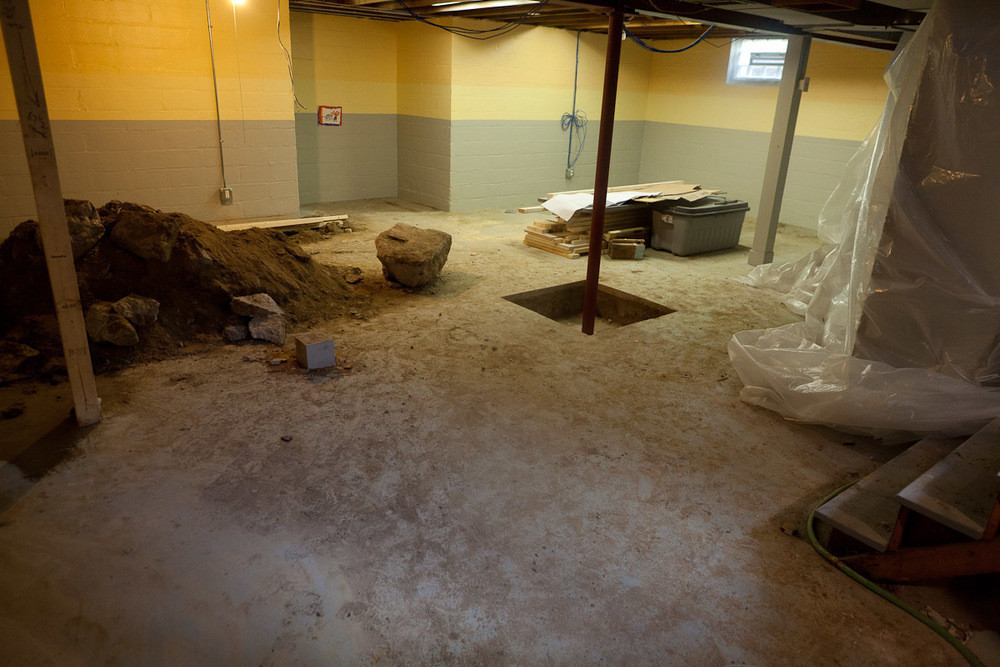
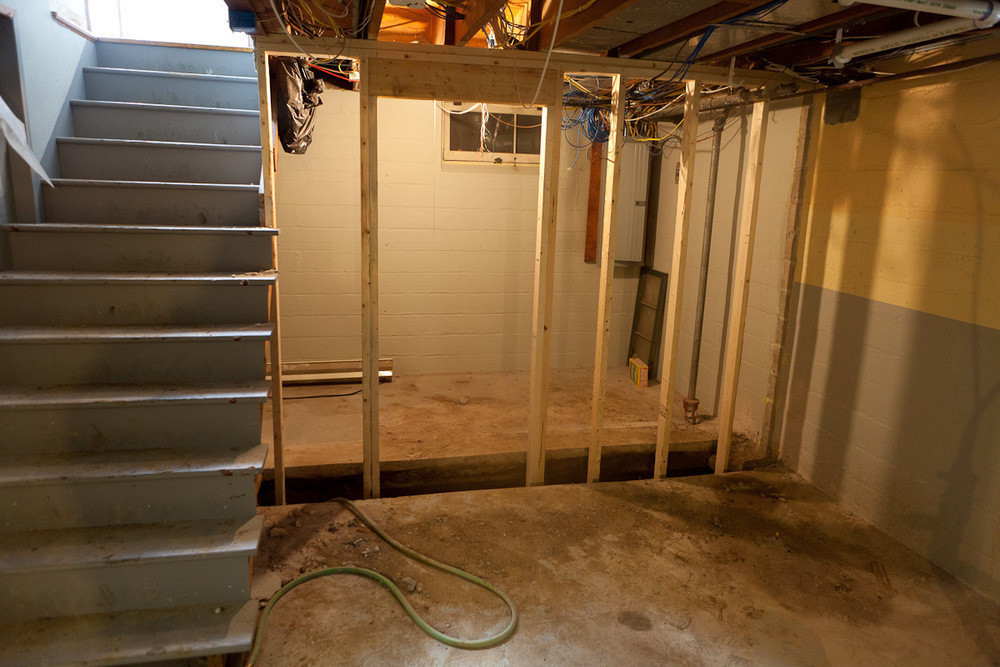
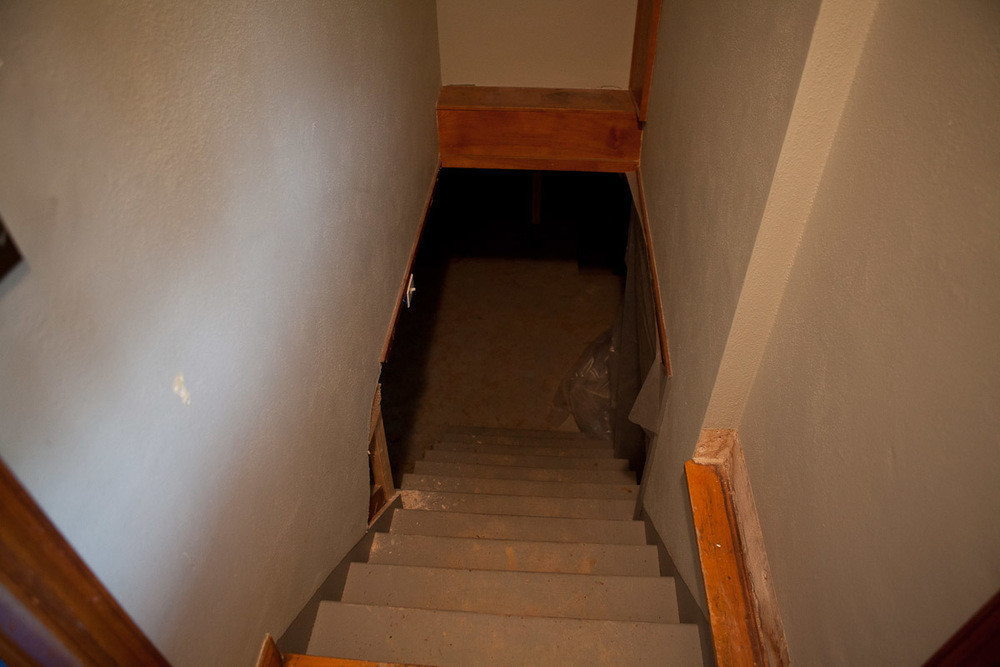
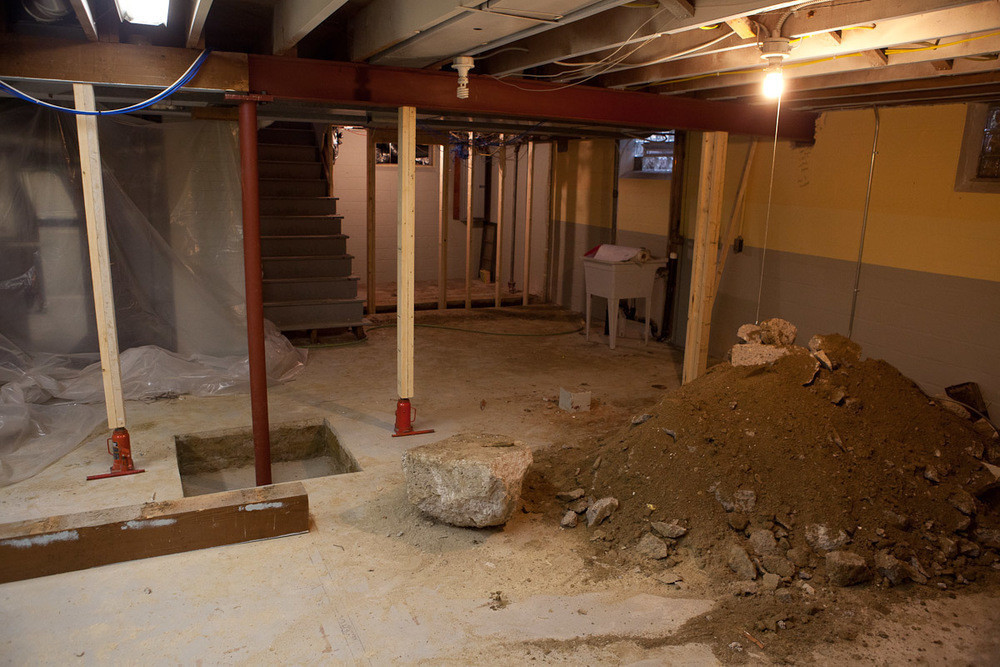
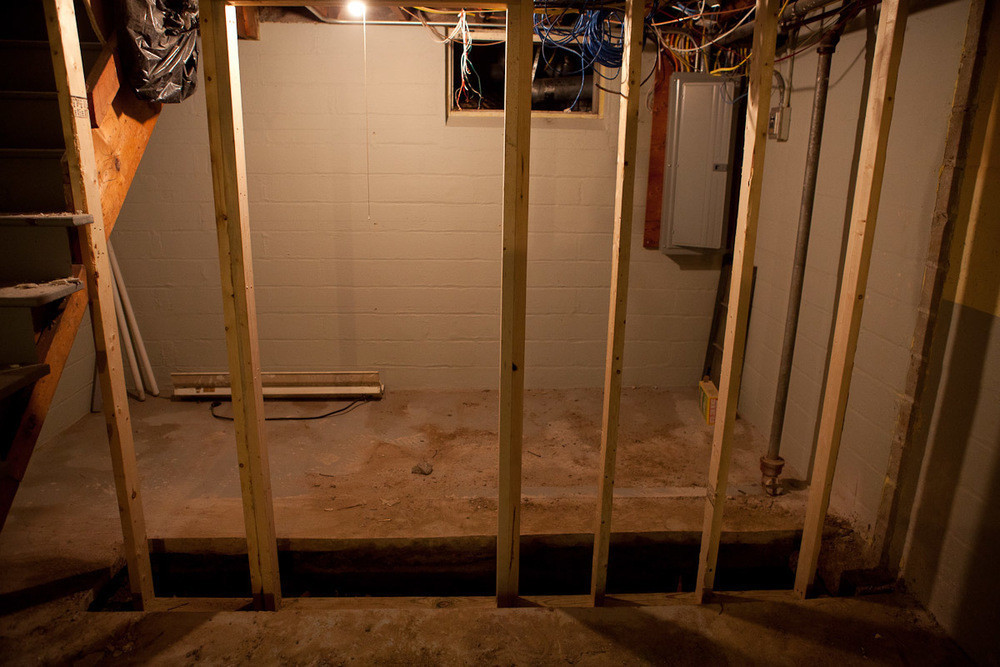
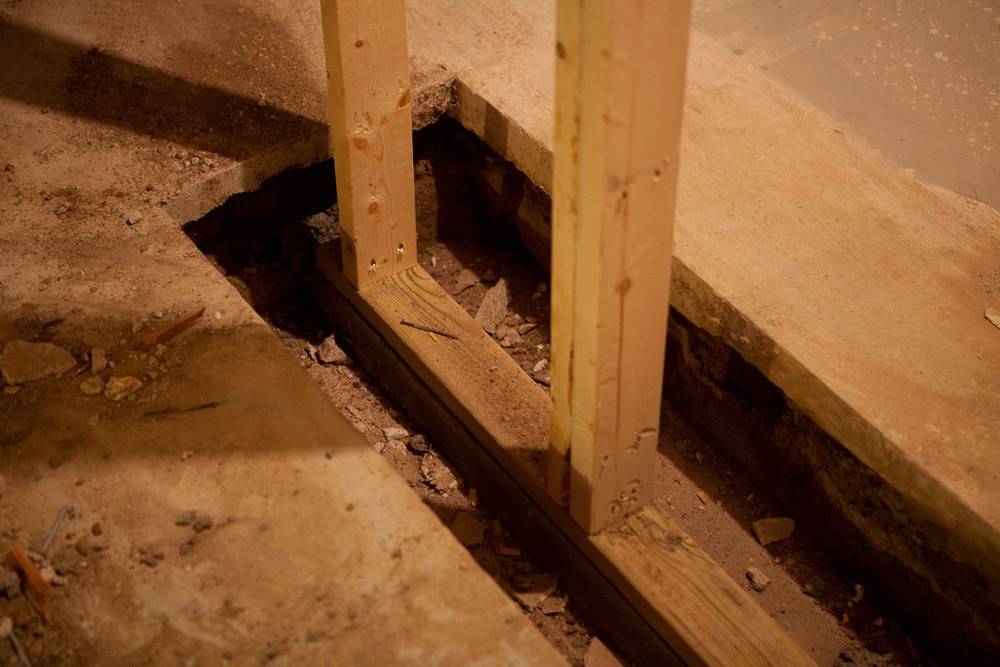
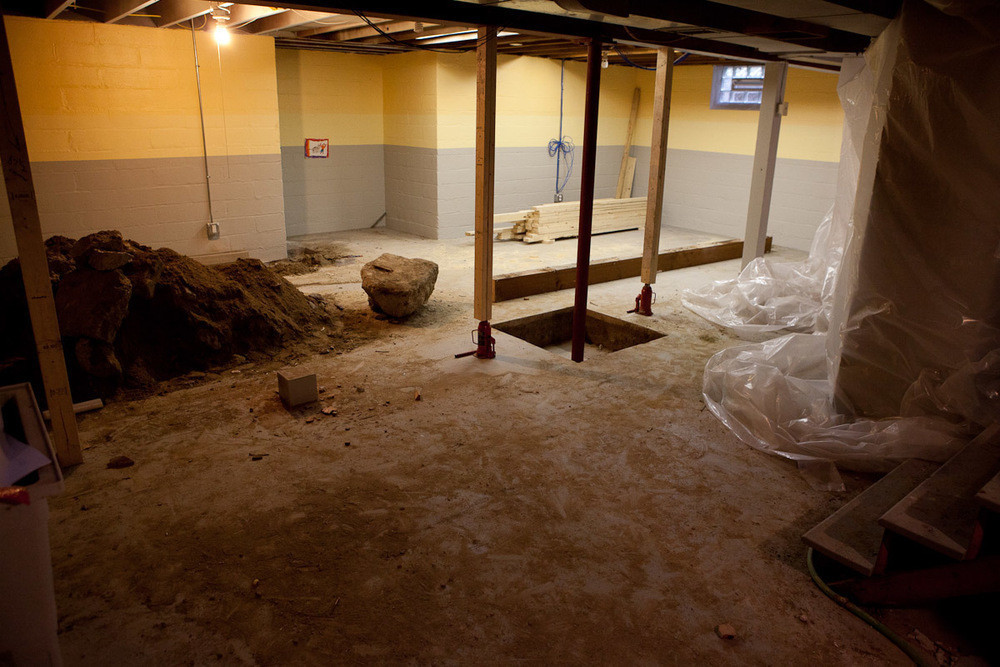
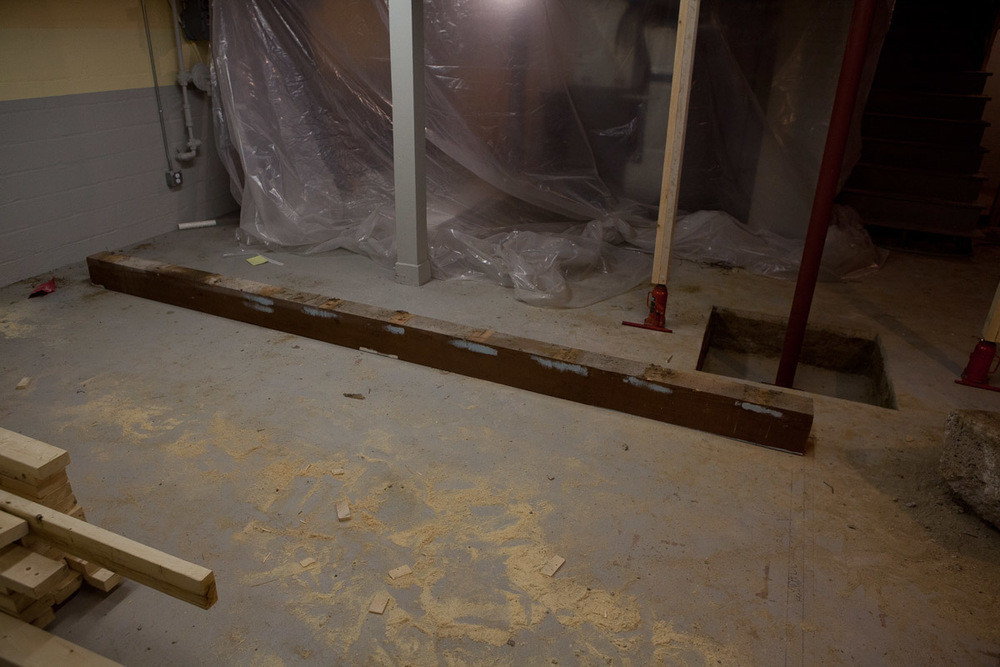
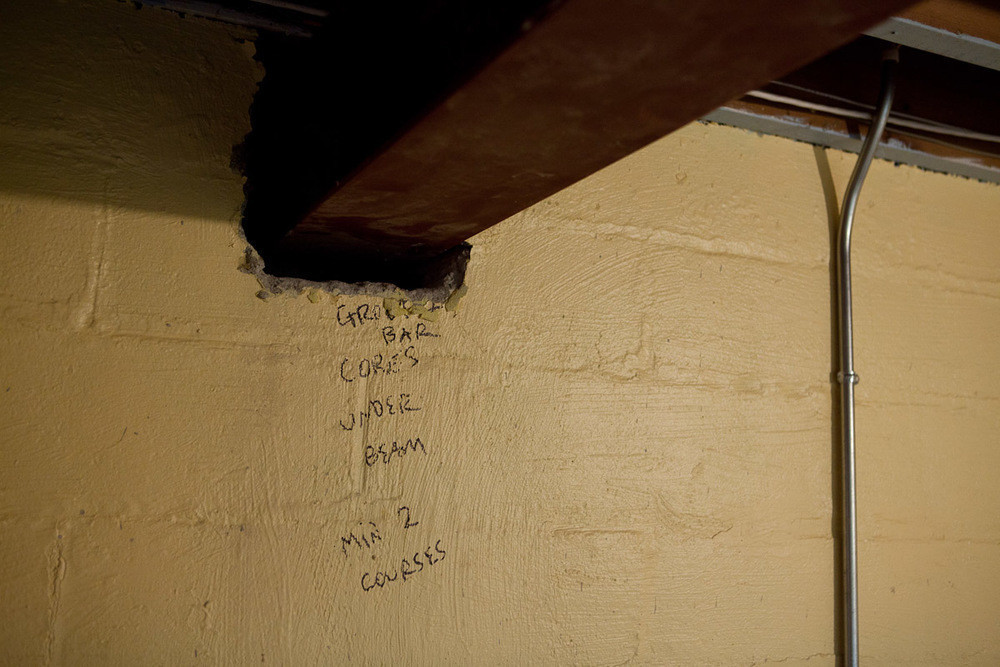
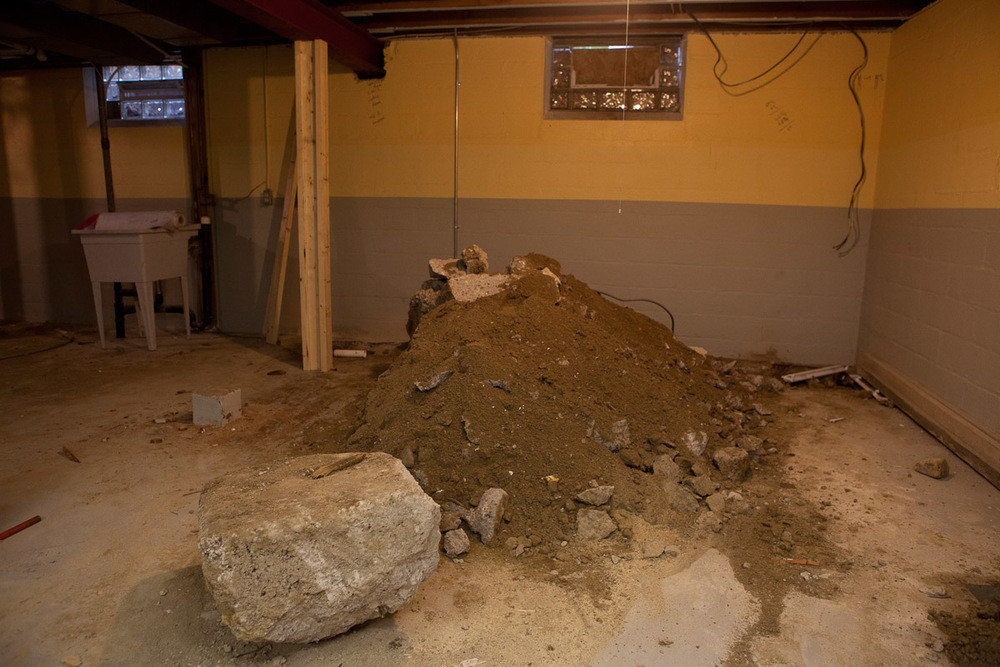
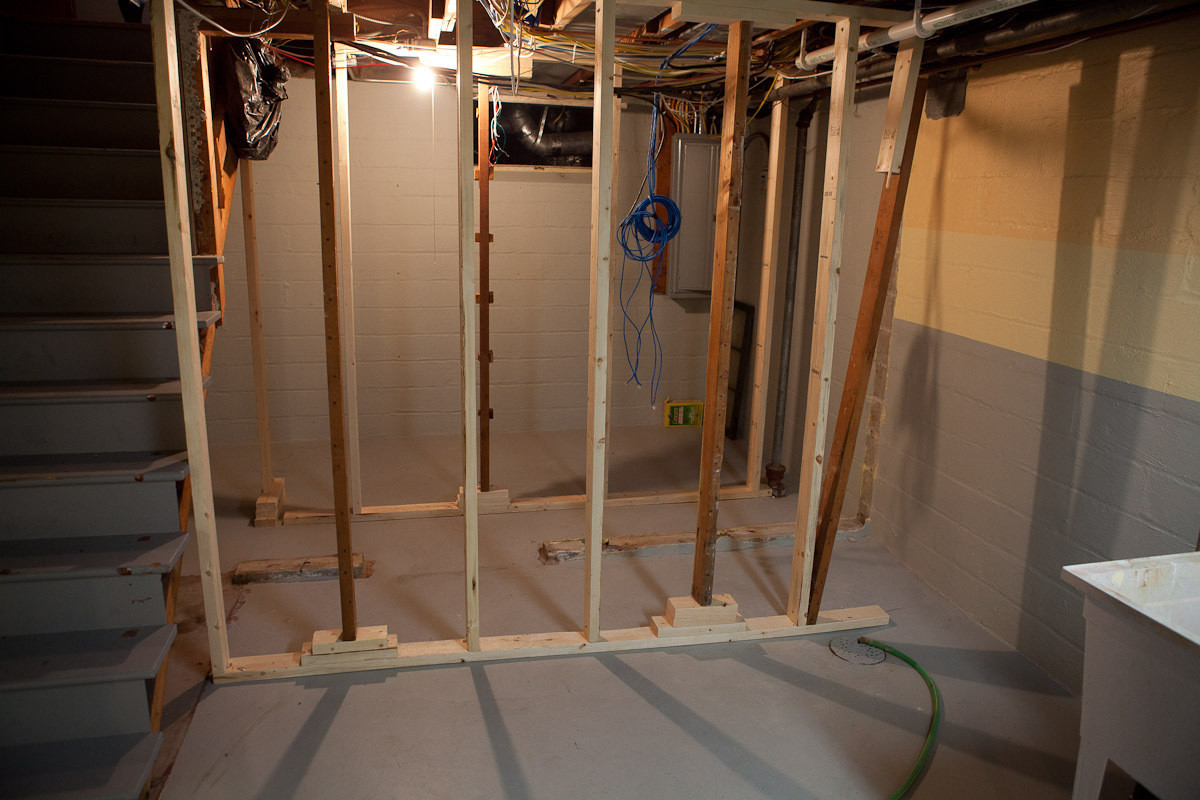
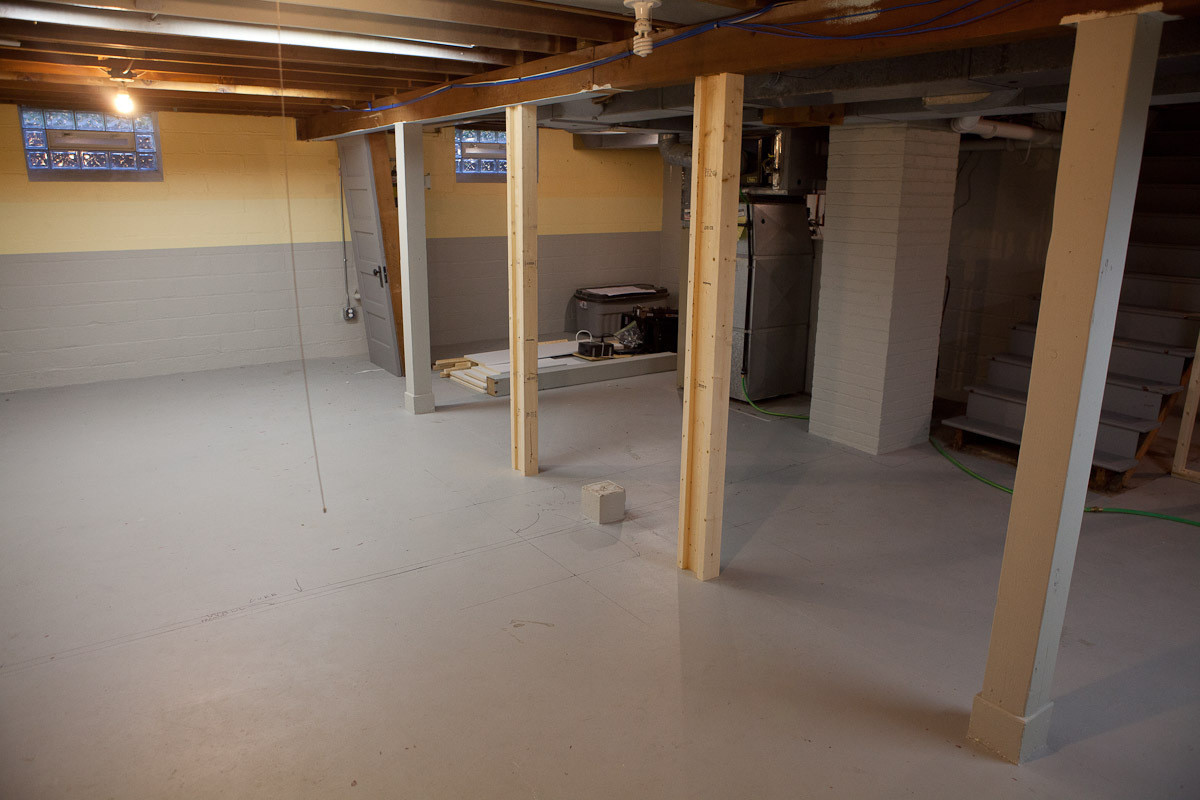
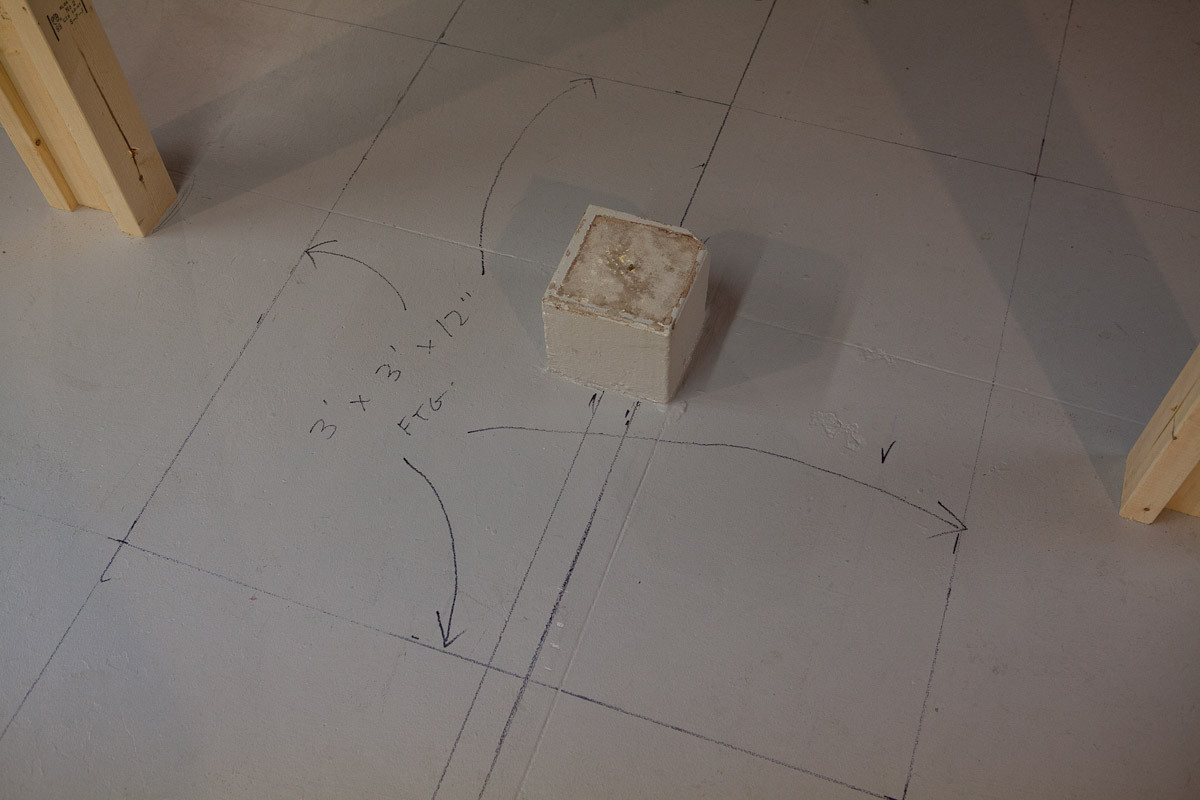
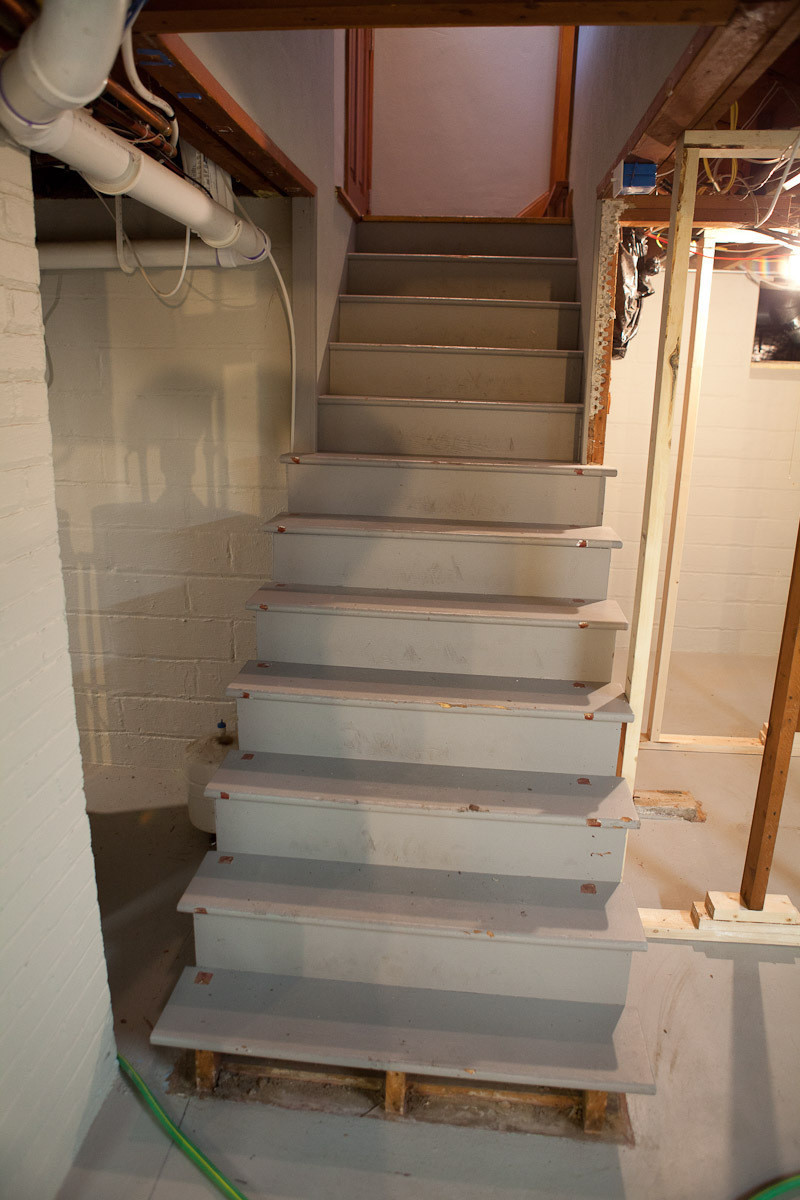
The basement is a disaster zone however. The stairs got cut off half way down. I put a ladder at the end so I could get down and take pictures. The half of the floor being lowered has been broken up, hauled out and the dirt dug down. The half that isn’t being lowered has been cut out for the drain tile installation around the basement wall. The plumbers were here for two days rerouting plumbing to accommodate the various changes.
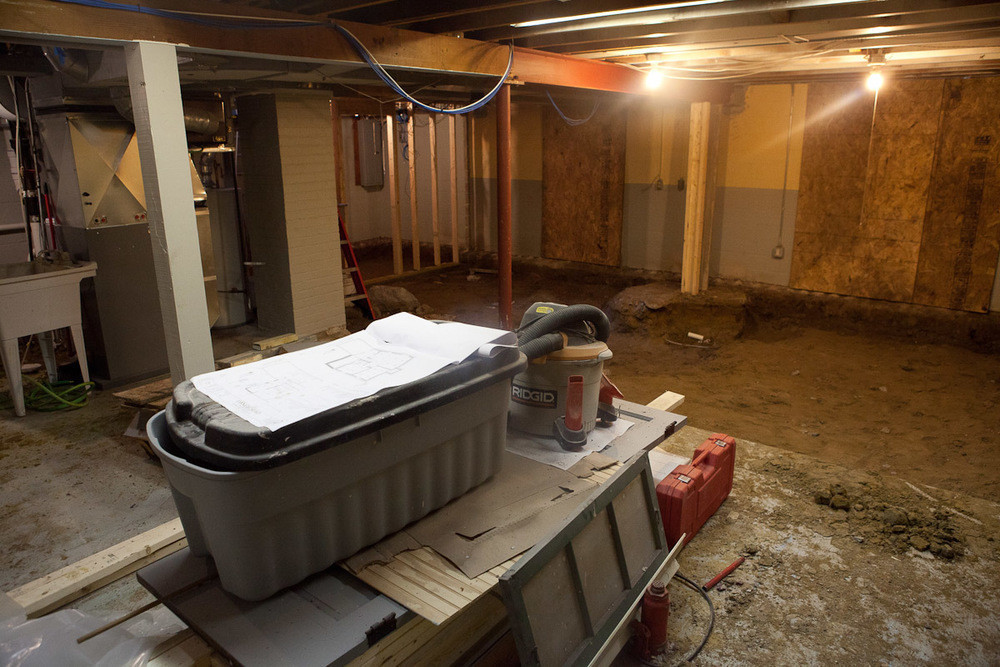
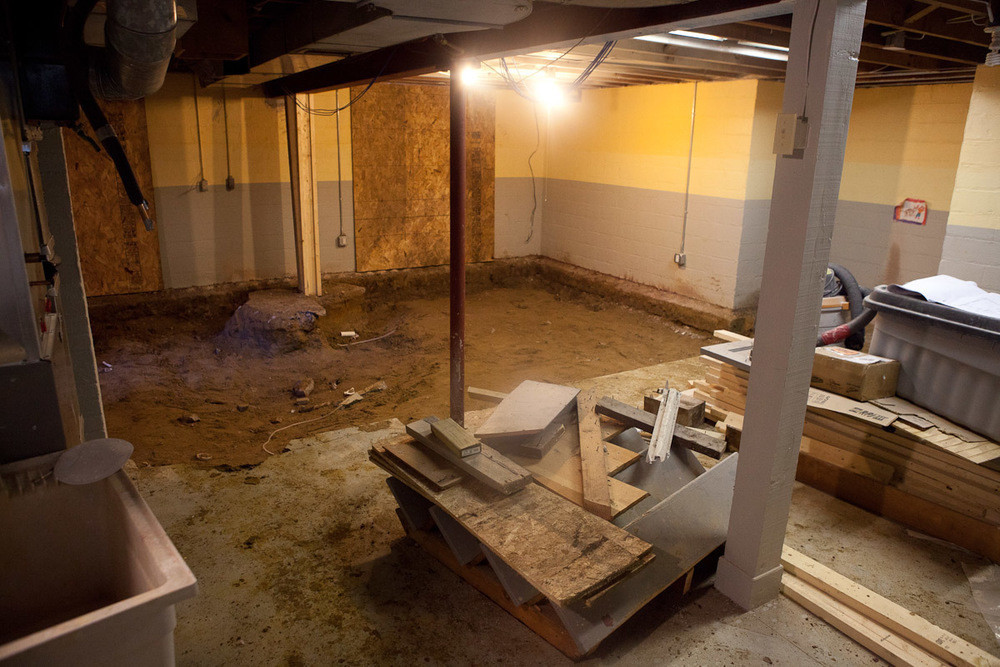
Next week framing starts and the new floor in the basement gets poured. I’m thinking this is maybe the ugliest it will look. 😀


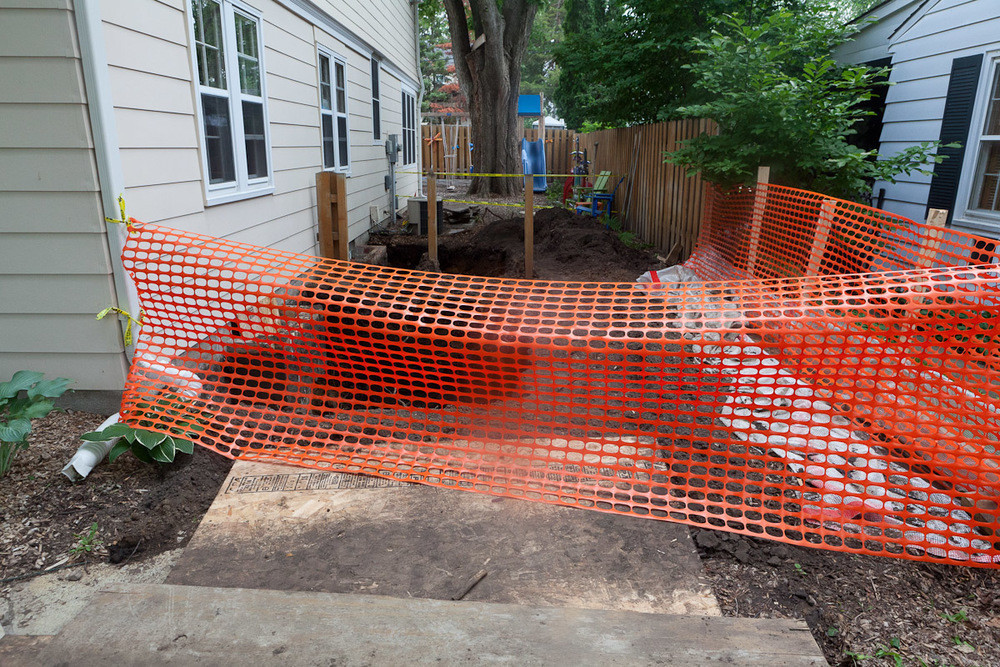
Remodel Update Week 3
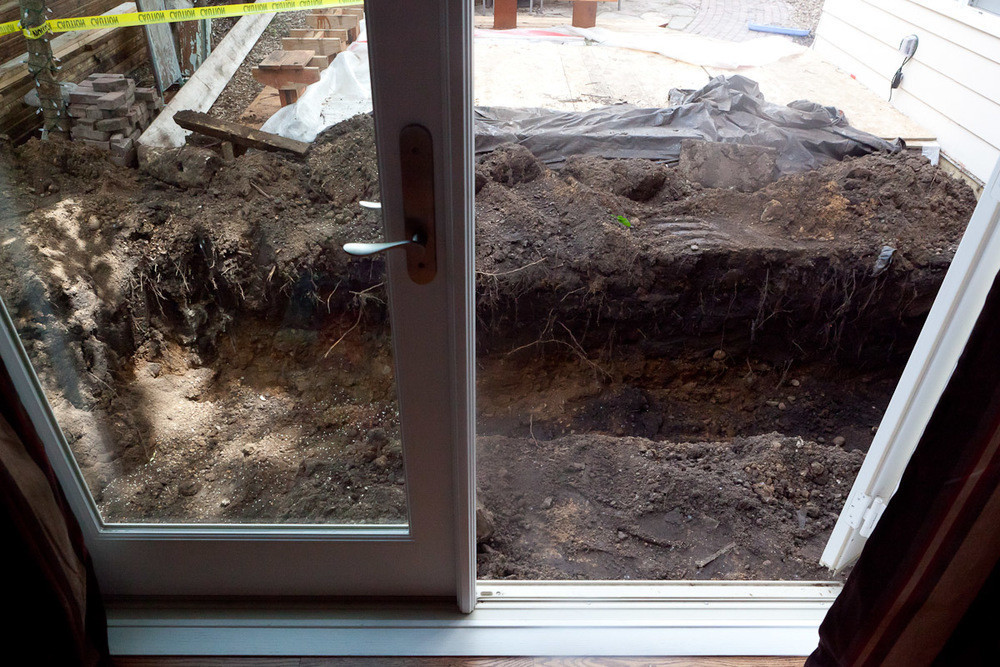
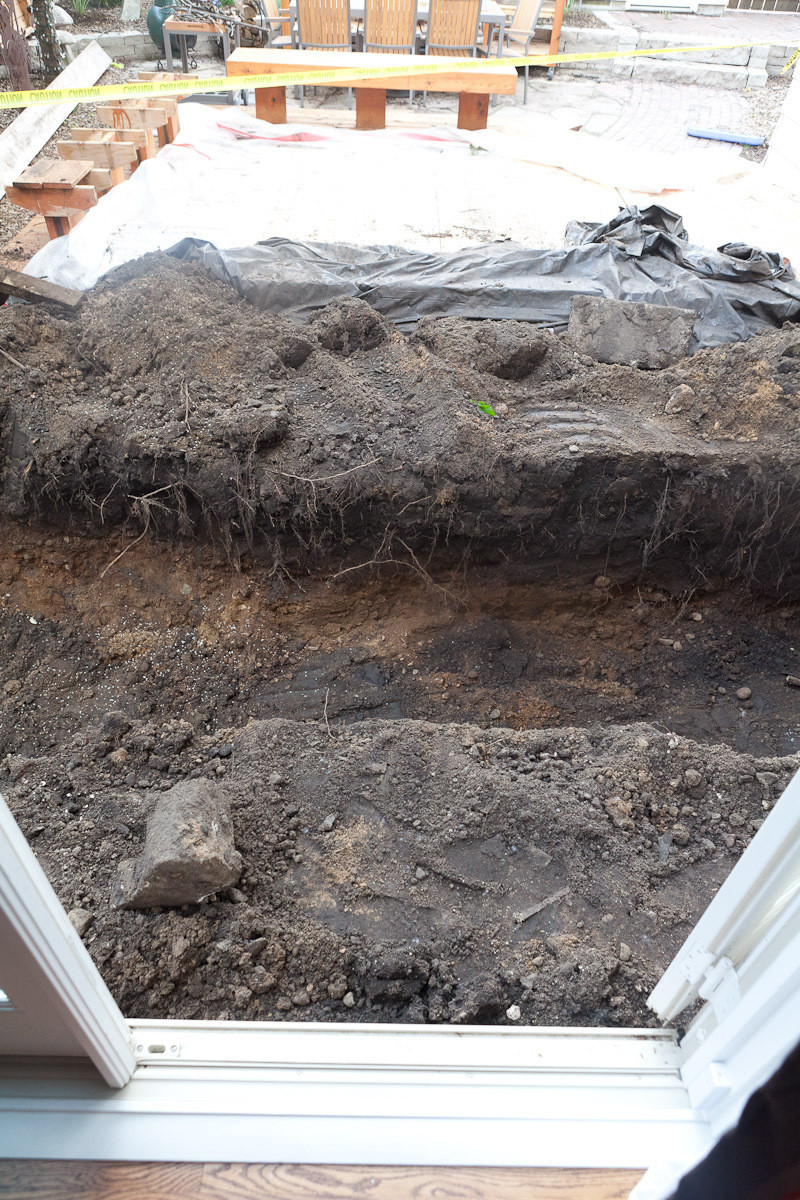
Week three of the remodel project has been substantial. Arriving home to heavy equipment in the yard is the first clue. Most of this weeks pictures are large holes dug around our house. It’s proven to be a big inconvenience as we cannot walk from the front yard to the backyard easily now. This leaves Chase incredibly confused about where he’s supposed to do his business in the yard.
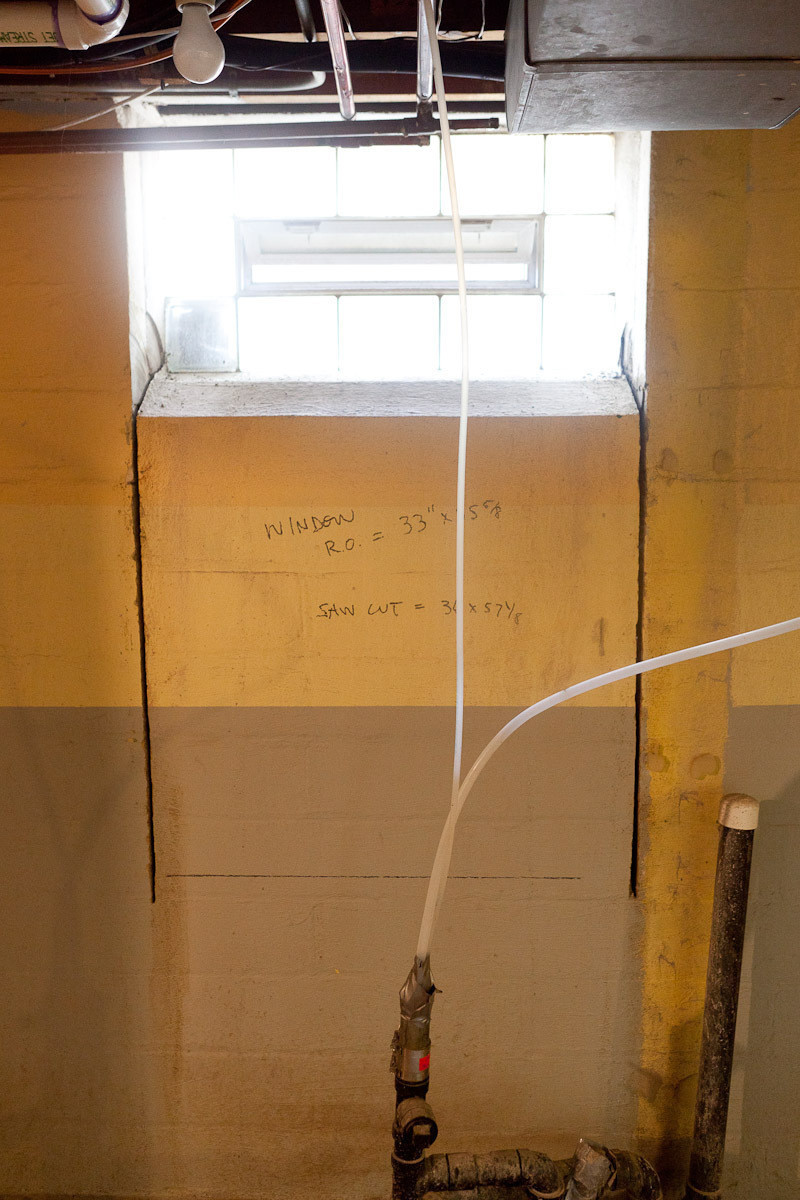
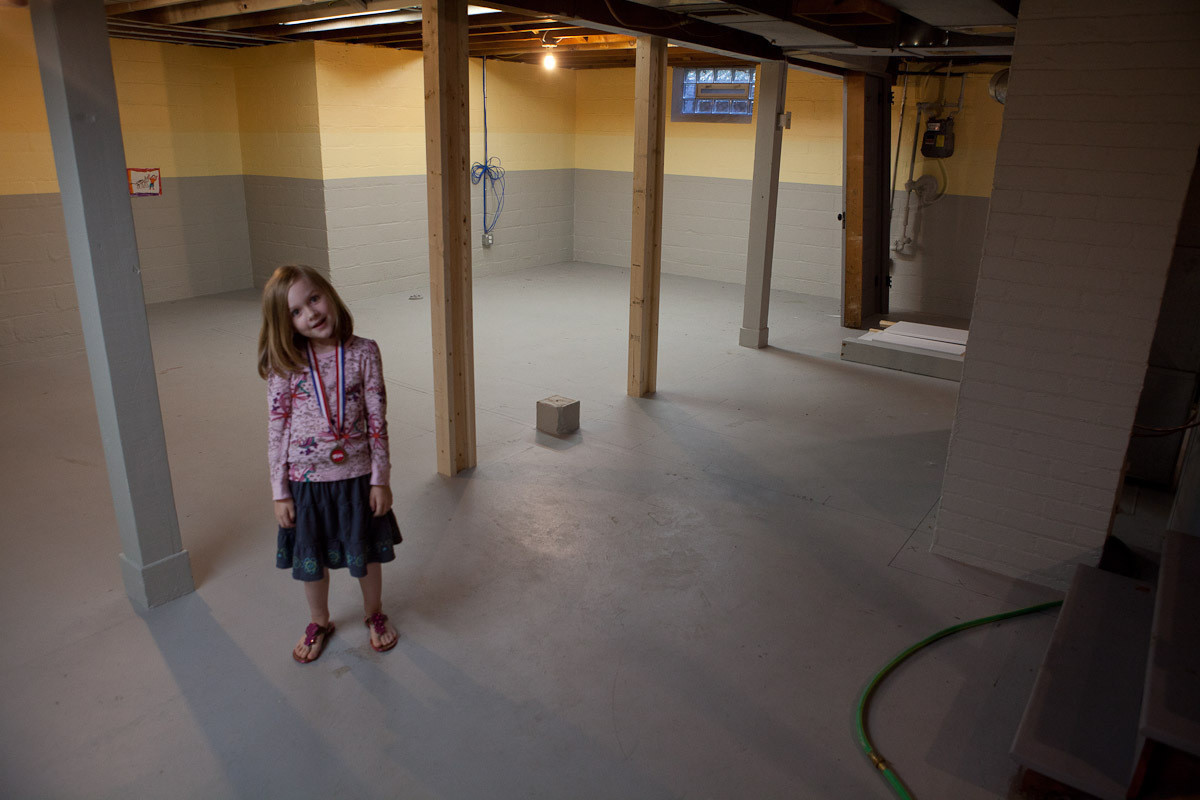
The week ahead starts some of the framing work and the excavation of the floor in the basement. The next shots from the basement should be interesting! I love how the light comes in from outside in the basement already. I’m also pretty excited about the large windows we’ll have in the basement. I think the space will feel really nice.
We lost about 3 days this week due to rain. Everyone agreed we didn’t want large holes in the yard filled with three feet of rainwater.


Remodel Update Week 2
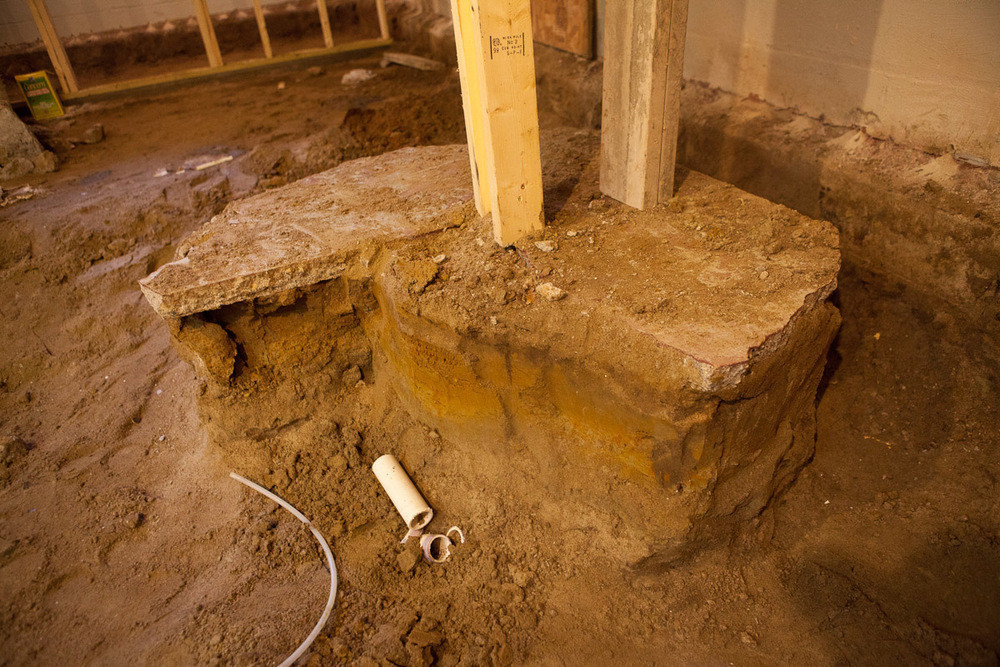
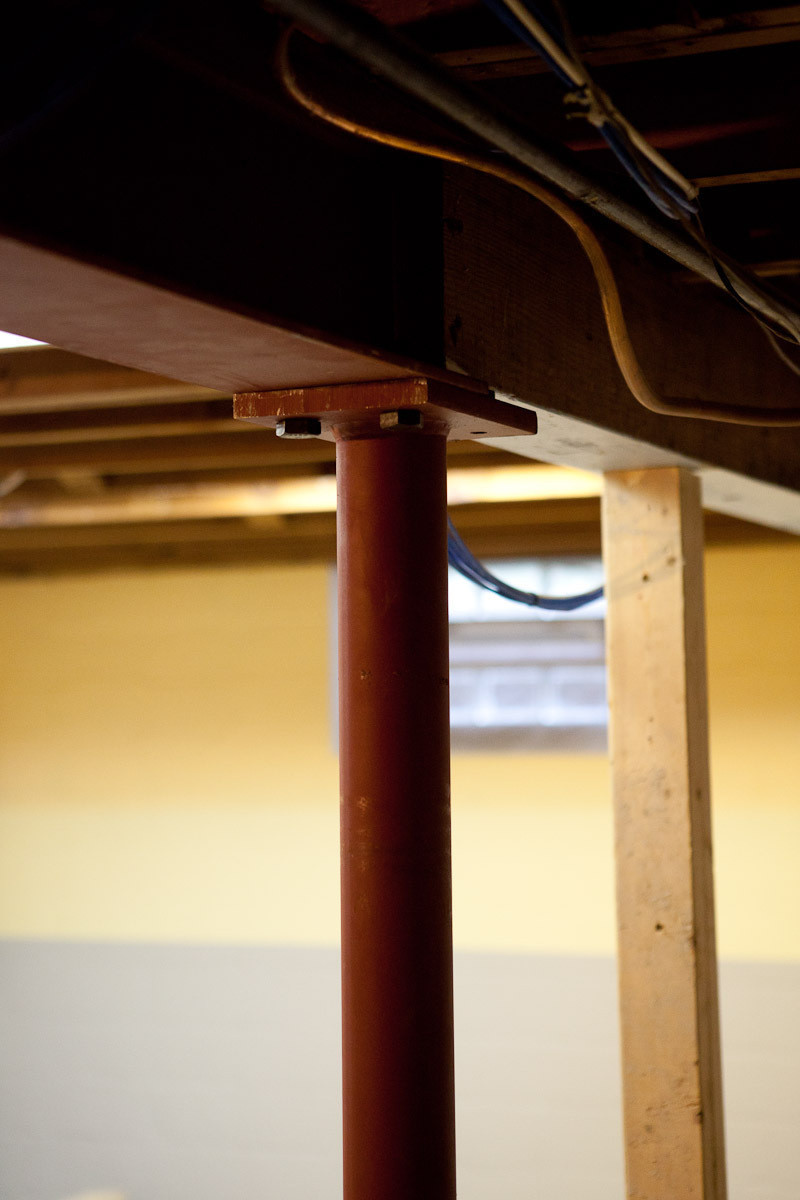
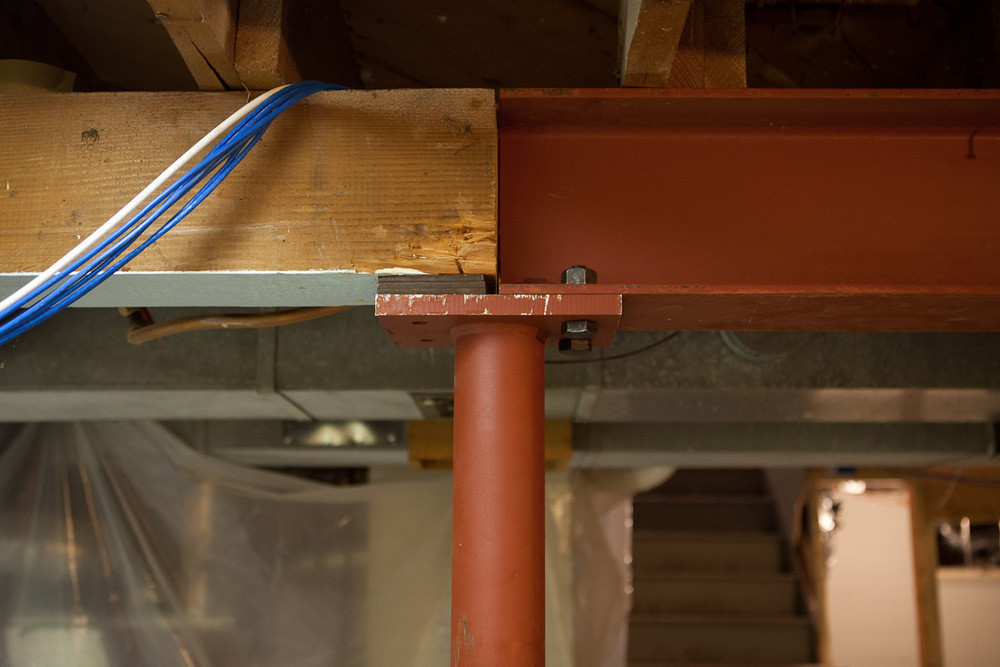
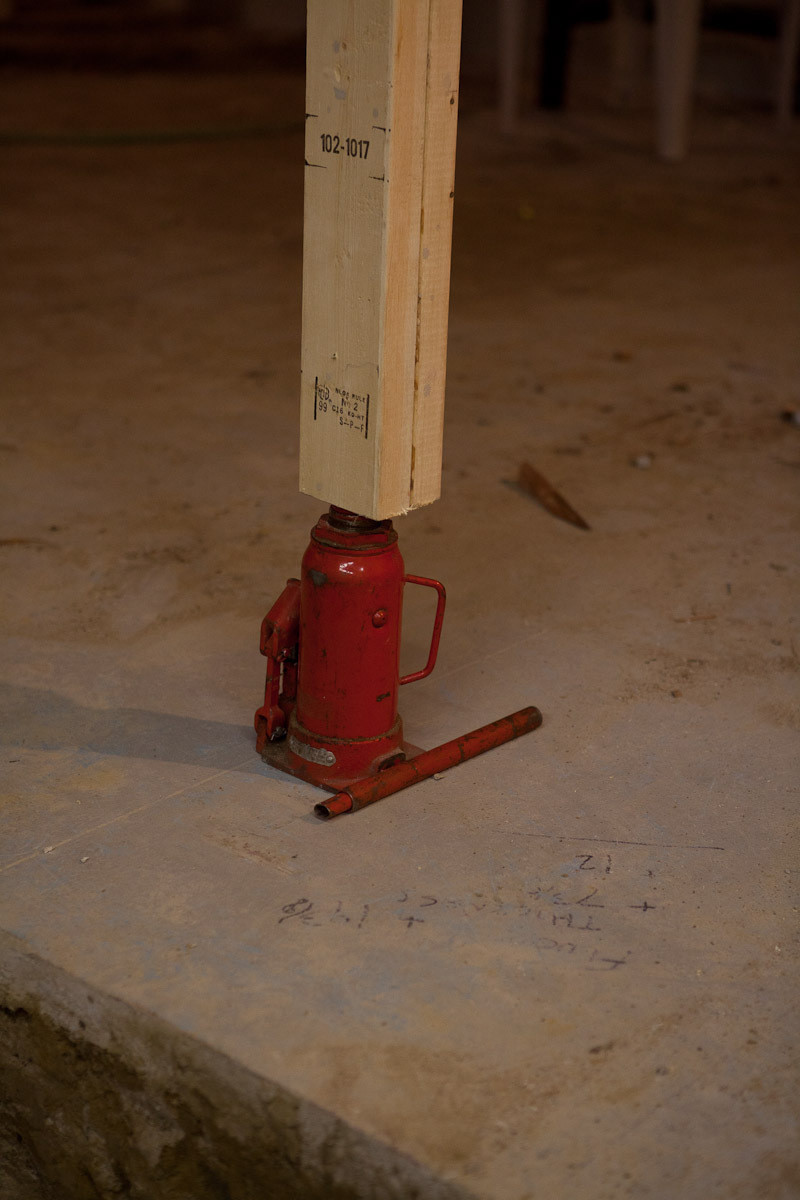
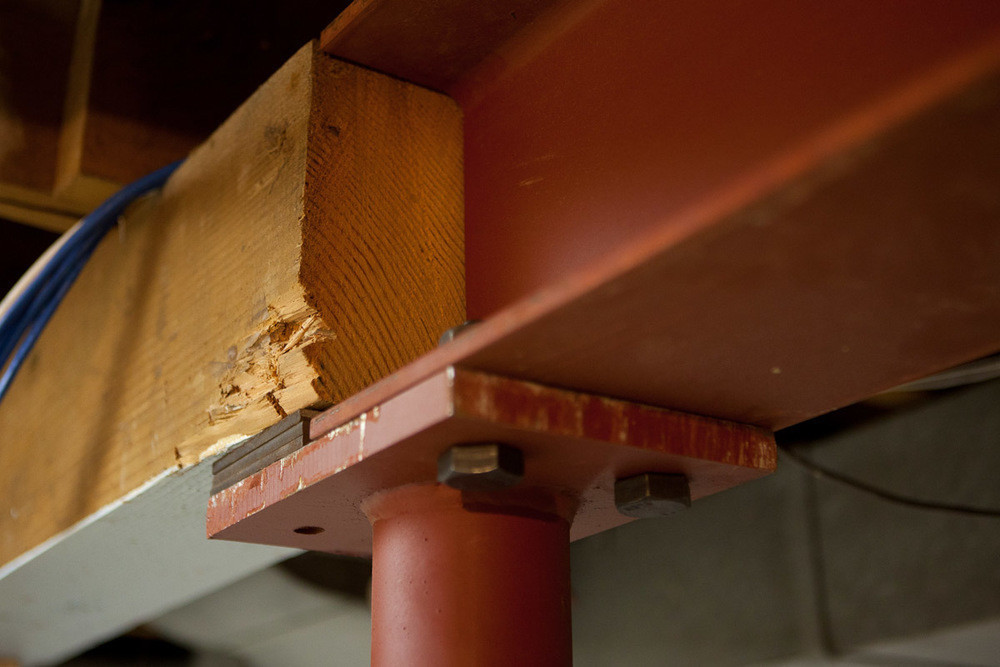
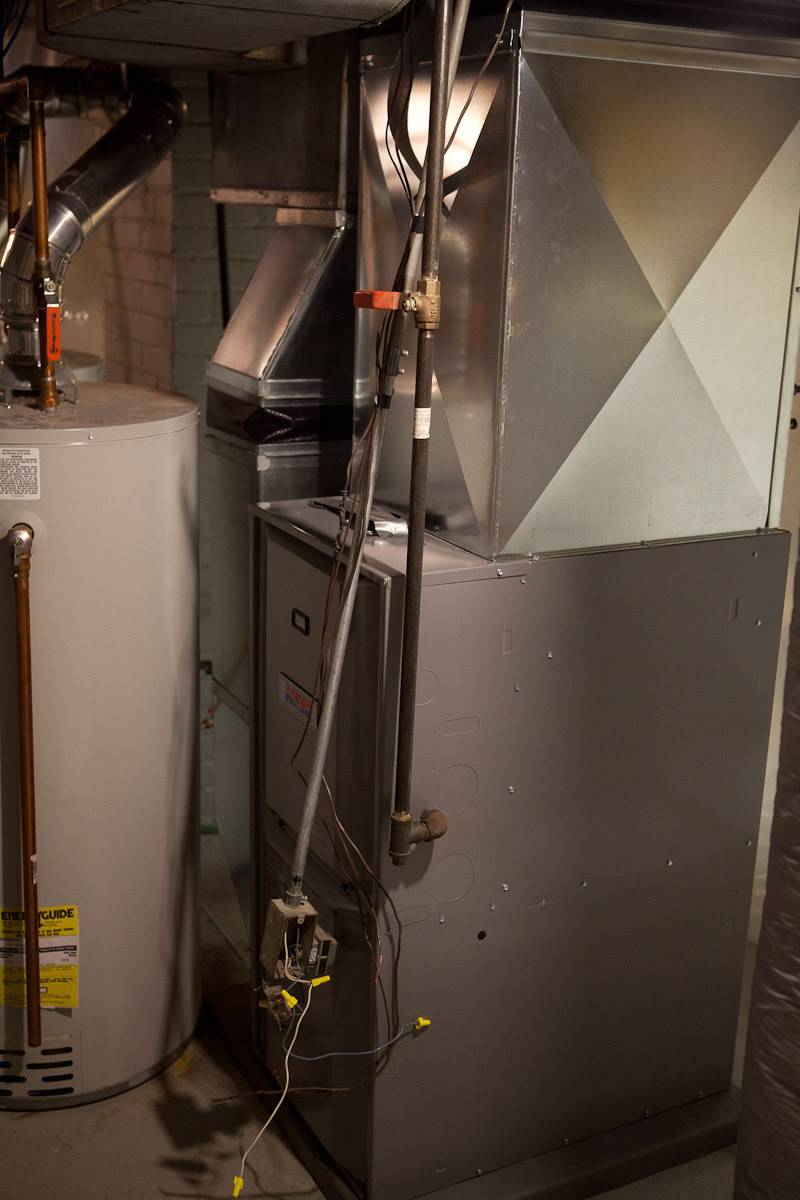
The I-beam is in place! This week the project has gotten dirty and more serious. I would say that the project has really started now with a decent amount of hammering, smashing and banging. Notable events this week include installation of the new furnace (not hooked up), the pouring of new footings for some central supports and pulling the central foundation support that has been in place since 1939 and replacing it with a super strong steel beam. Thank you for your 72 years of service large wooden beam.
Nothing much happened outside this week, but that will change this week. The excavation crew arrives Monday to start digging.

Remodel Update Week 1
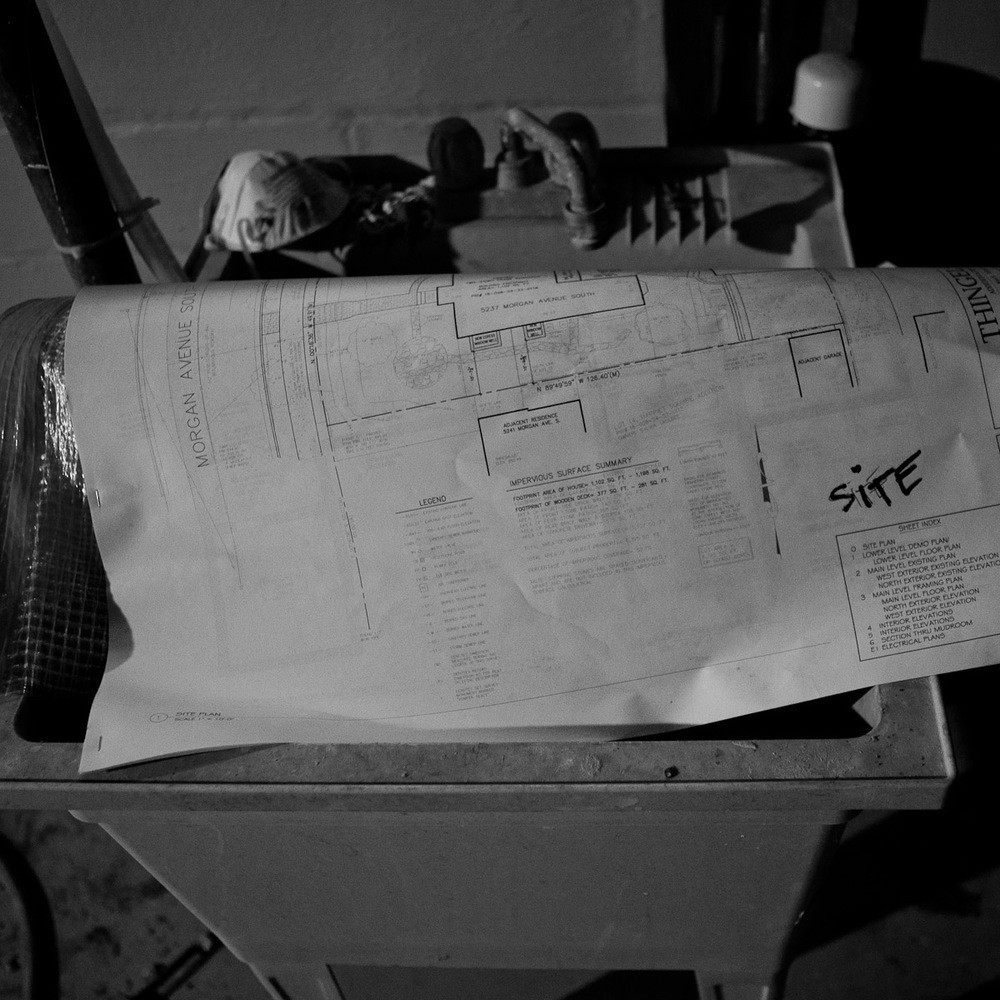
The first week of the project really just focused on getting things ready for real work. The deck was tore apart so that the new mudroom foundation could be put in. The first part of the work on the support structure of the house started. We are removing a central support post in the basement to open the space up for the family room.

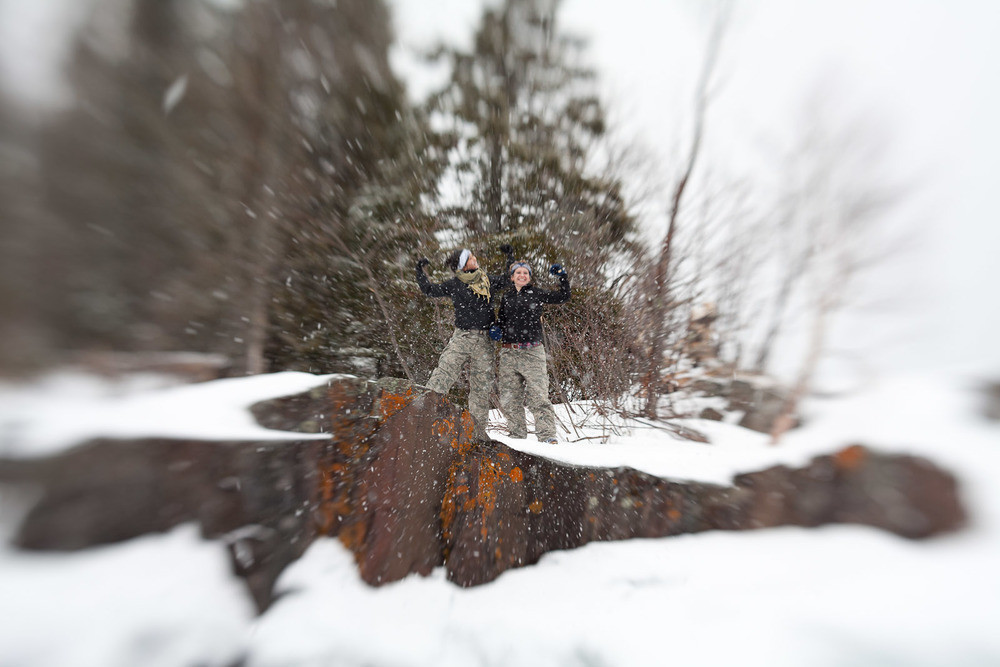
First Shots with Lensbaby
For Christmas this year Tammy got me a fun lens for my camera, the Lensbaby Composer. When I did the Stone/Steel/People workshop I mentioned that my pro friend Layne was obsessed with shooting with his Lensbaby. I thought it would be a fun option to have in my camera bag and Tammy decided it would be a fun present. I haven’t been shooting much but I used it when I was in Grand Marais this last weekend and here are some shots with it. These were all shot on manual at f/4.


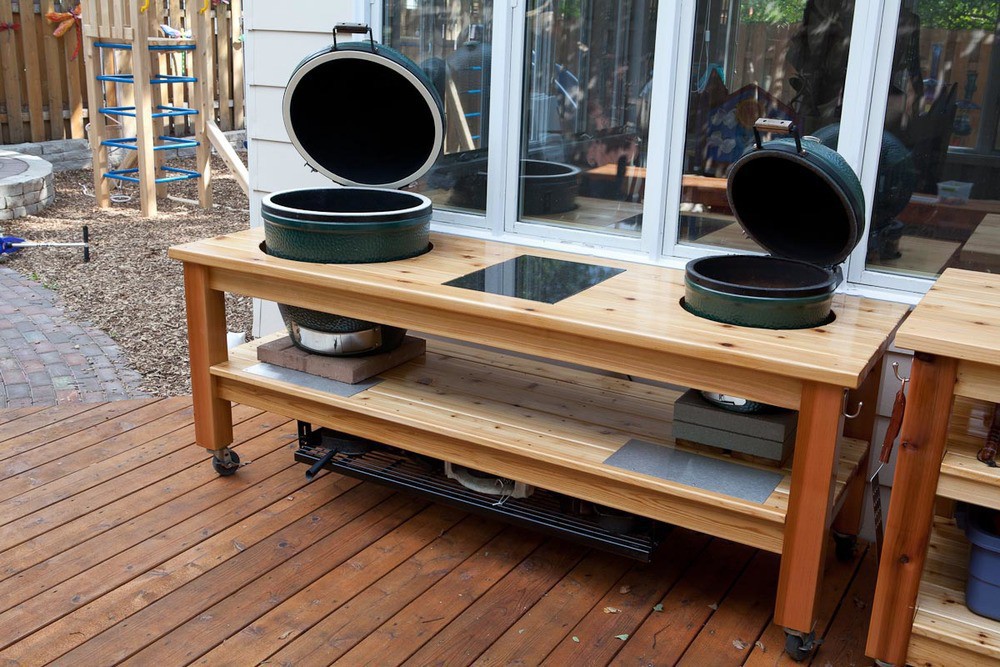
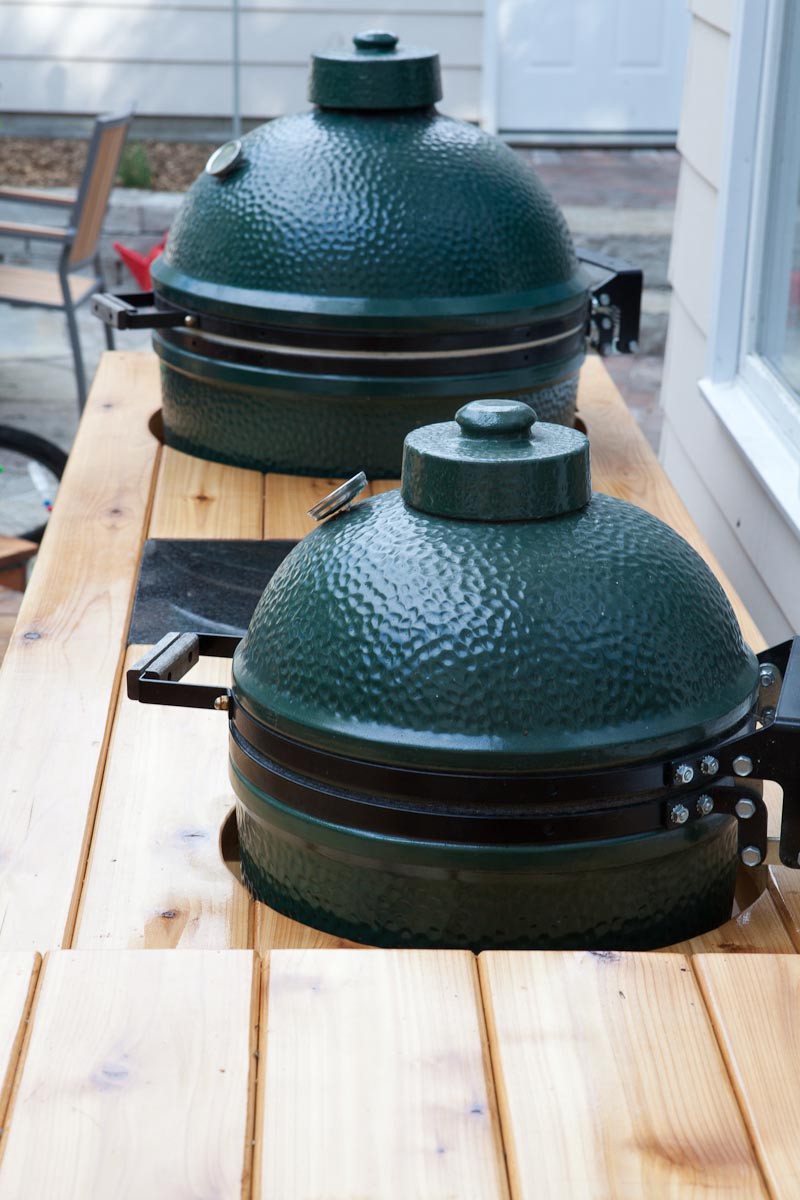
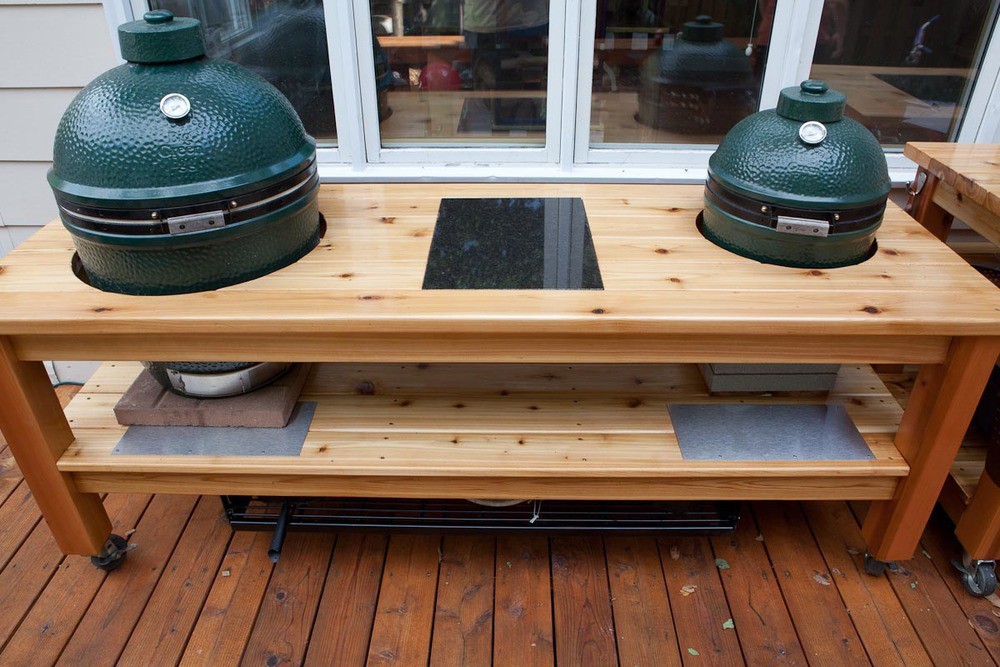
Double Big Green Egg Table
When I got my Big Green Egg I got the large table to go with it. It seemed okay, not great. I knew I wanted to have a good work surface for my Egg and I didn’t think the simple fold out “wing” tables would work at all. I know a lot of Eggheads make their own tables. There are some wonderful plans online that help out. But I don’t have even the basic woodworking skills, or patience, to do that. So I just went with the table from the store.
It was okay but pretty quickly I was disappointed with it. The build quality wasn’t great. It was stapled together instead of using screws. But it worked so that is what I used for the first year.
I’m glad I did because it allowed me to really figure out what I wanted in a custom table for my Egg. After a lot of searching I found a carpenter to work with and after a design session with some sketches I now have my dream Egg table.
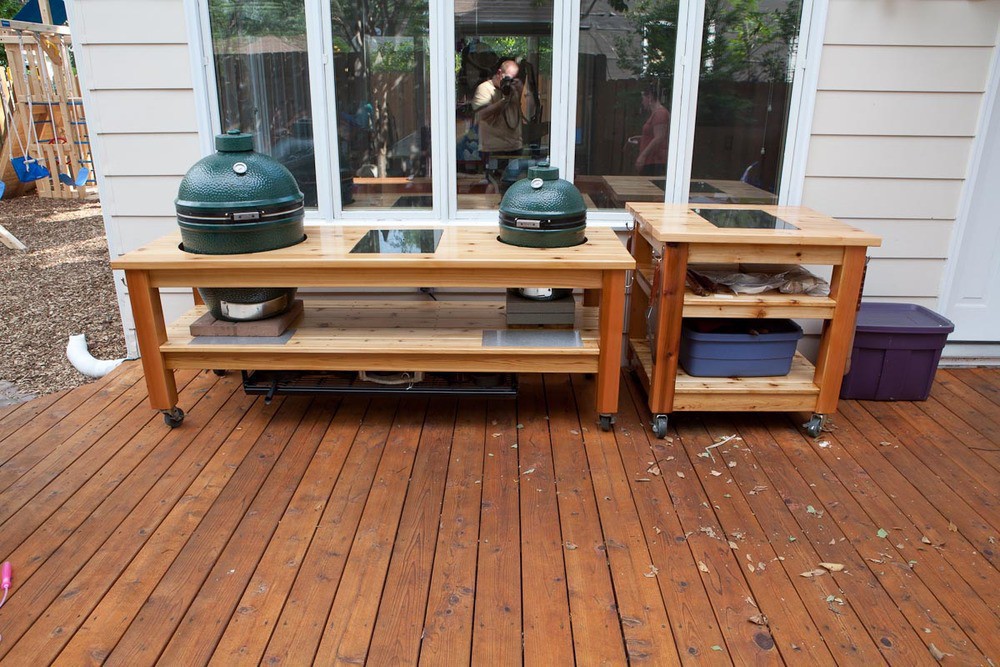
It’s a double Egg table to house both the Large Big Green Egg as well as the small. I also have a second prep table. There were a number of specific things that I wanted in the setup.
Space
If your just grilling some burgers you really don’t need much prep space around your grill. But when you’re doing full day smokes and preparing entire meals on the grill I found that I wanted ample space. I wanted my table deeper than the stock table by about 4 inches.
I thought for a long time about how I wanted to accommodate two Eggs. I considered having them in two separate tables, which would be convenient for times when I wanted to just use one or maybe even take it somewhere with me. After consulting my friend and kitchen expert Mike he suggested that I consider a hot/cold setup, like a professional kitchen. I decided I liked that and put both Eggs in one large table and then have a completely separate prep table. More on the prep table later.
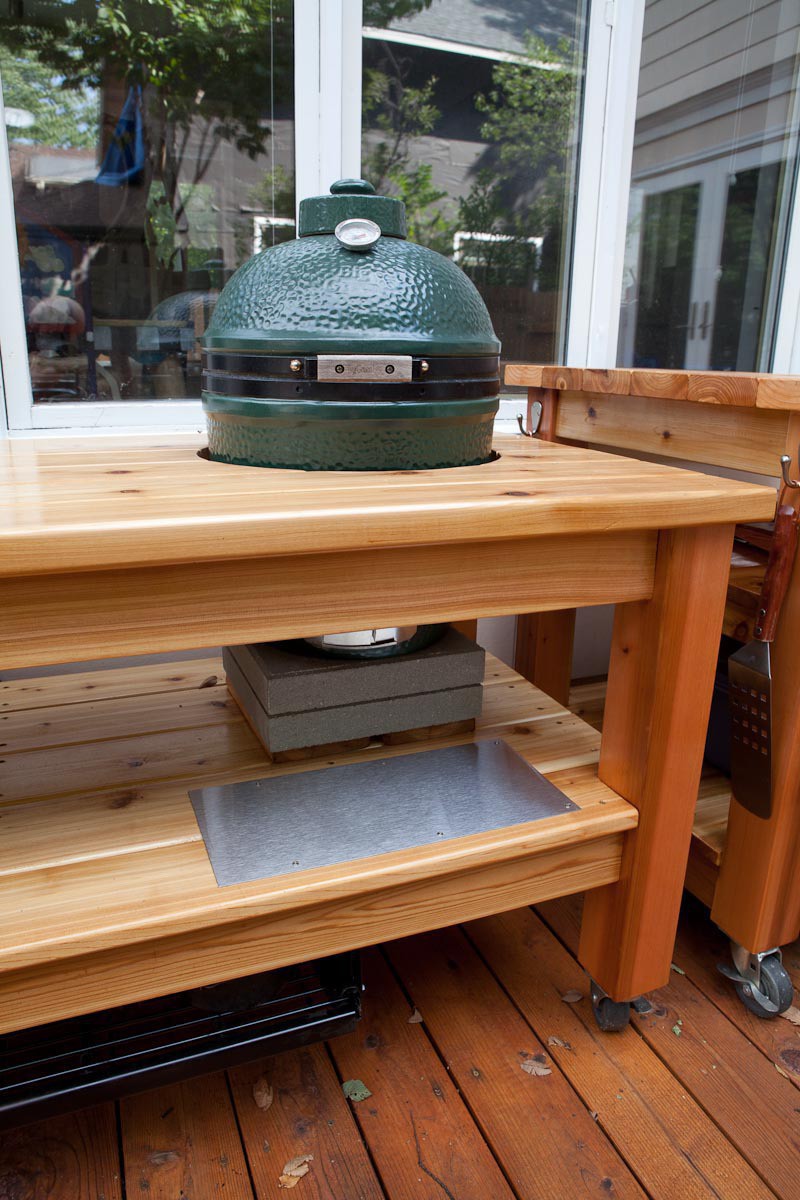
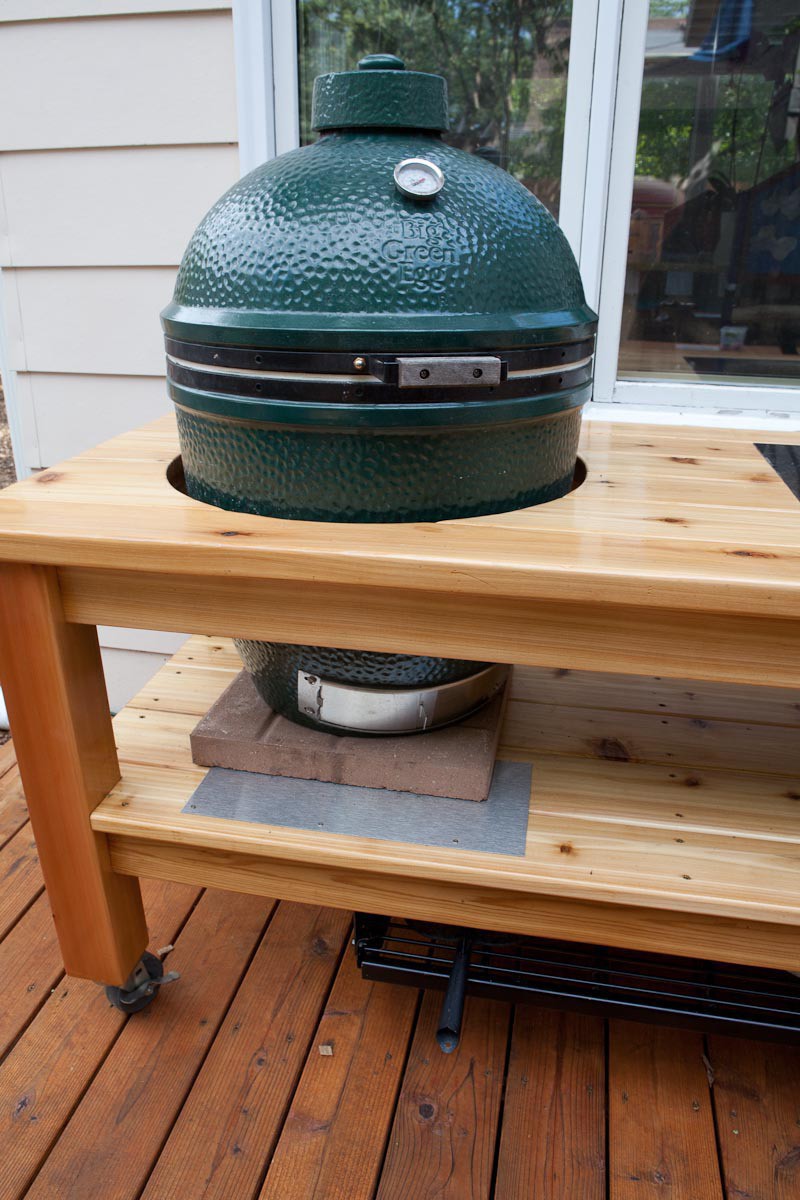
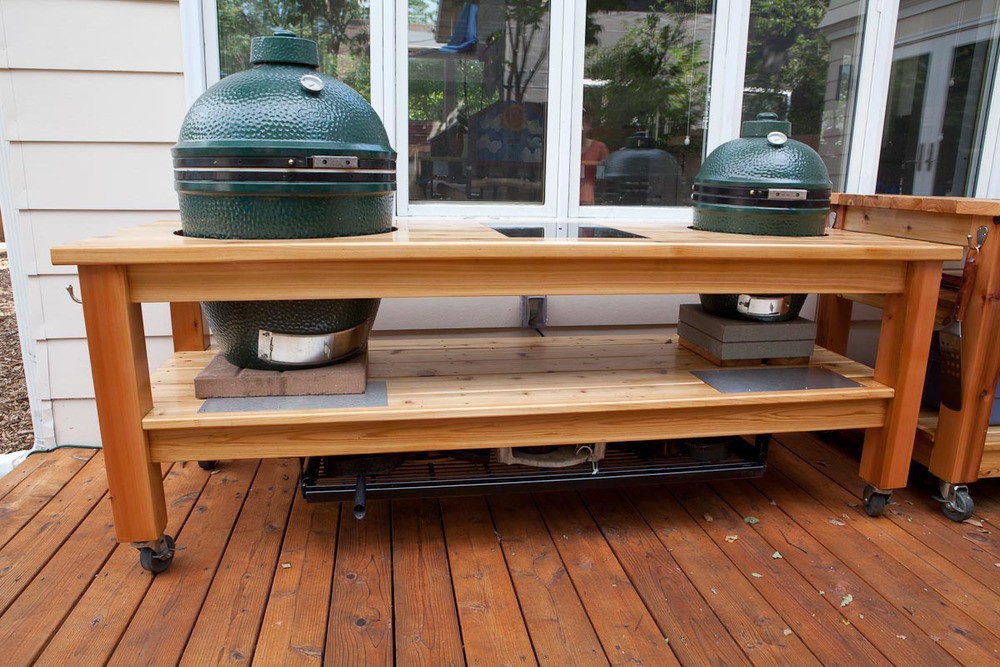
Hot Rack
One of the issues I have found when using my Egg is dealing with hot tools or grill parts, as well as dirty grids and such. I asked the carpenter if he could design something that slid out on the bottom of the table that could deal with this. He hit it out of the park!
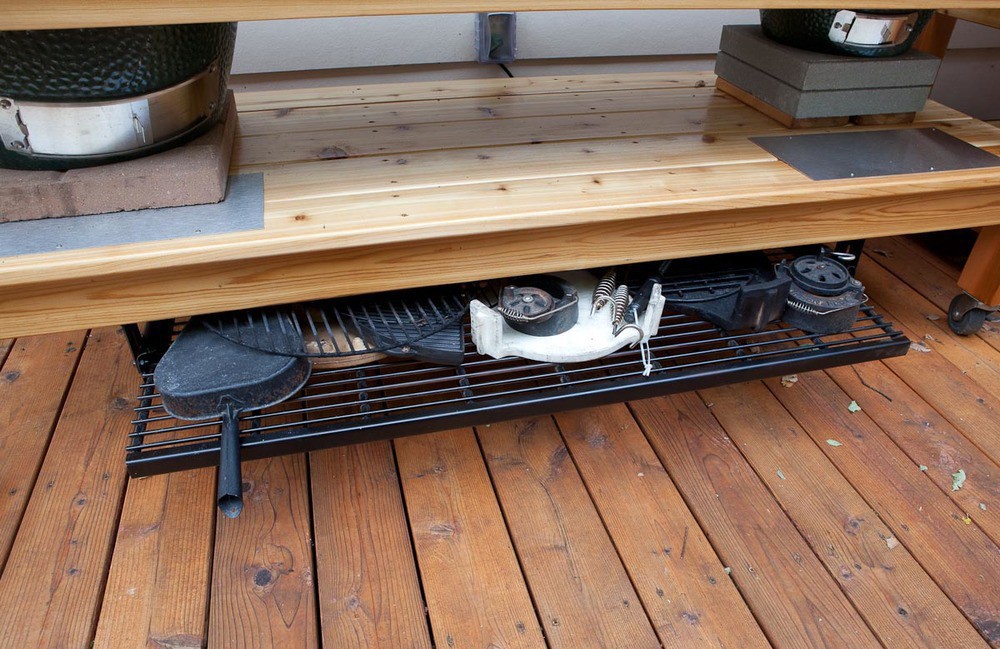
This shelf is just great. It’s all metal, so I can put a hot plate setter on it and not worry. Since it slides underneath I can then store those things out-of-the-way and not worry about kids bumping into a 500 degree ceramic piece.
You may notice in the picture above one other minor thing that I did around the bottom vents of the Eggs. I found that you inevitably spill ash when cleaning it out, and that ash if left on the wood caused staining. I mentioned this to the guy that build the table and he just got a couple of squares of metal and mounted them under the vents. Now the ash just falls on the metal and can be cleaned up easily.
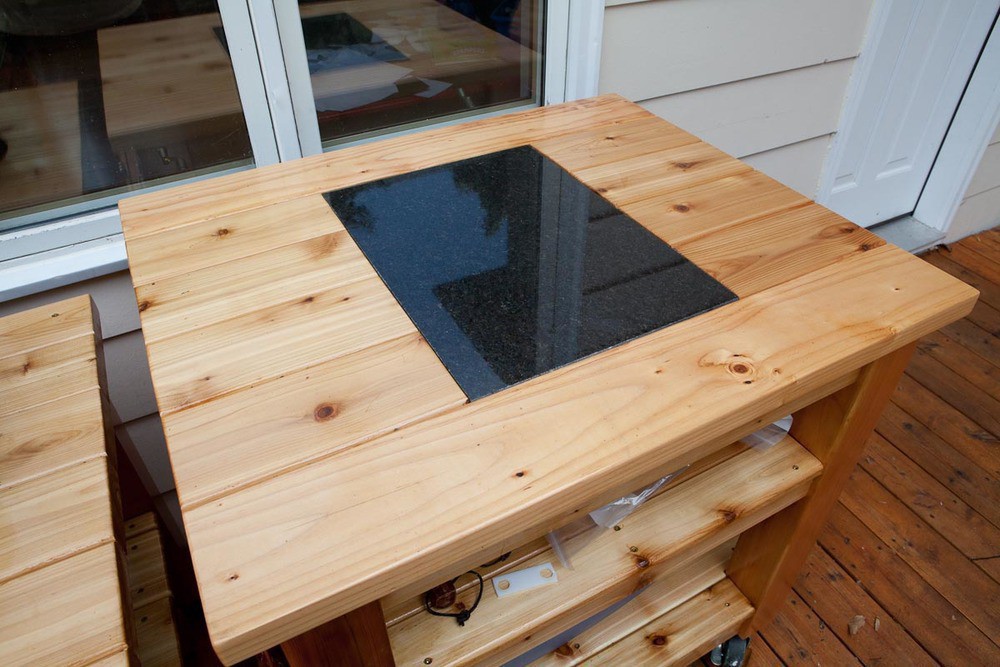
Granite Inserts
I copied (stole) the idea of the granite inserts from a friend who bought an Egg and built his own table. I thought it was a brilliant idea and had to do it as well. In the center of both the hot and cold (prep) tables I have a removable slab of granite.
I found that my Egg table got pretty dirty over time. You have various sauces and rubs out there and it makes a mess. The granite gives me a place to not worry about grease, sauces or even hot items that might burn the wood.
I can pop the granite out and pressure wash it easily enough. I have also found these to be great places to put a single portable burner when I want to simmer some sauce or cook something that way outside as well. I have a nice induction burner for this purpose. It works great!
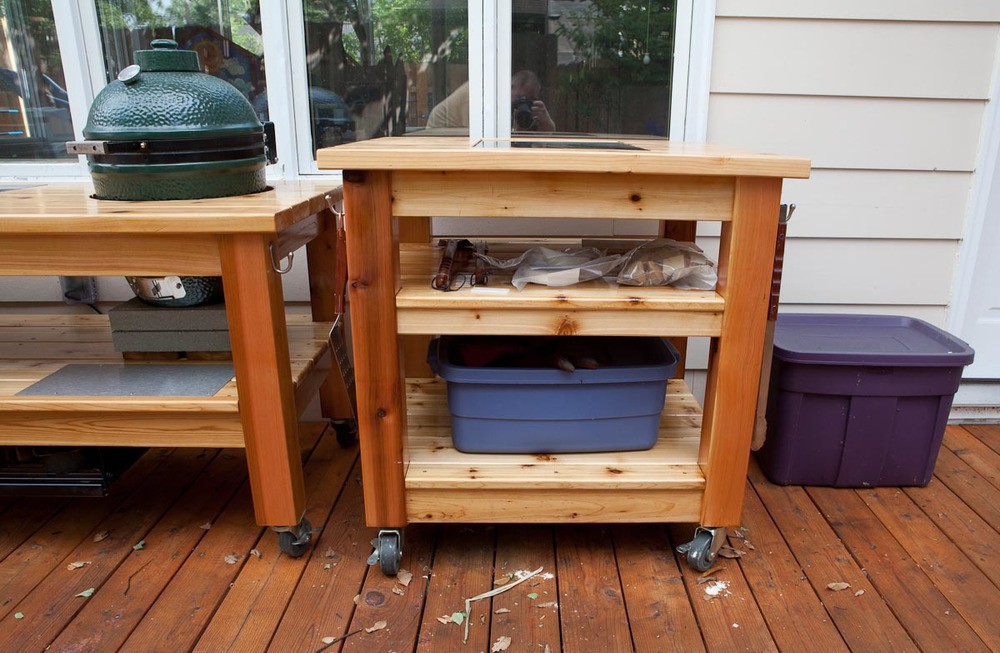
Prep Table
The prep table was an indulgence. It serves a lot of purposes. First, I get a bunch of shelves to put my tools in. I now even have room to house a spice bin outside so there is less running around. I have another bin just with fire starting stuff. The room is nice.

I also like that the table is very mobile. If you need to shuck some corn, or prep food for the grill and have someone helping they can take the table wherever it is convenient for them. I also made the table “double-sided” so two people can work on either side easily. I also slapped some hooks on it so I can keep tools there, as well as hang a trash bag on the side if you have a lot of prep work to do.
Finish
The entire table is covered in outdoor varnish. It should last a very long time with basic upkeep. I’ve grilled with this setup now for about six months and have yet to find anything I would change.
Feel free to riff off of any of these ideas. If you live in Minnesota and would like to reach out to the carpenter that built this amazing table just contact me and I can send his info along. He doesn’t have a website to link to.
Birthday Photo Shoot
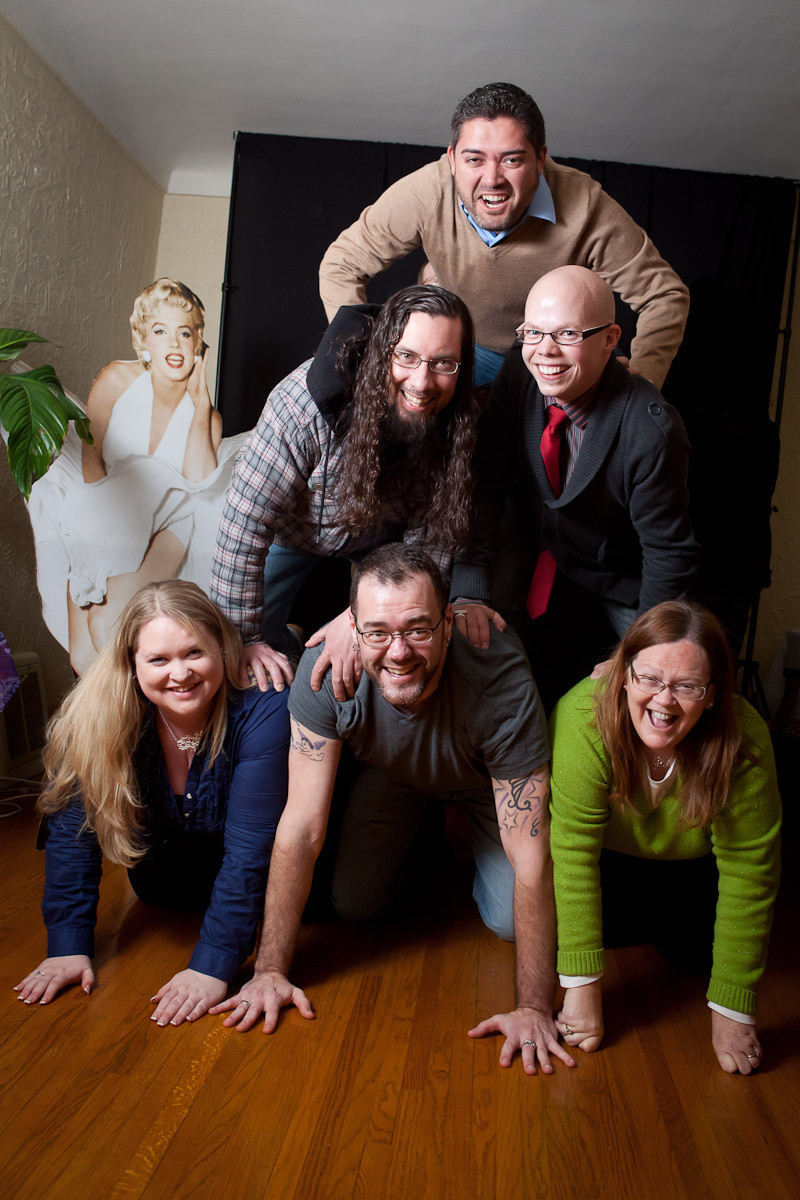
My sister asked me to do a favor for her. She has a good friend that was turning 40 and she wondered if I would mind doing a small photo shoot at his birthday party. The party was known but the photo shoot was a surprise. I ended up traveling the entire week before the party so when the time arrived I wasn’t the most excited to go and shoot, but sometimes you need a kick in the butt to set up your gear and have some fun. And, fun it was! Everyone was really fun in front of the camera and had a good time posing and being posed.
I setup my black backdrop. The room was pretty dark and my only light was my Canon 580EX II flash. I was firing the flash wireless using the ST-E2 transmitter. I shot with my Canon 5D Mark II all handheld with my Canon 24-70mm f/2.8L. I had the flash mounted about eye level and fired it backwards into a bounce. The lighting all worked out better than I expected, given that I just had the one flash.
The only issue was on flash recharge rate. My flash ate 8 AA batteries and when they weren’t fresh I was struggling to keep the flash going. I’ve added the Canon CP-E4 flash power pack to my wish list for any shooting like this in the future.
Here are nine shots that I really liked from the night. I couldn’t pass up an excuse to get a bunch of adults to do a pyramid! Starting with the birthday boy.


High Resolution Album Art #3
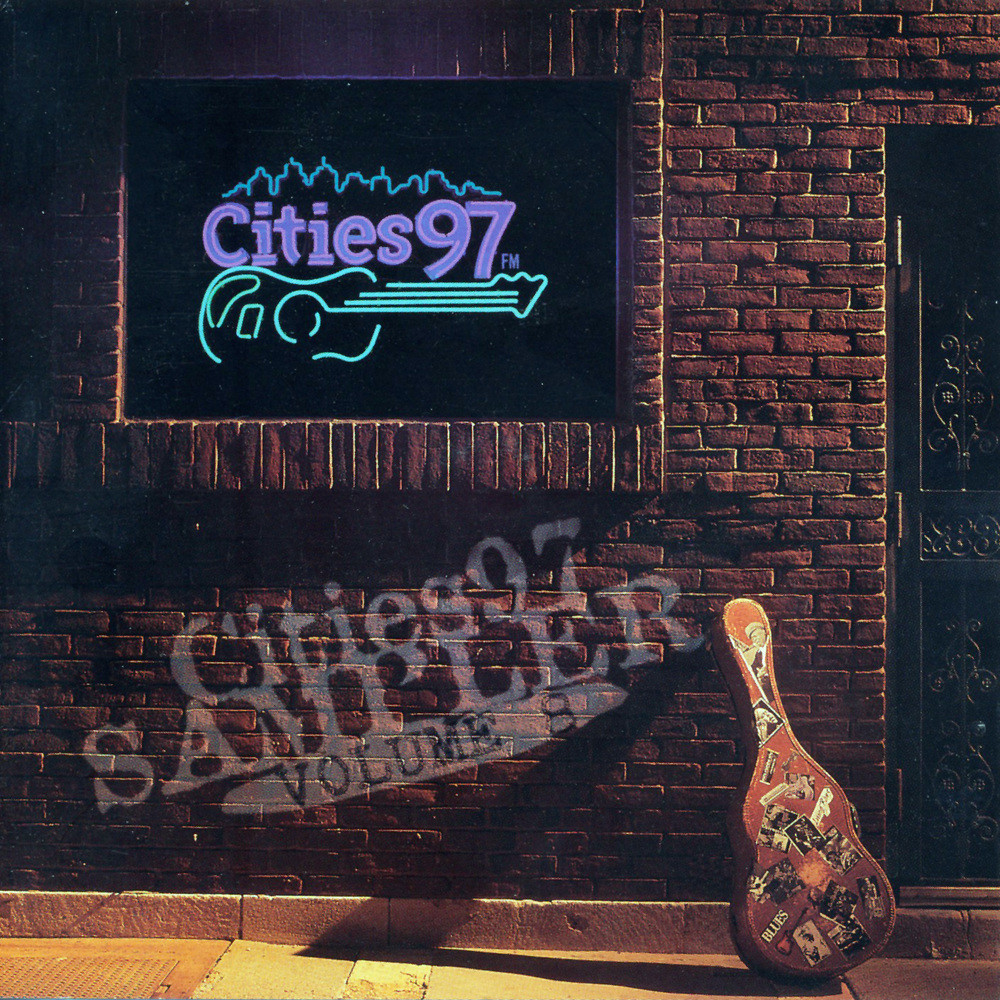
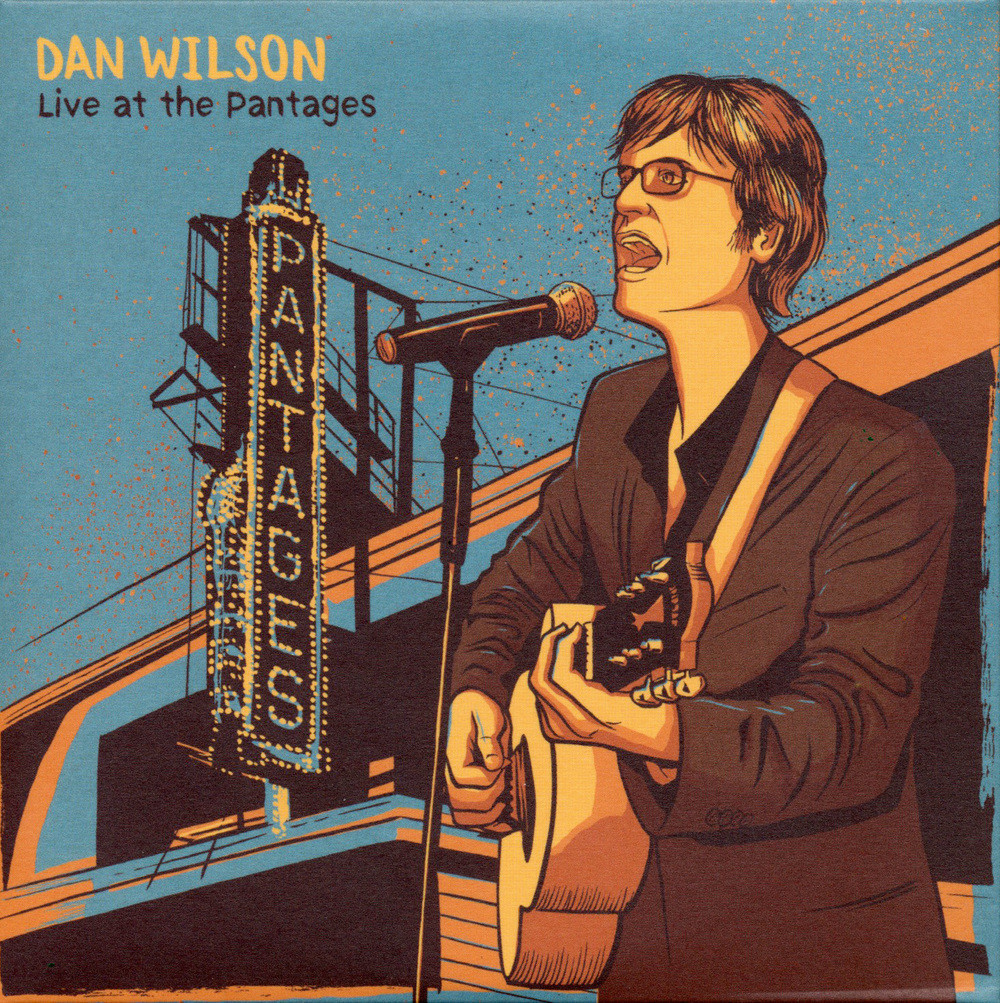
More high-resolution album art for others that may have these albums: Chan Poling “Calling All Stars”, Cities 97 Sampler Volume 8 and Dan Wilson “Live at Pantages”.

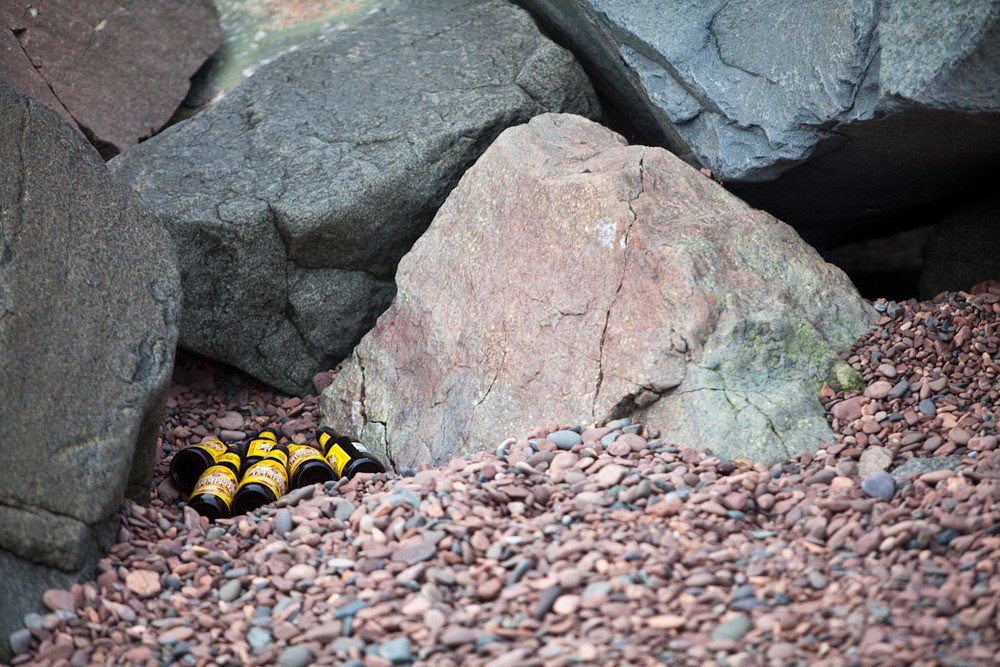
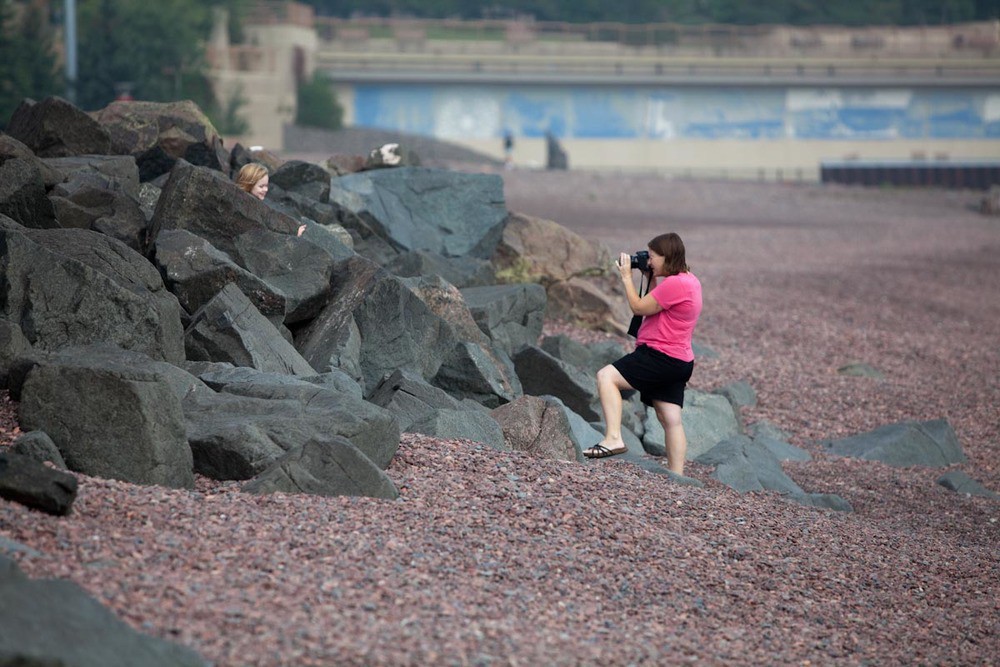
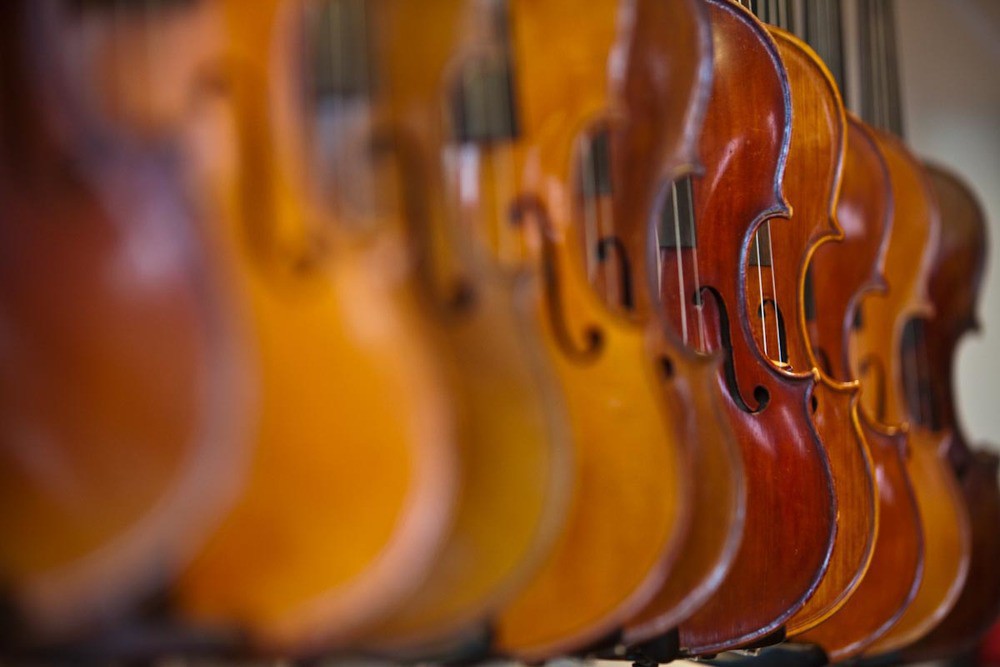
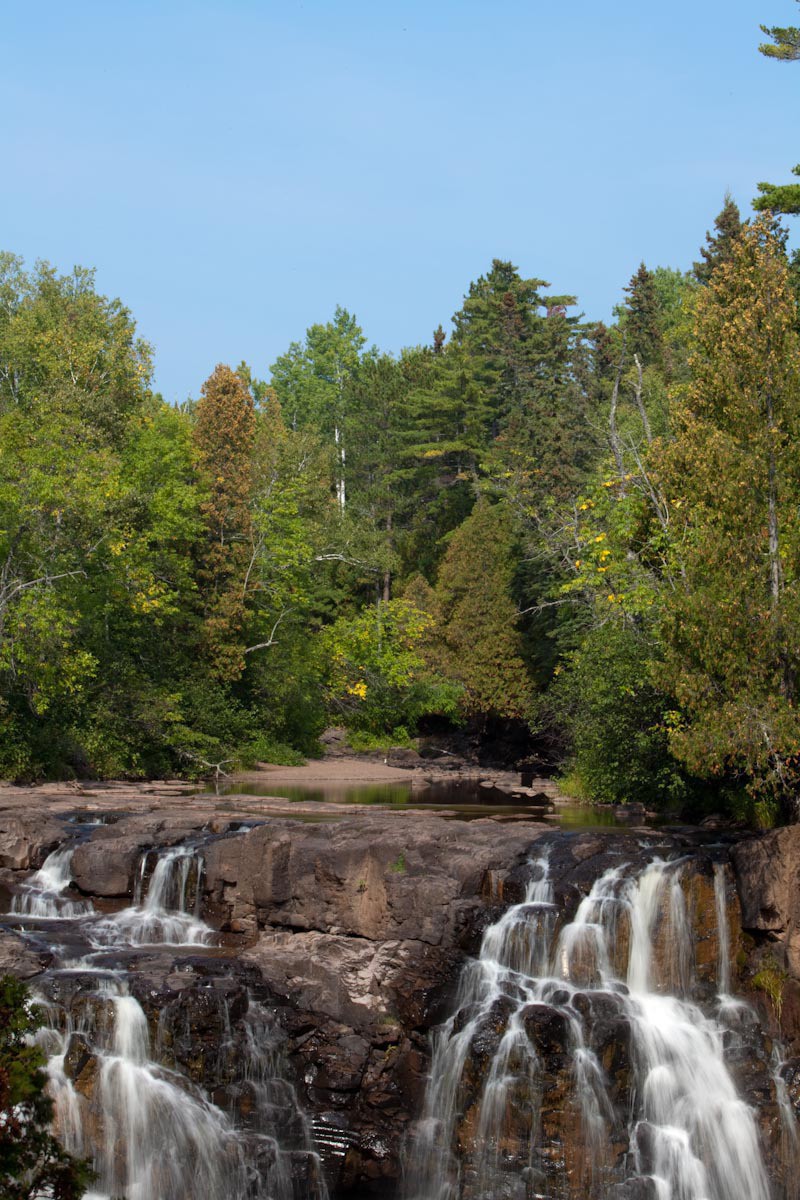
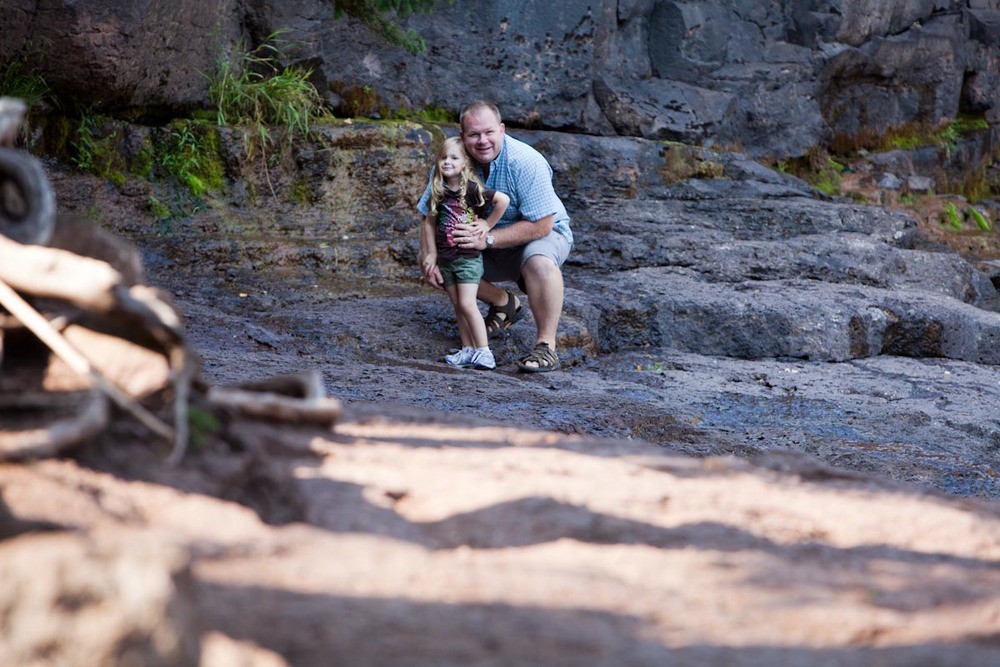
Canal Park and Gooseberry Falls
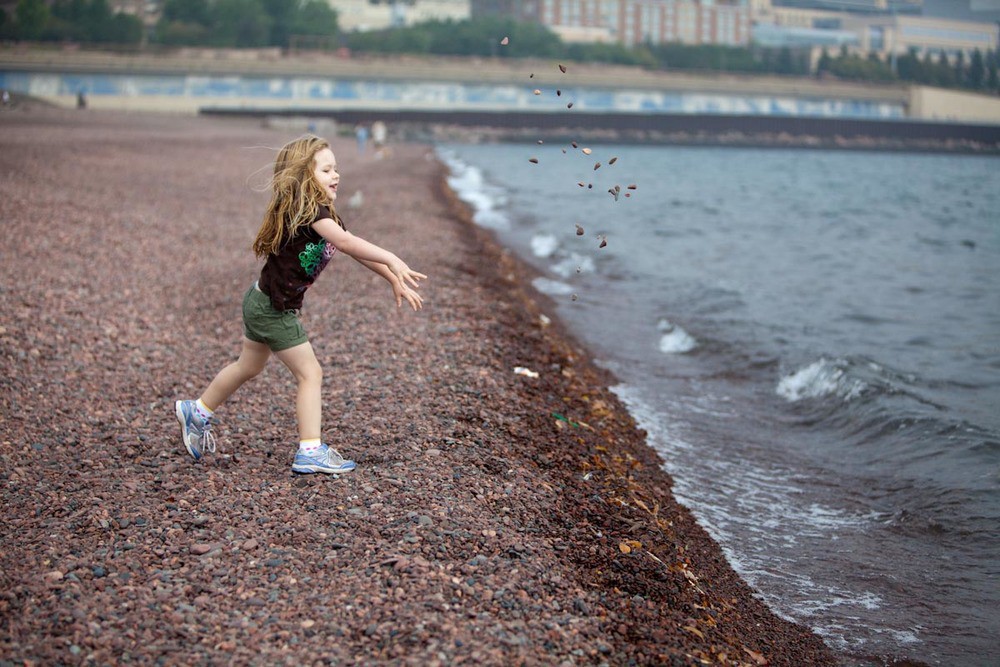
We drove from Duluth to Ely this morning to start our weekend in Ely. We got some photos in Canal Park and of course we stopped at Gooseberry Falls. I really dig the photo of the violins.
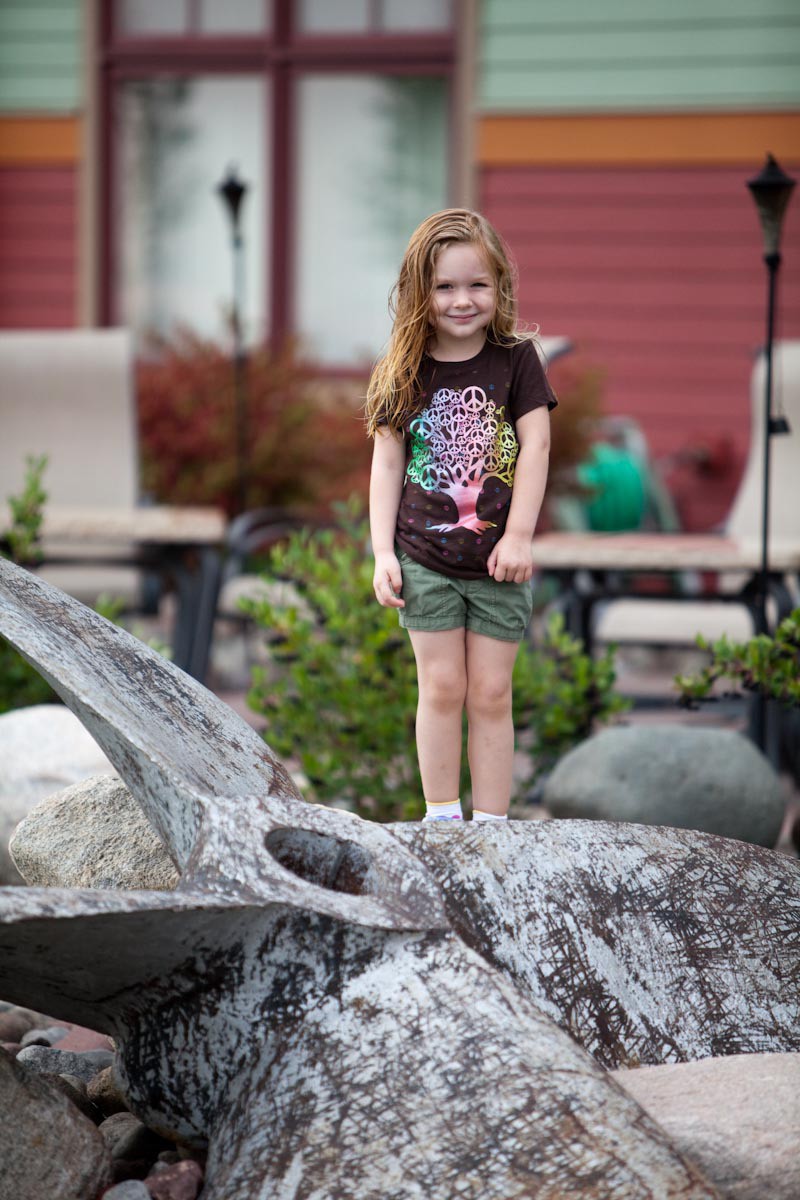


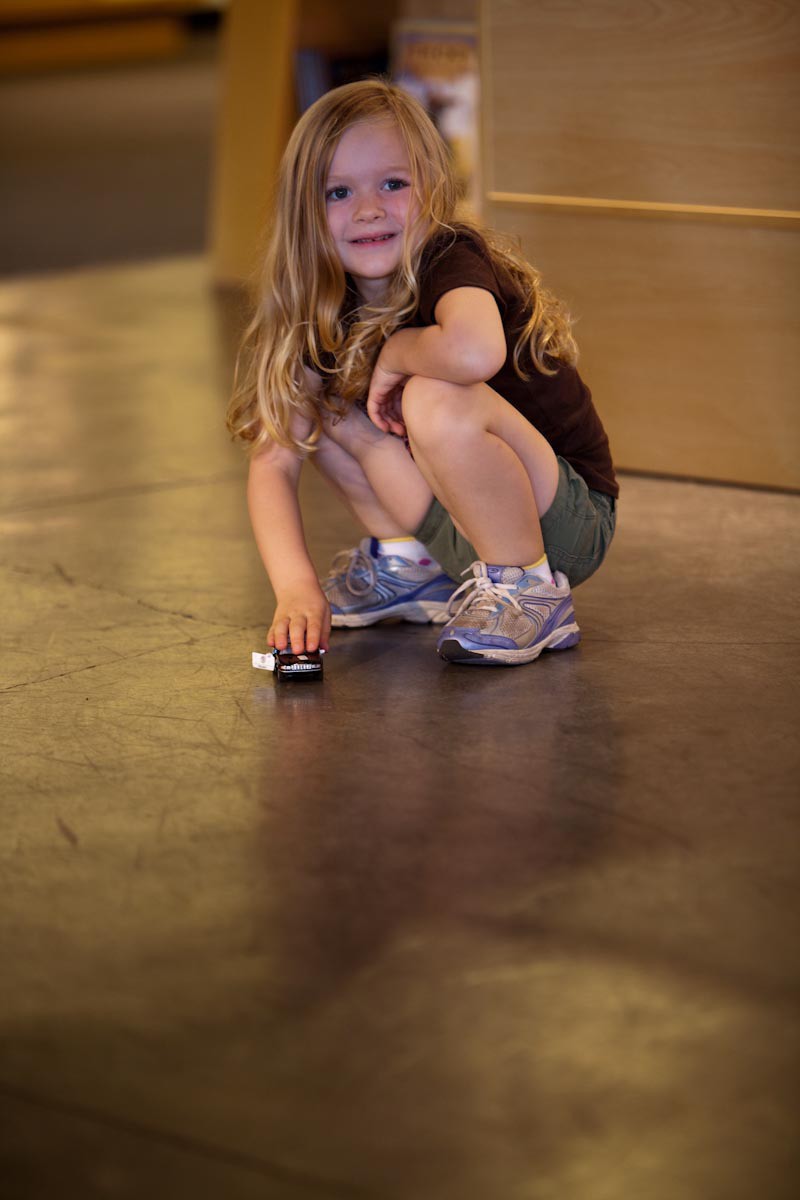


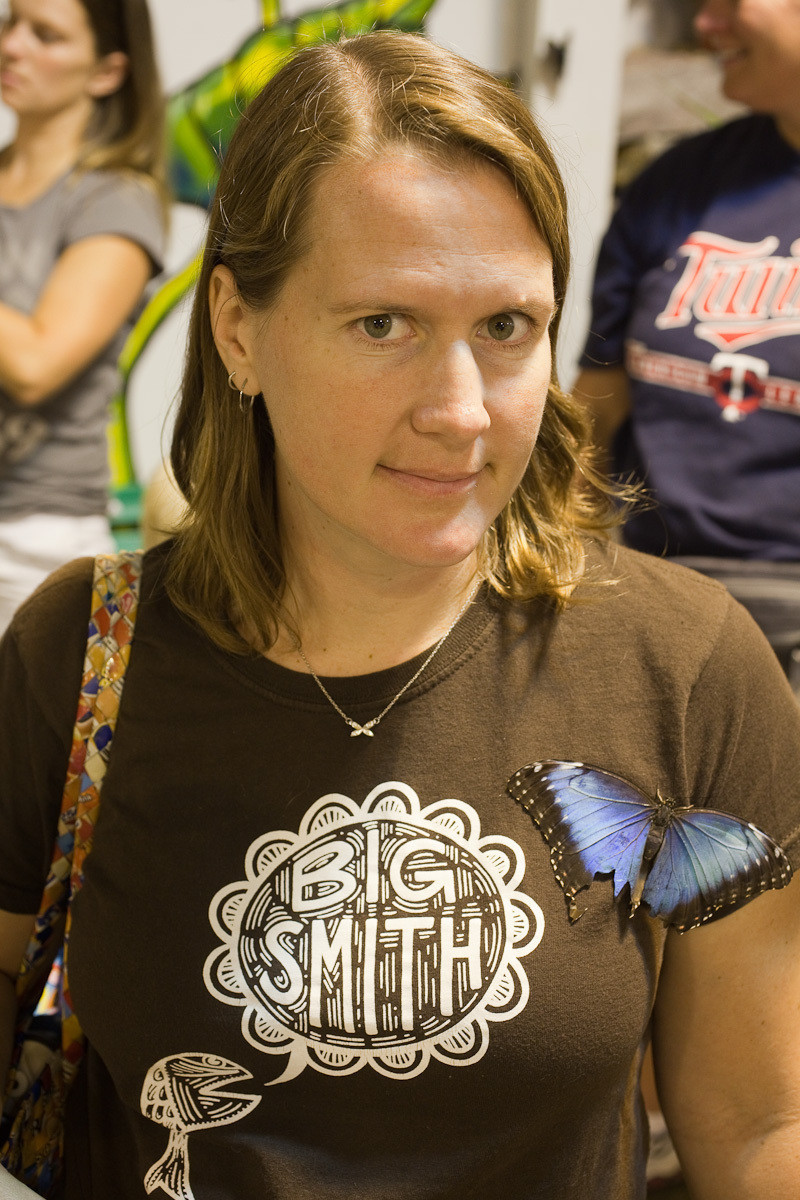
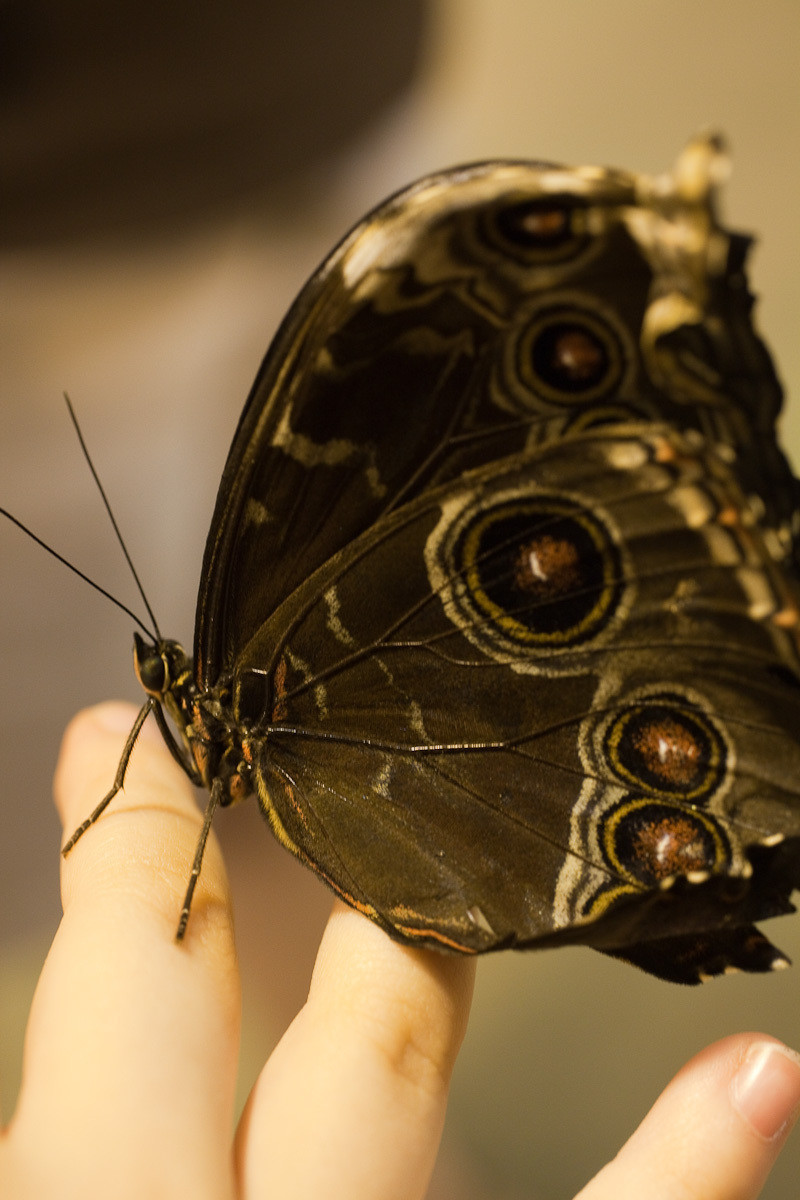
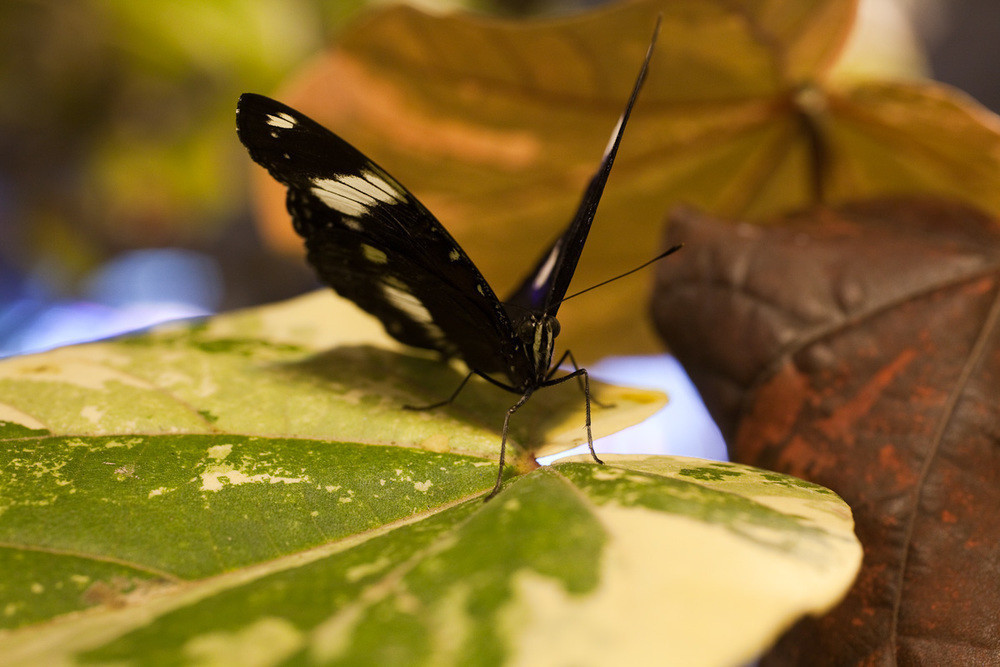
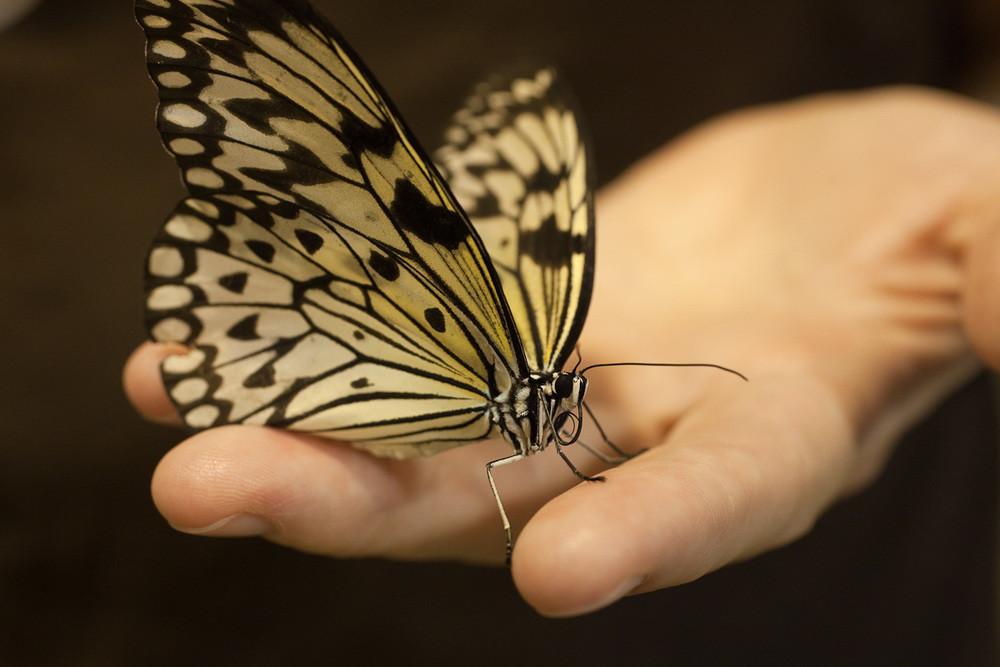
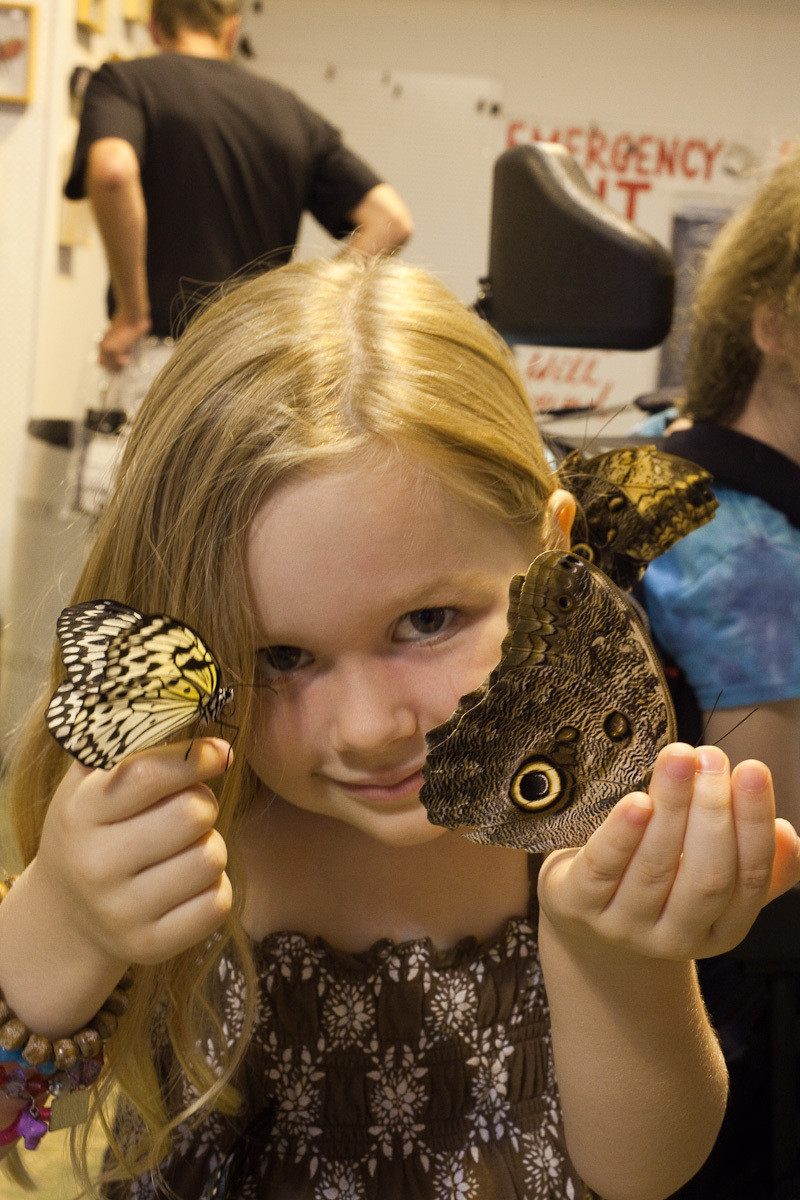
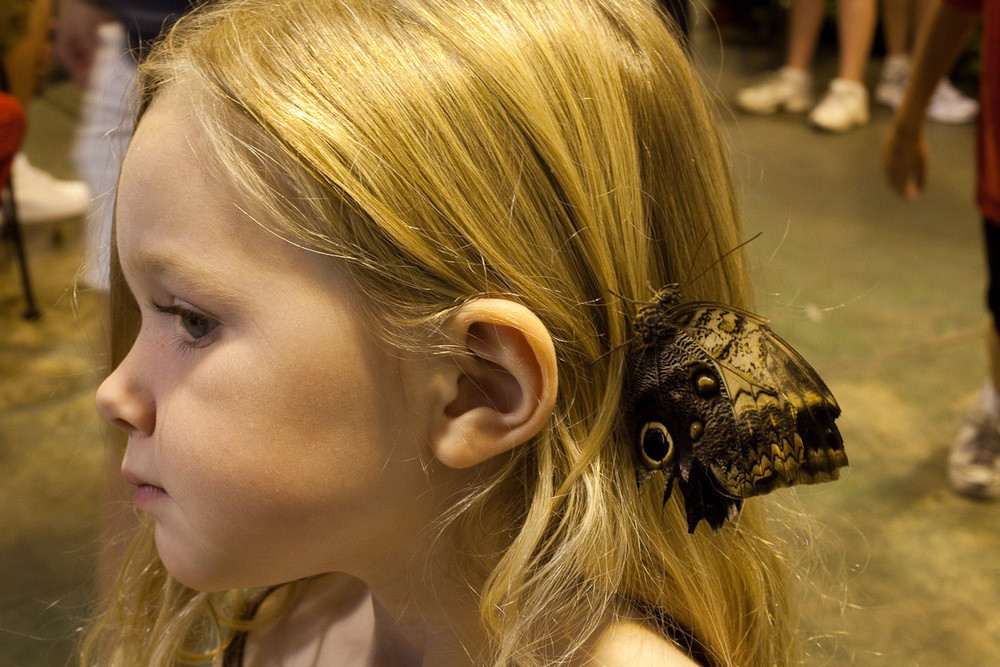
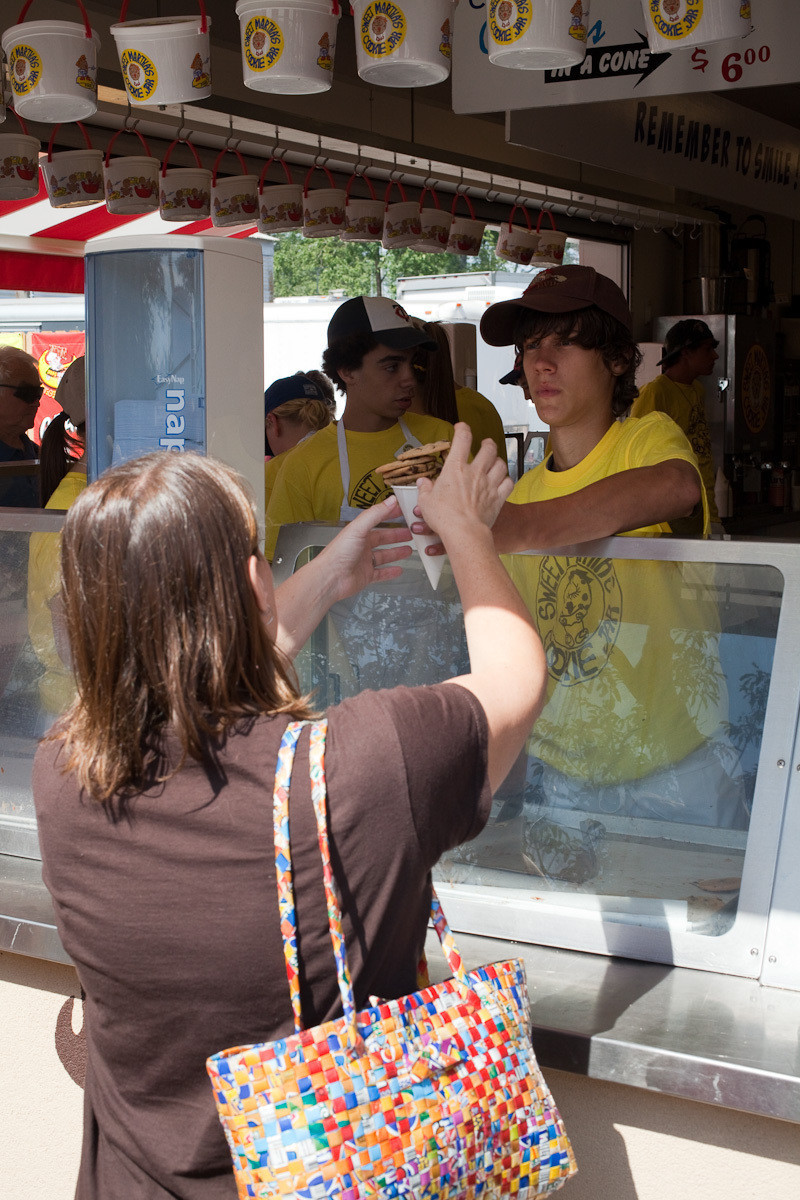
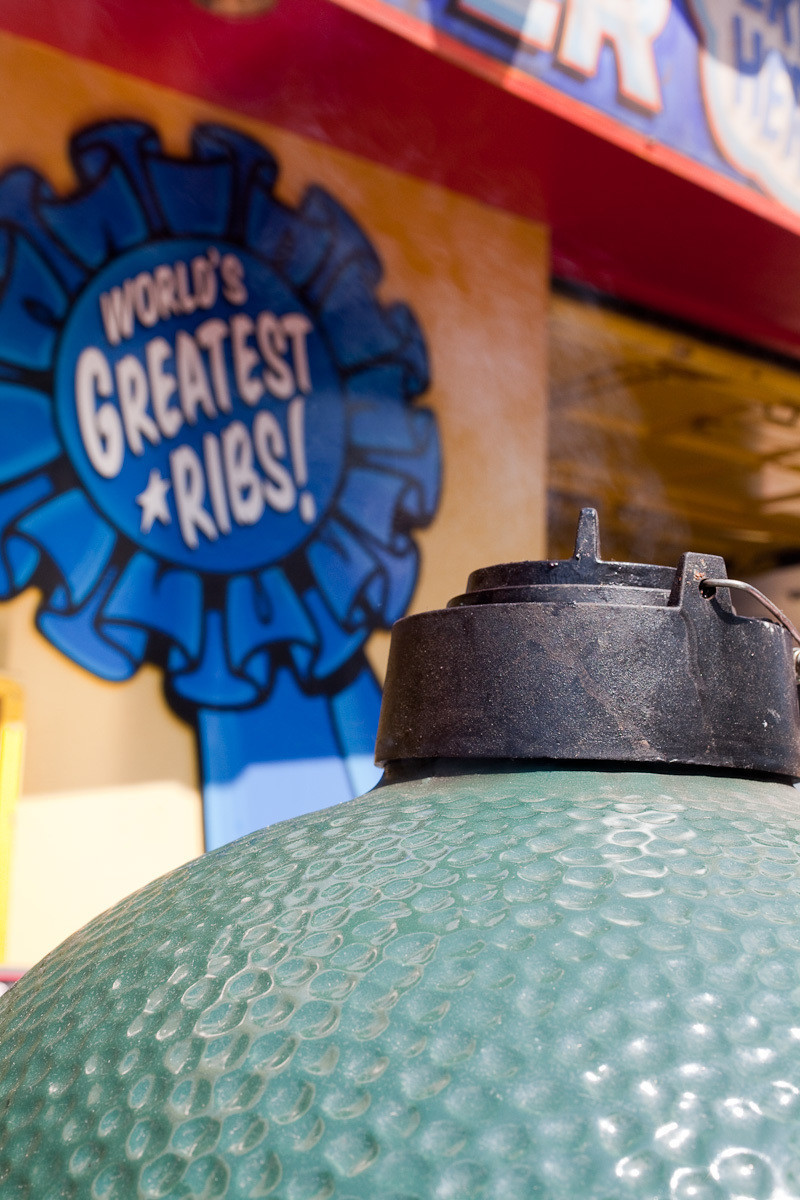
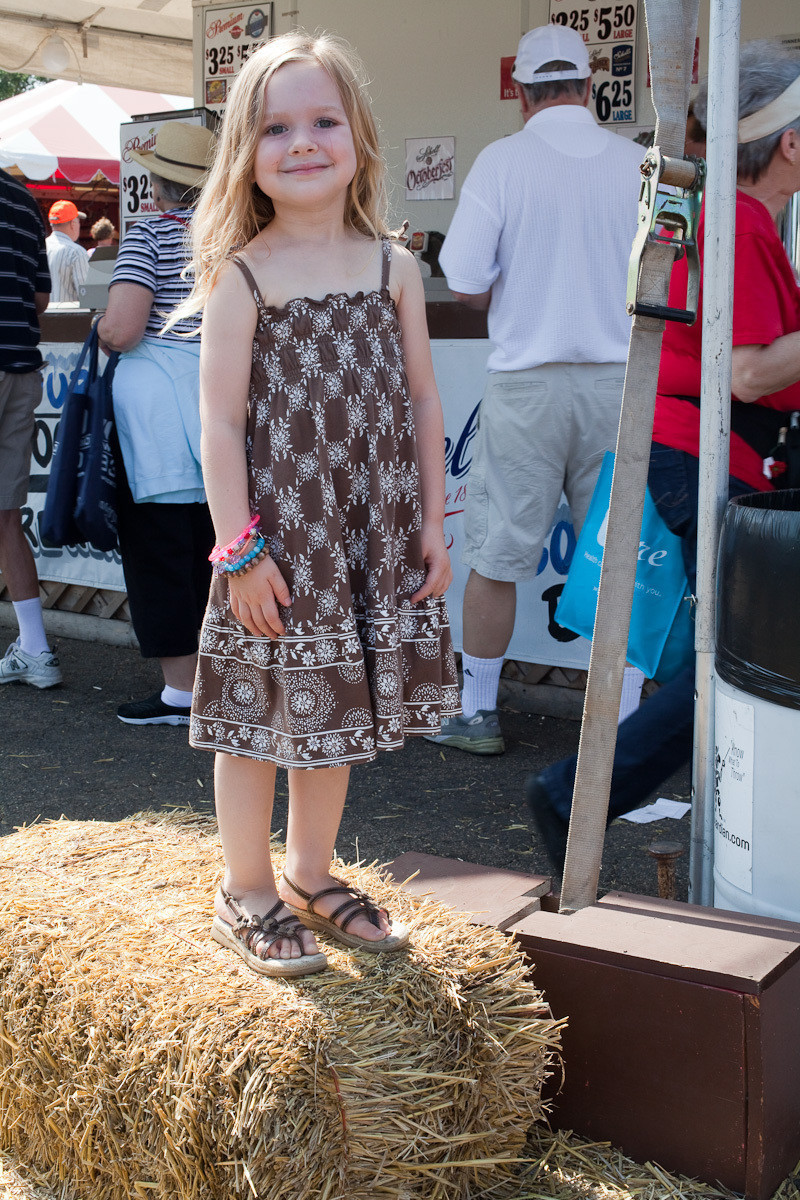
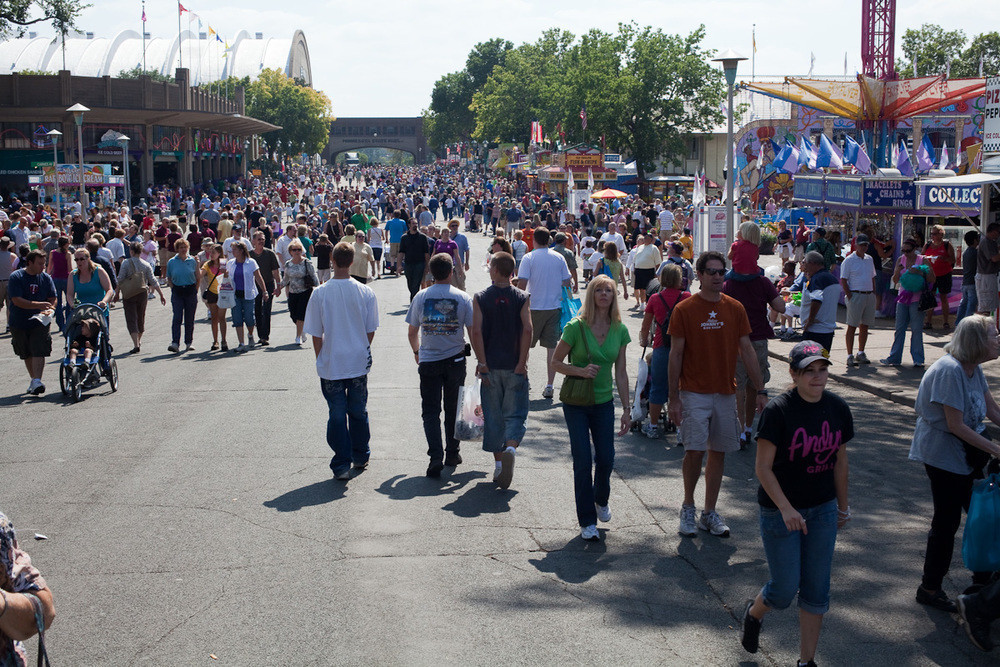
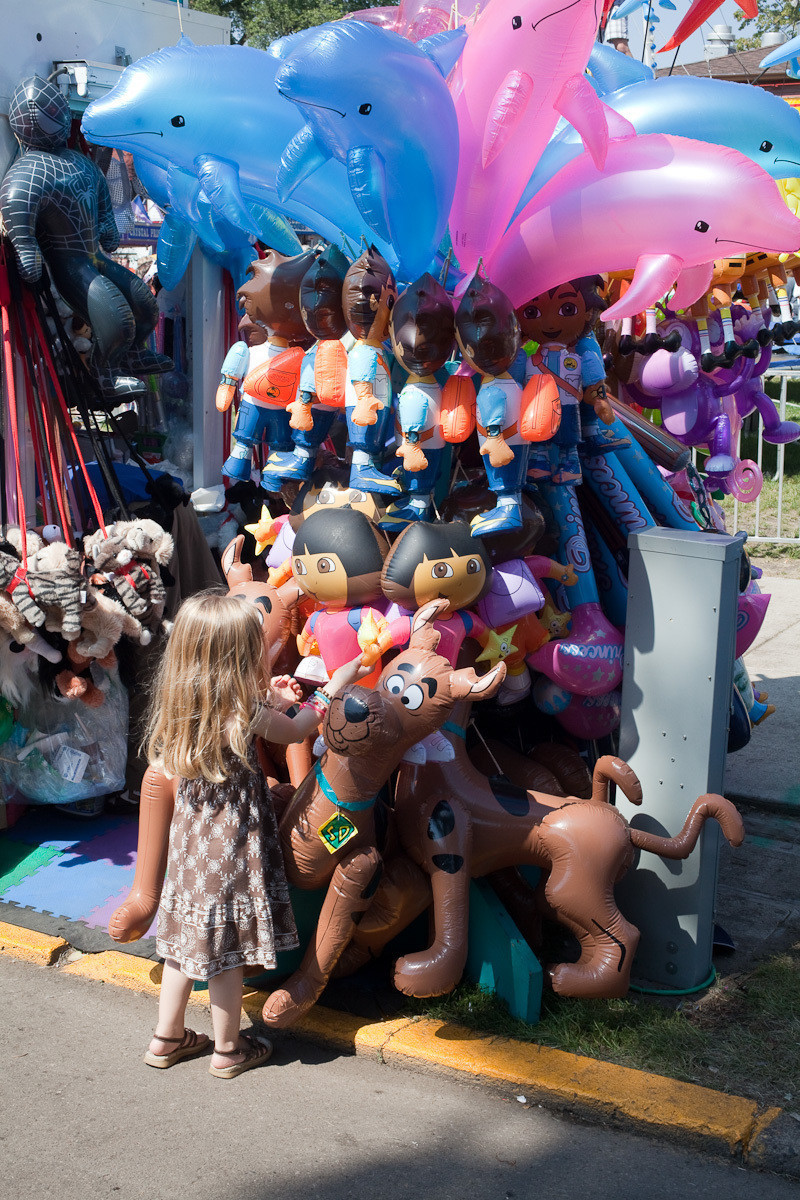
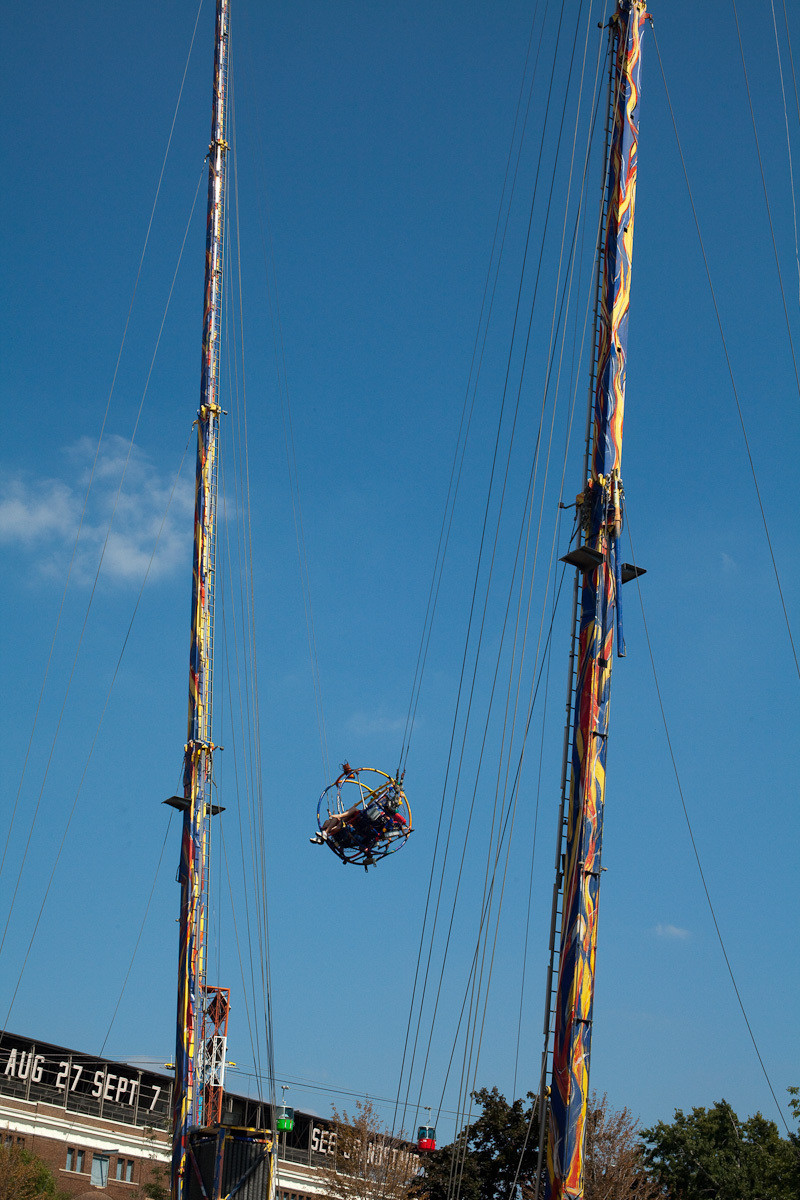
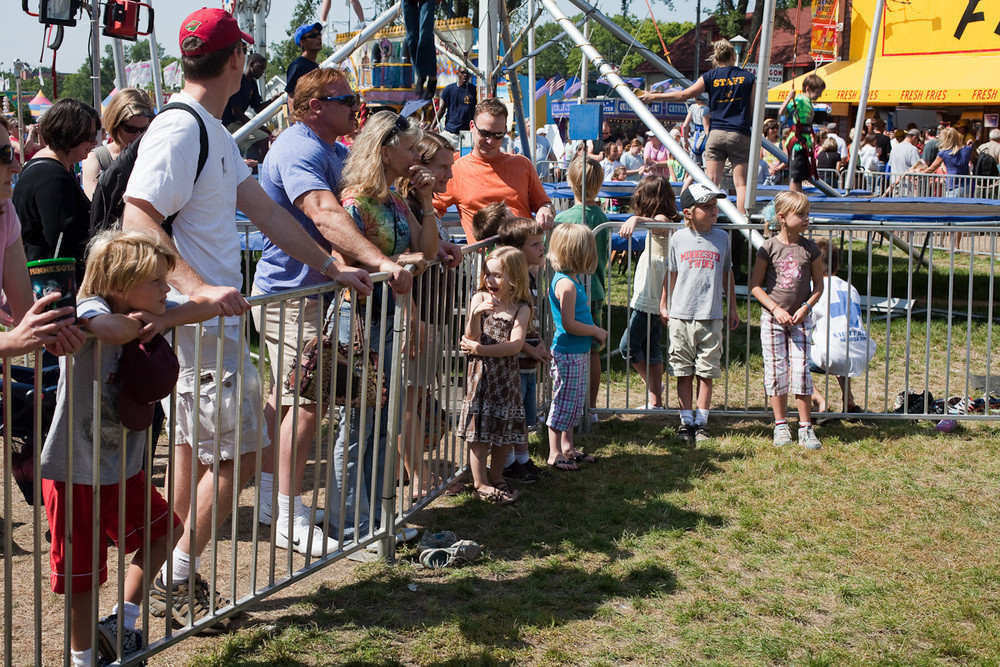
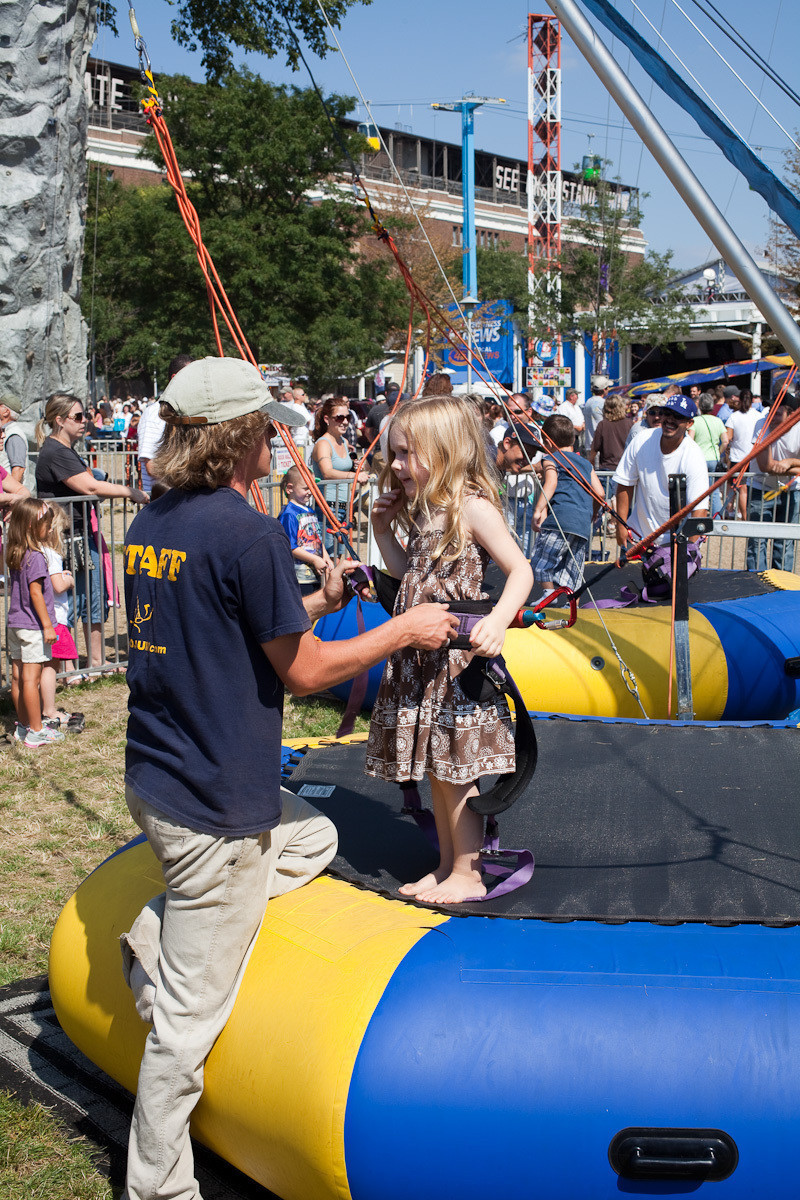
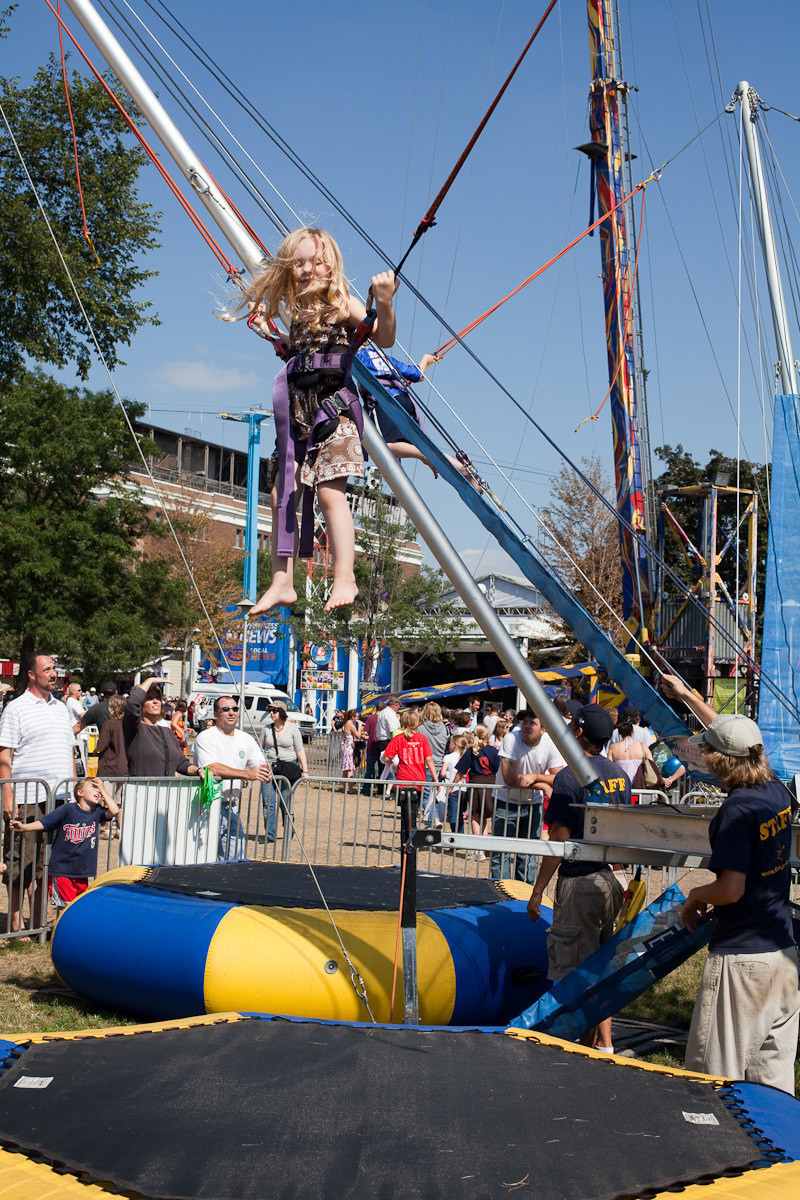
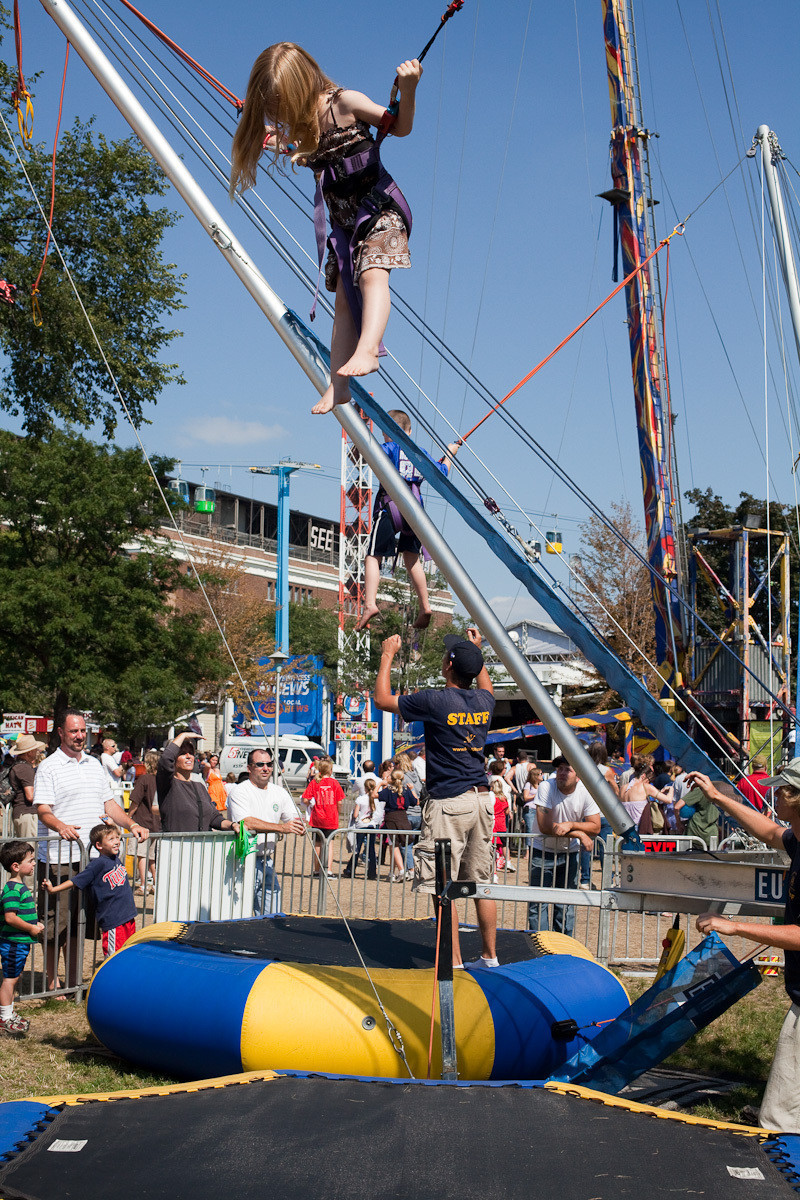
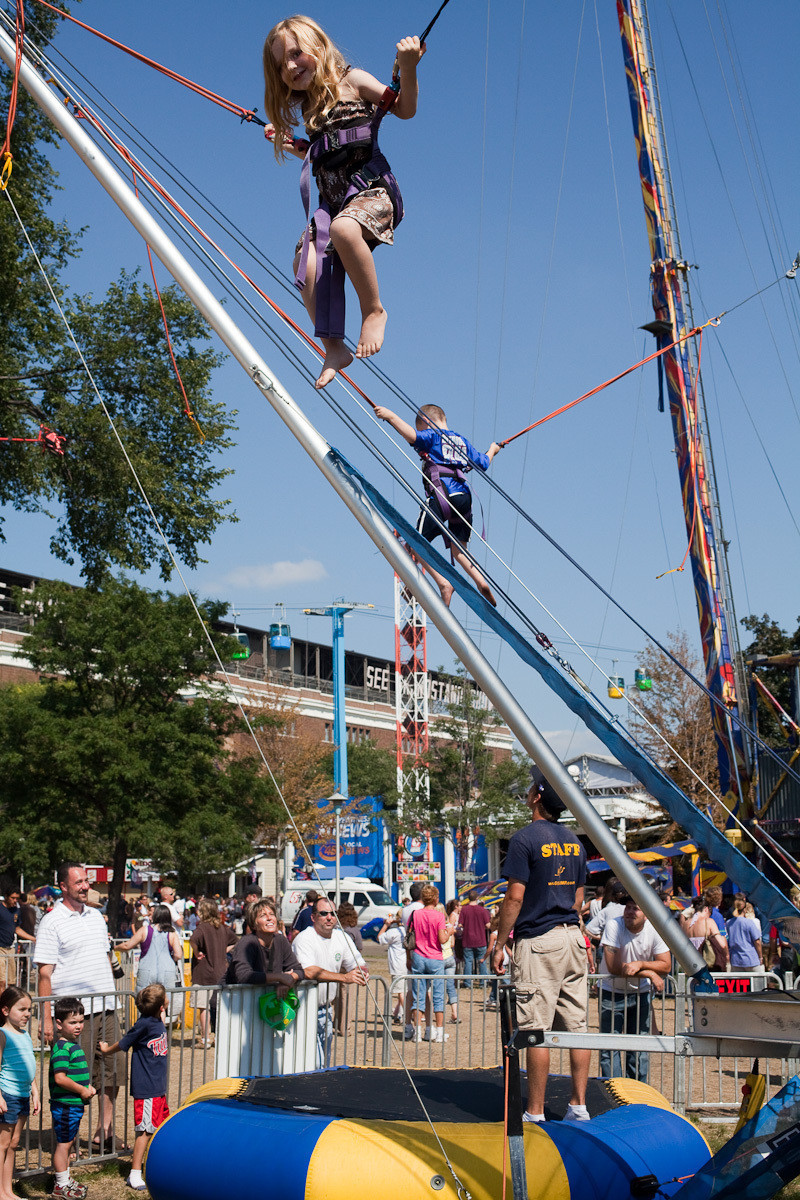
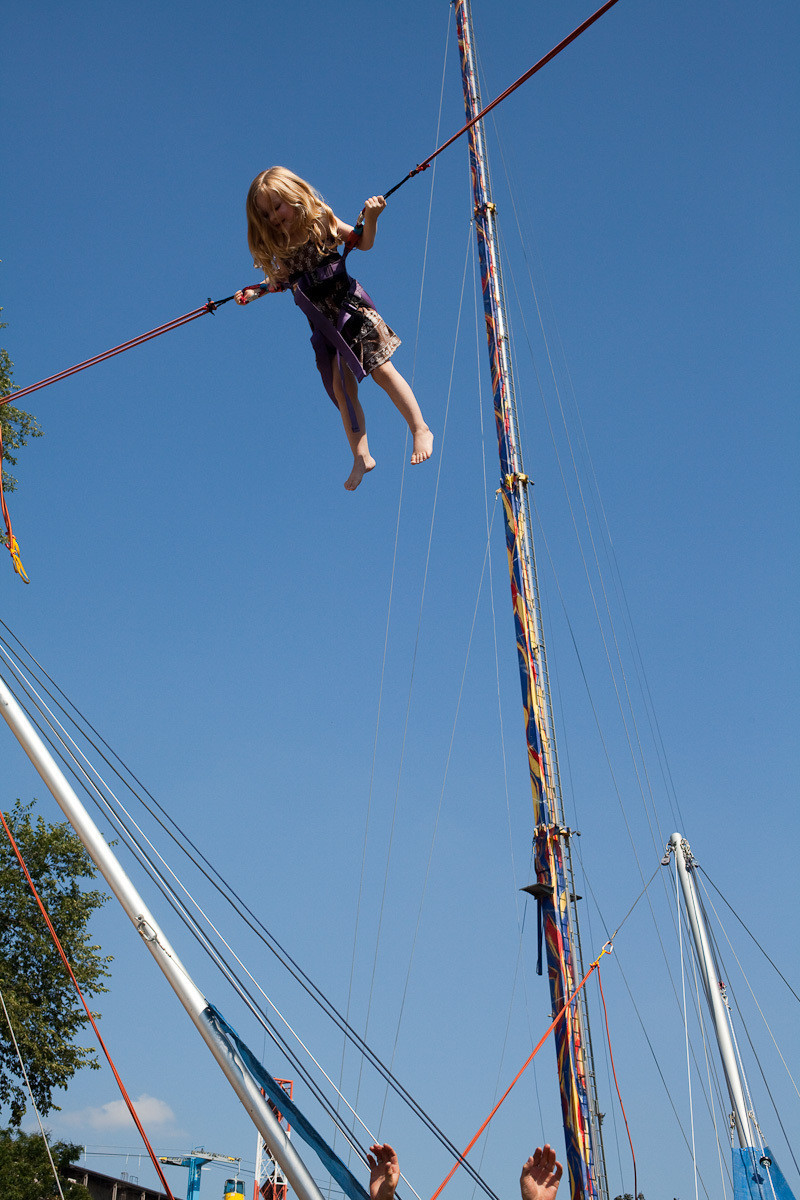
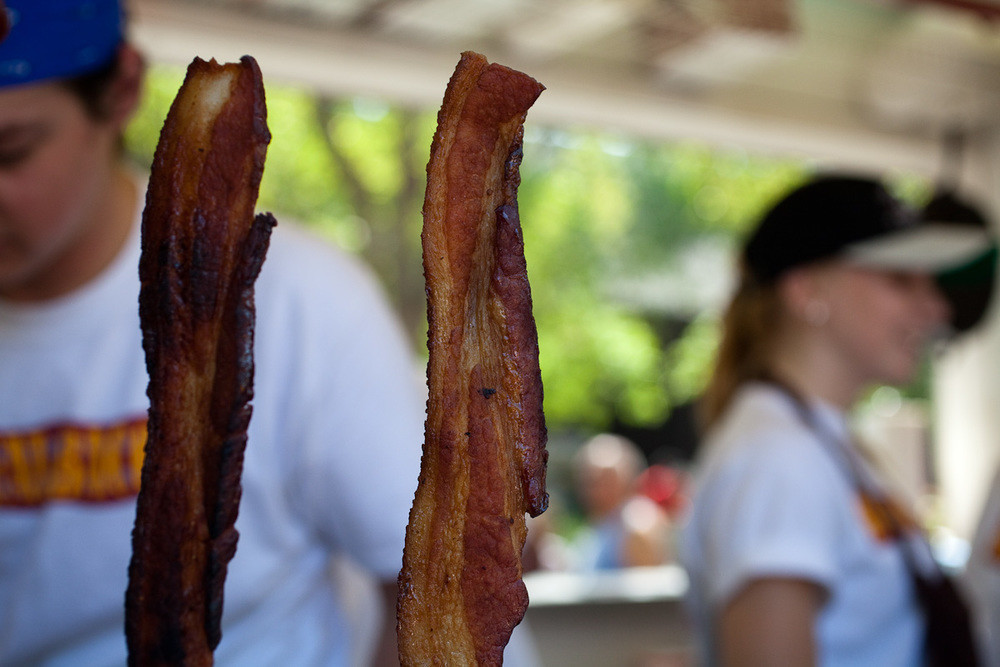
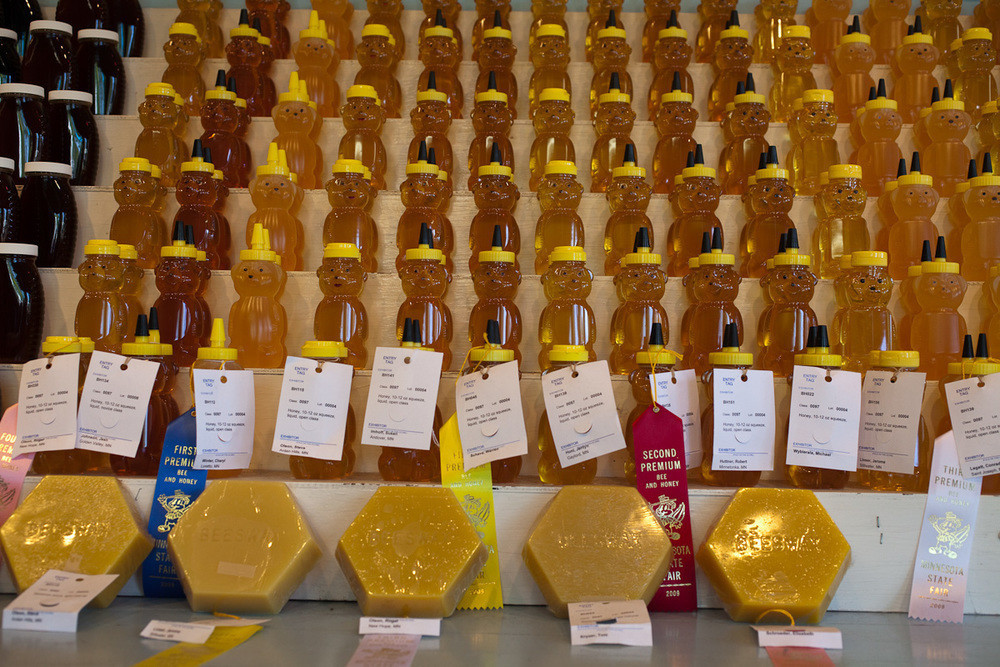
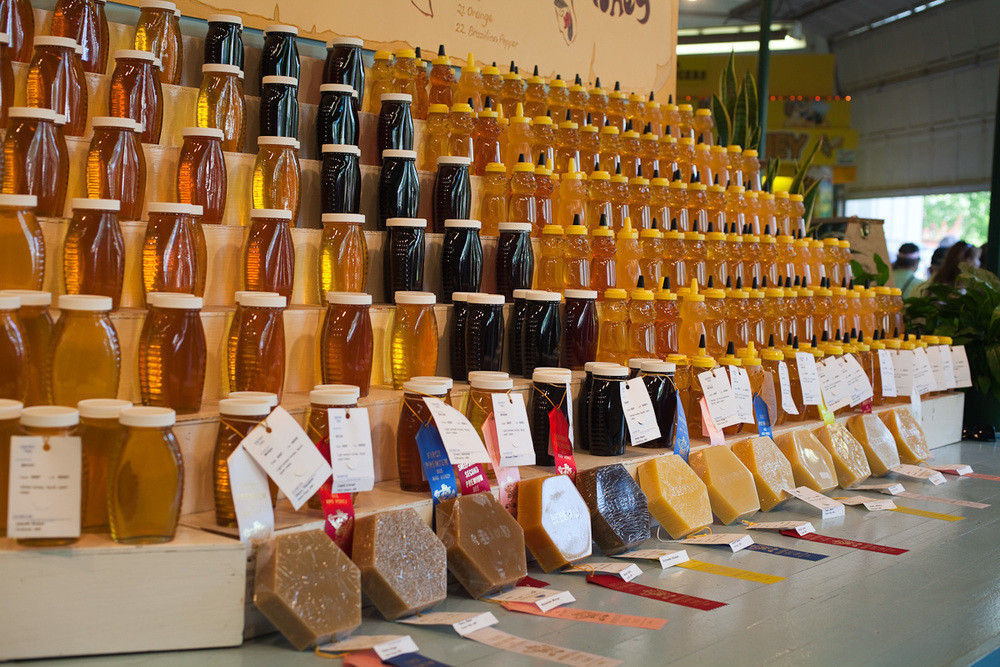
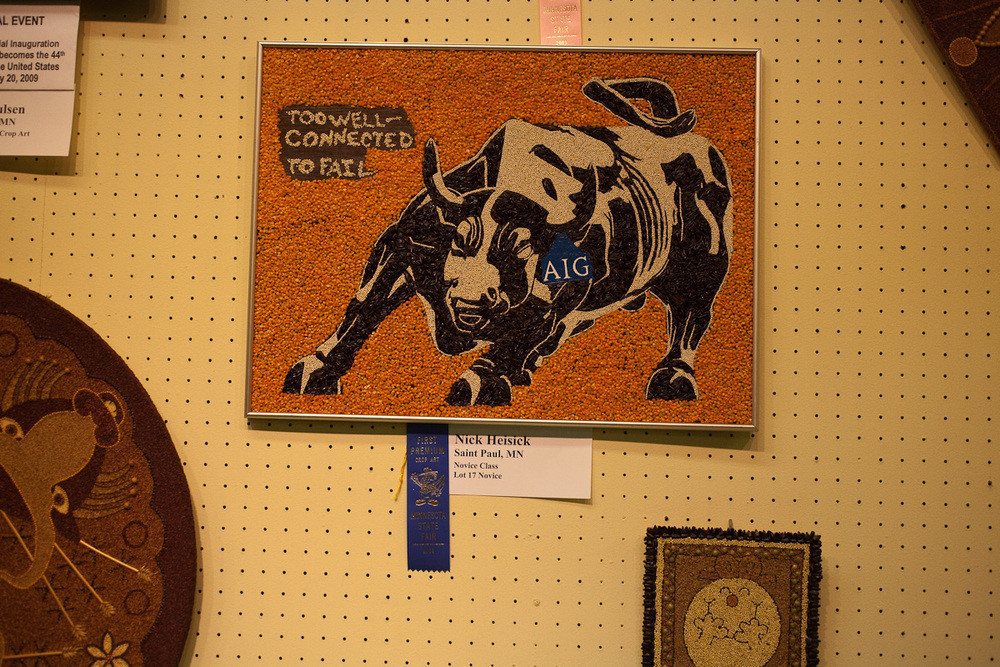
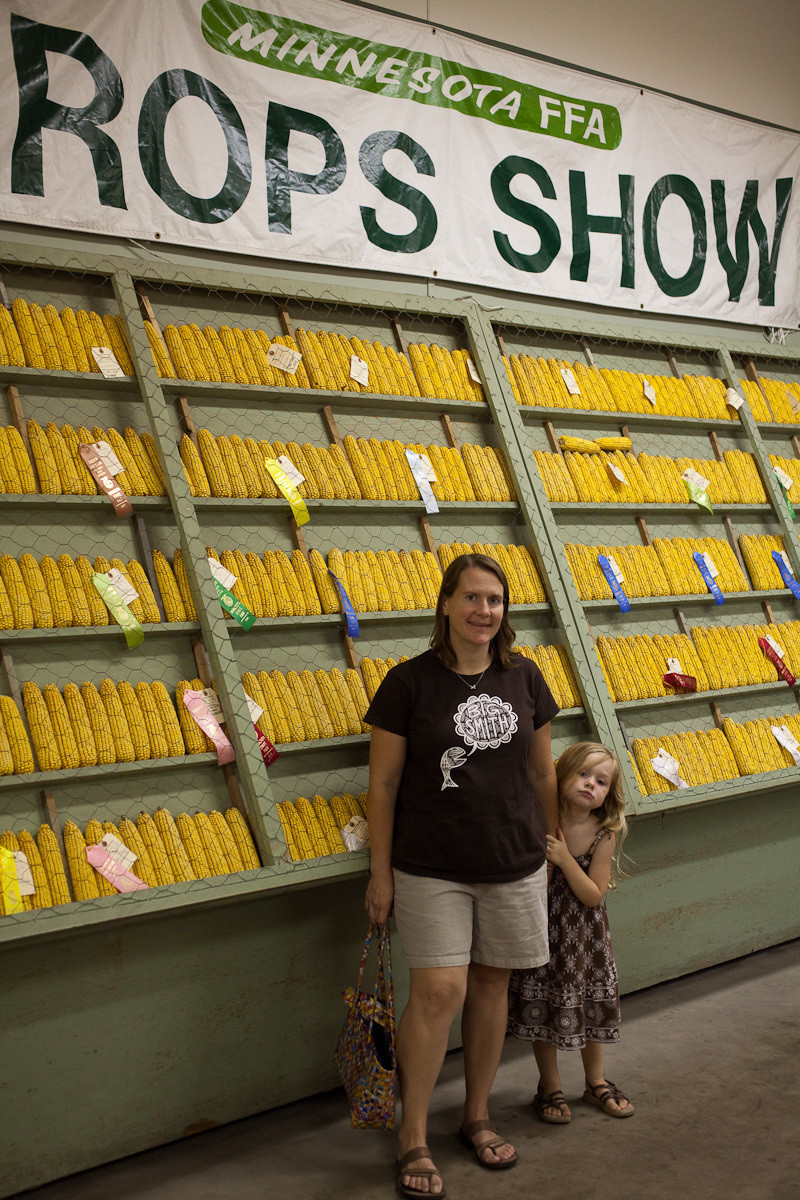
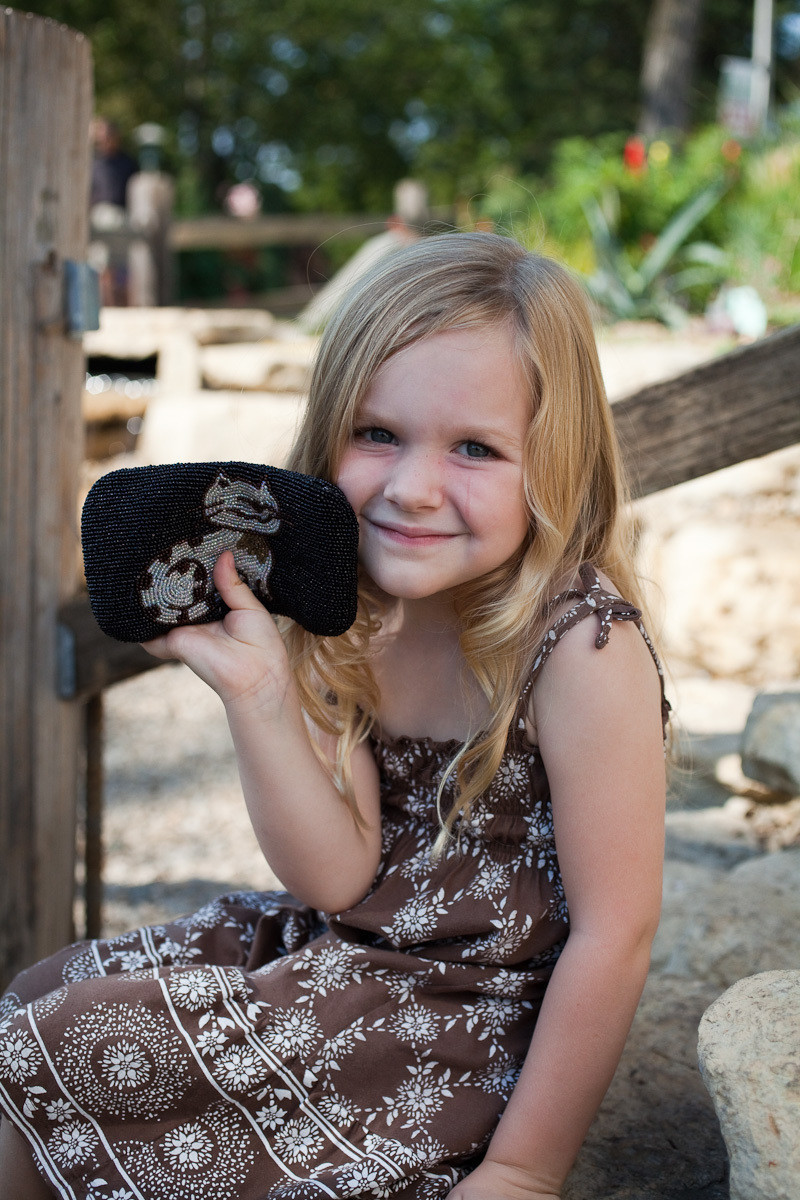
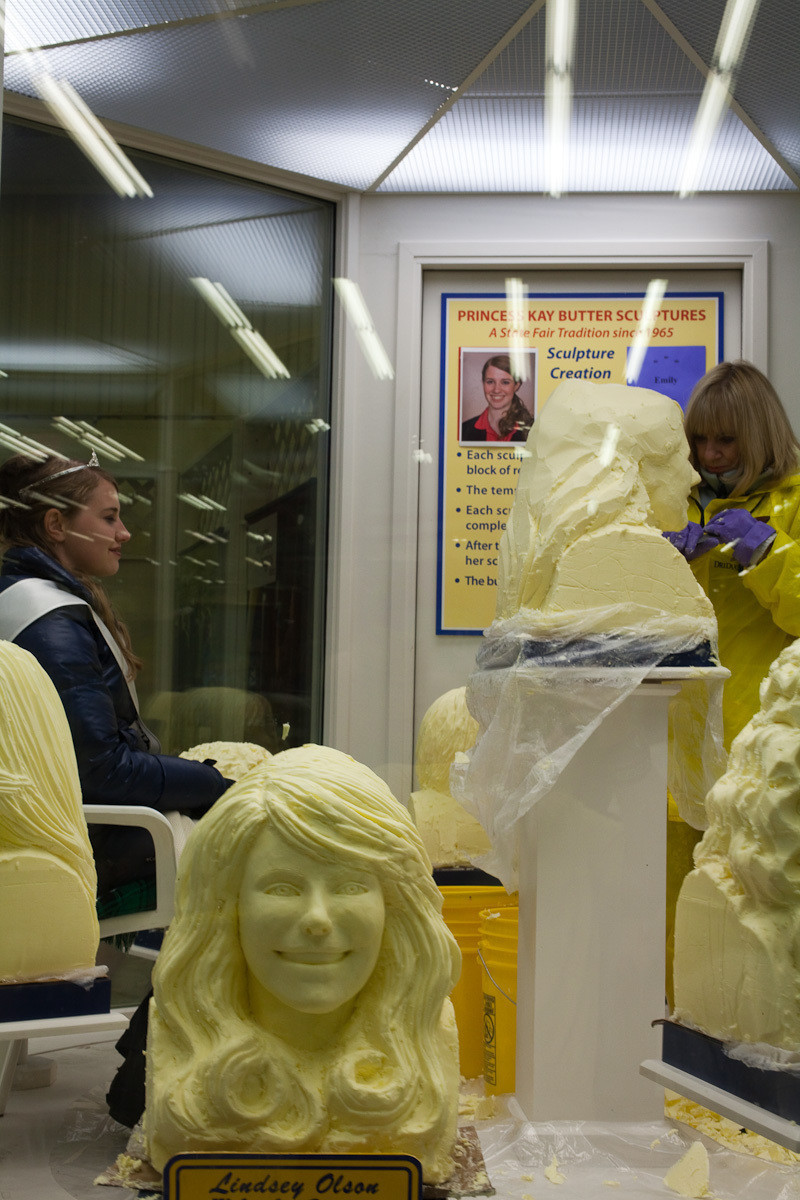
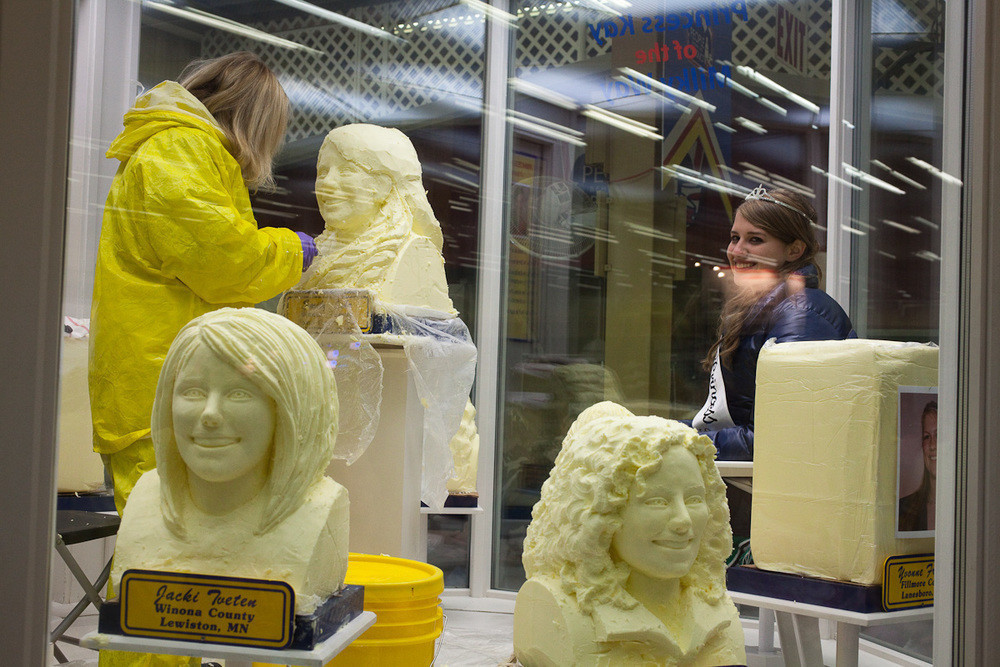
2009 State Fair
We had a great time at the Minnesota State Fair this year. This year was the first year that Mazie really got into it. Highlights included the butterfly house, carousel ride, cookies, skyjump and the butter heads. Mazie had an awesome time on the skyjump.